

Do you still say it with flowers for Mother's Day?
Fresh flowers are always a joy to receive. But they are short-lived. Our thoughtful alternative can be enjoyed long after blooms have faded.


If, like me, you love to make gifts for friends and family, then it is likely that you are starting to plan for Mother’s Day. Flowers are always so appreciated and make a lovely gift both to give and receive. But have you considered making a floral gift that will be loved and treasured way past Mother’s Day, long after the fresh blooms have been thrown away?
Am I obsessed?
I am a sucker for a pretty notebook. If I see one that I fall for, I HAVE to have it - whether or not I need one at the time is completely irrelevant. It is common for me to have a stack of gorgeous books patiently waiting for their moment. A lovely notebook is so much nicer to use, and I really don’t see the point of dull when I can have something beautiful that makes me smile every time I use it.
Share the beauty
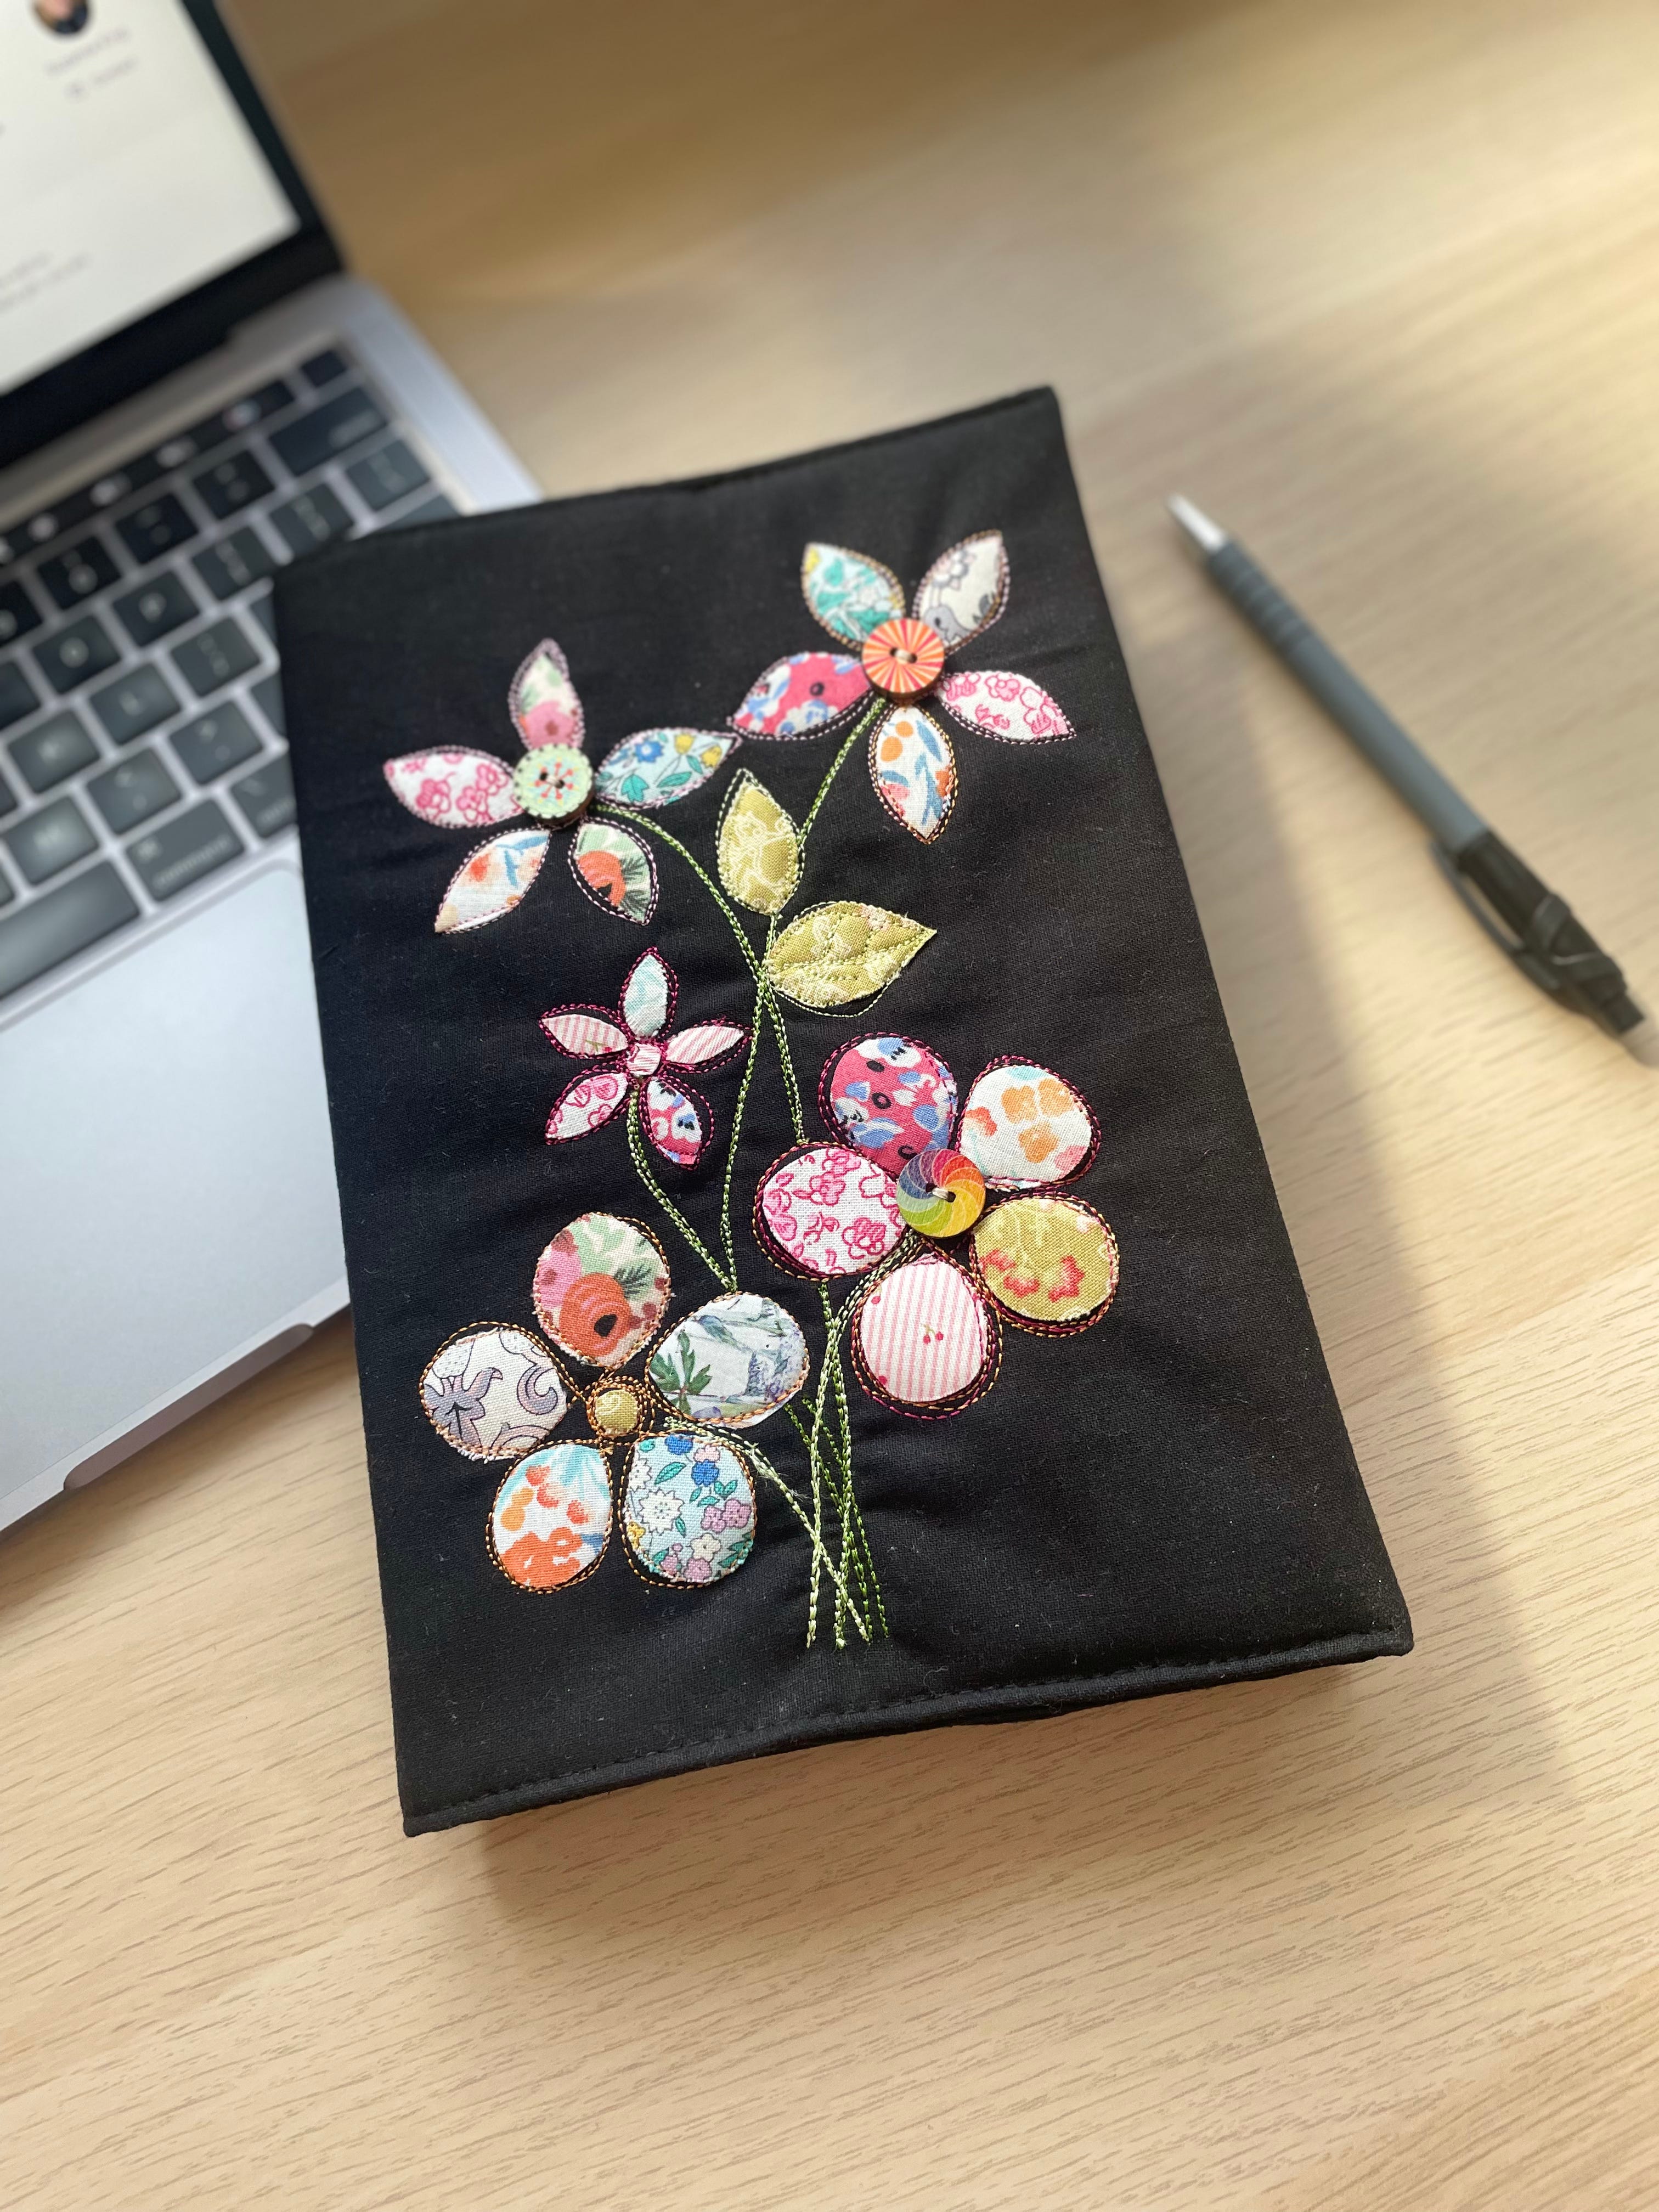
With some basic materials and a little patience, you can make a beautiful cover for any notebook. It makes a fantastic gift for any occasion as it is thoughtful and can be personalised to suit the recipient. I have made my book cover to fit an A5 hardback notebook, but you can scale the sizes up or down to perfectly fit the book you have available. You will need to be able to lower the feed dogs on your sewing machine, or some models have a plate which can be clipped over them (please refer to your operating handbook).
Below are the instructions for making a covered notebook. If you would like to get a free downloadable pattern for an A5 notebook, please subscribe for free below.
What you will need
Fabric for the exterior and lining. I have used plain cotton for the inside and outside, but you could line the cover with a pretty print if you choose. For an A5 book, you will need two pieces of fabric 60 x 35cm plus a piece of lightweight fleece or wadding the same size.
Small pieces of printed cotton fabrics in colours of your choice.
Threads
Bondaweb fusible webbing, fabric glue (these are optional. If you do not have either available you can pin or tack instead.
Beads, buttons and other decorations (optional).
An embroidery hoop to keep the fabric taught whilst stitching. You can work without a hoop if your fabric is stable enough.
Embroidery or darning foot for your sewing machine (see instruction manual for your sewing machine).
Getting ready
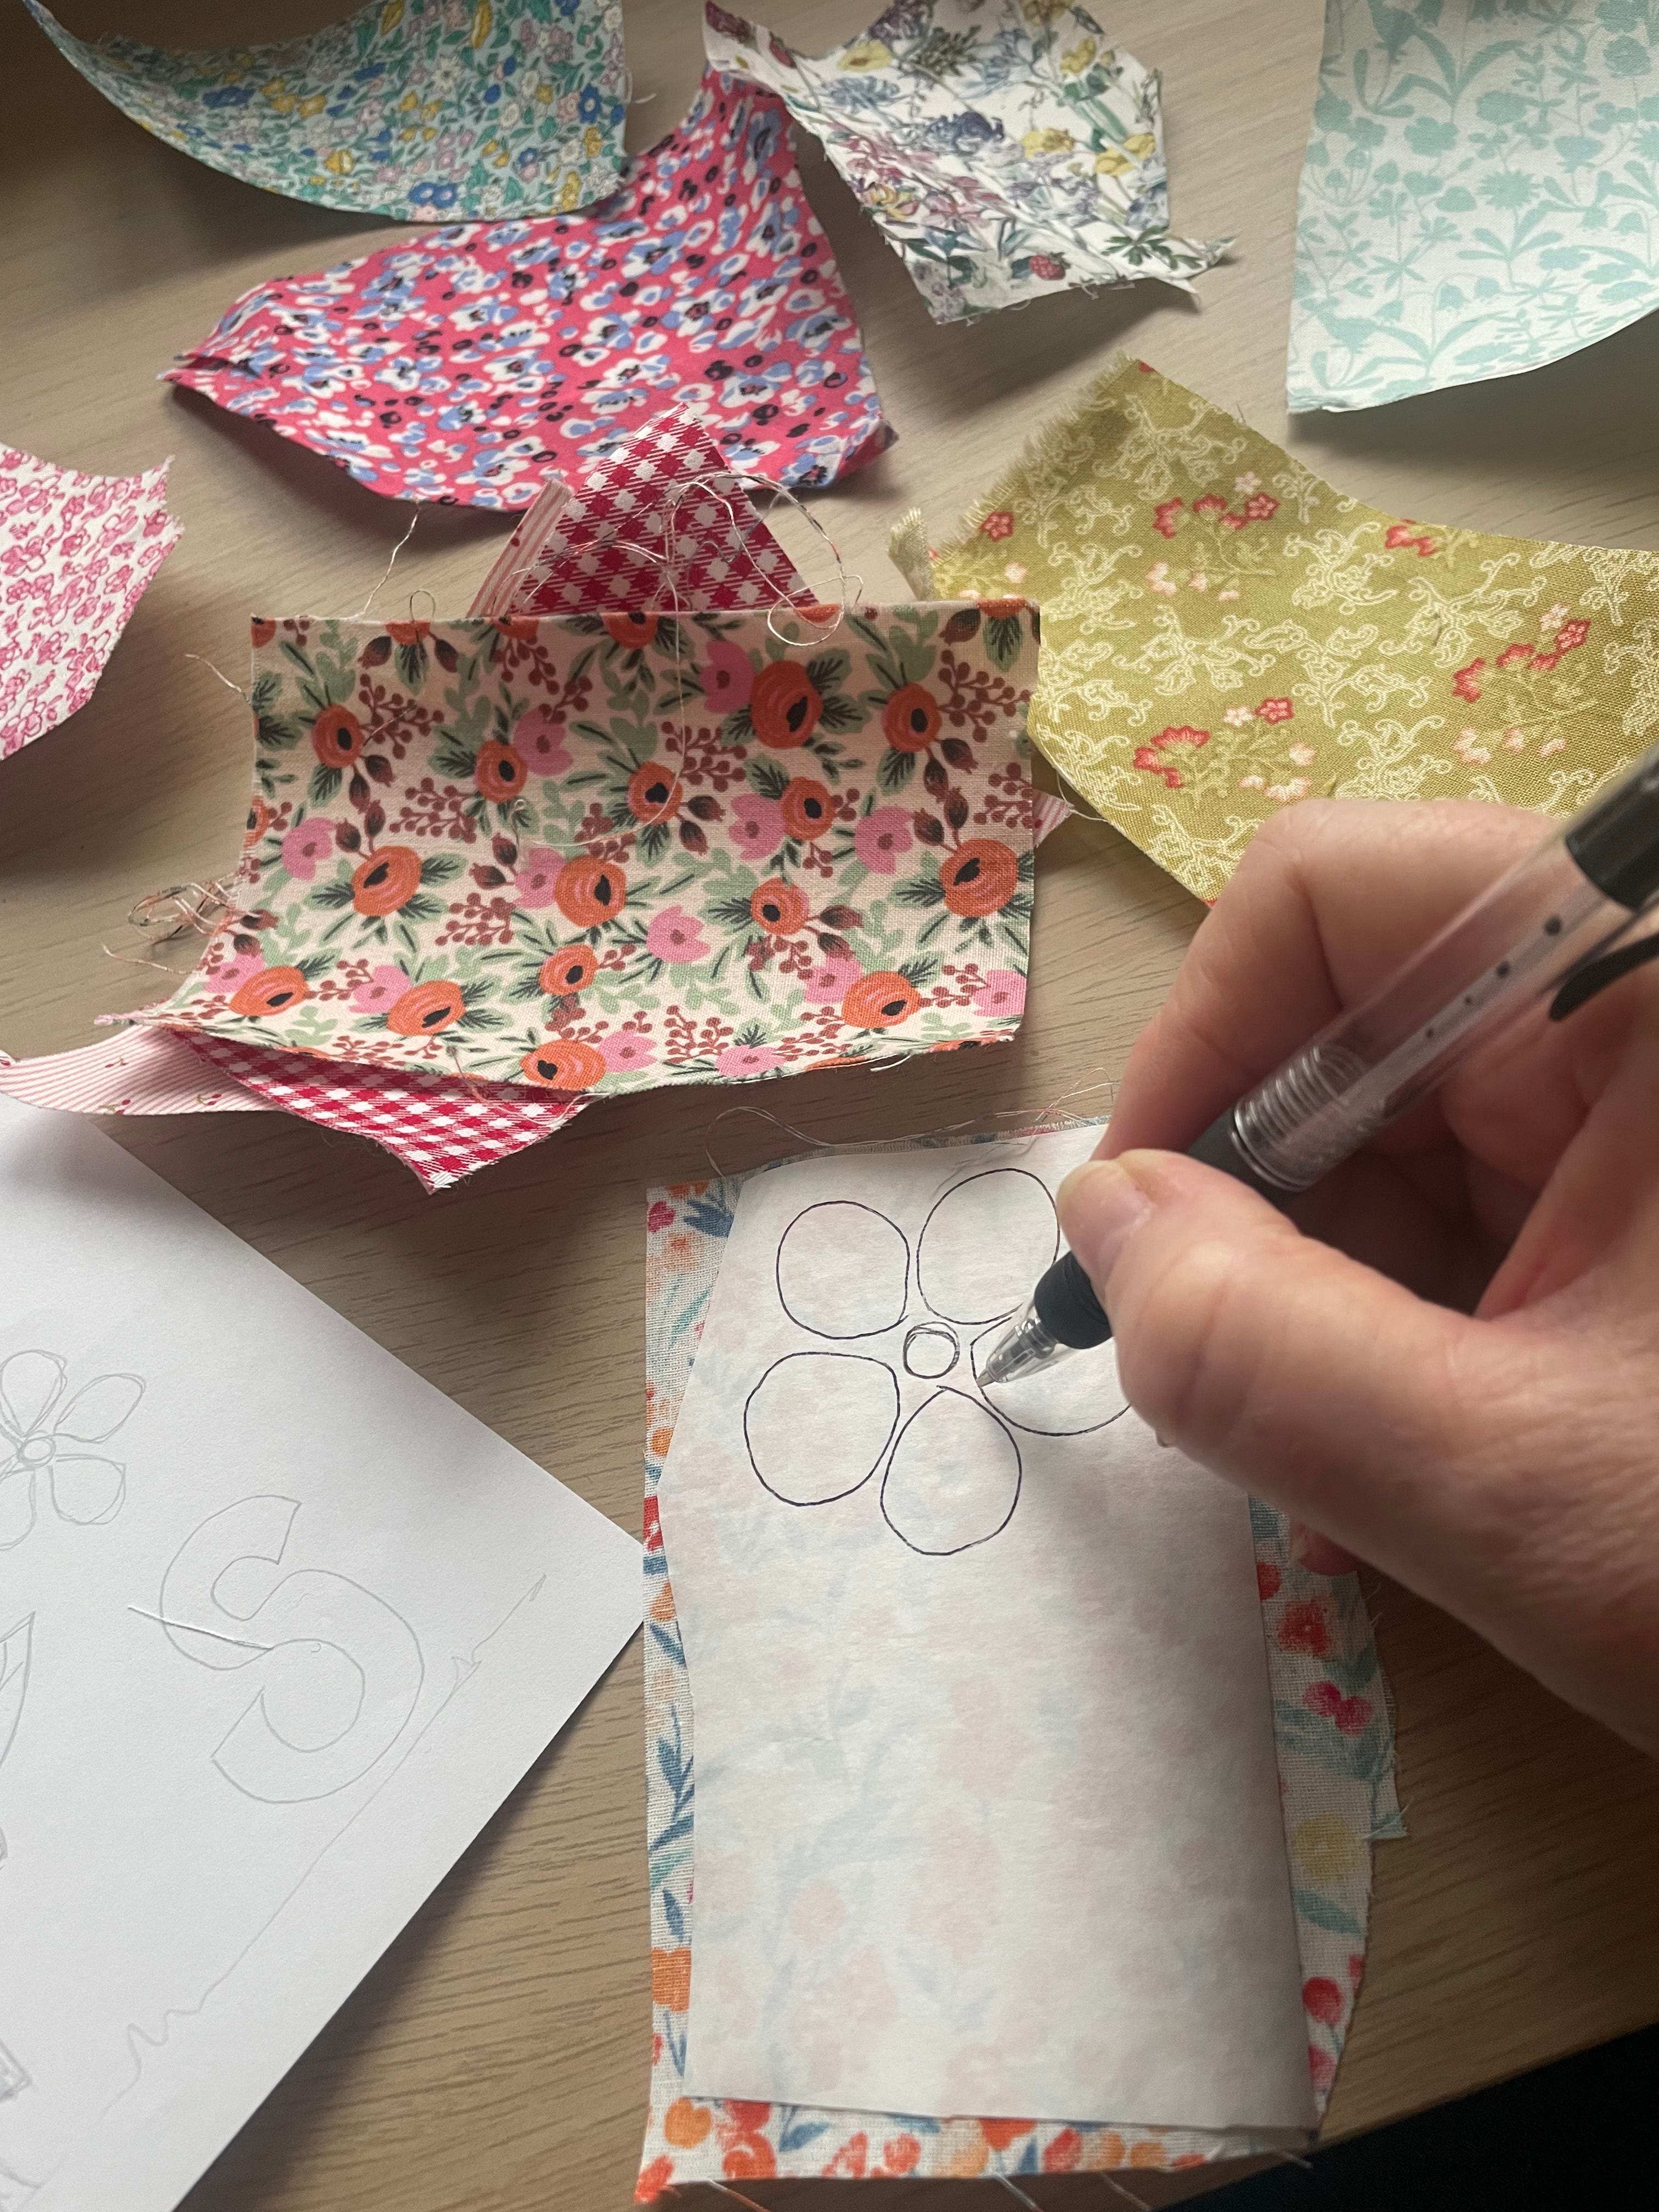
I always find it helpful to sketch out a rough idea of the design I am hoping to achieve before I start to sew. Once you have your design you can begin to select the fabrics you will use for each of the components in your design.
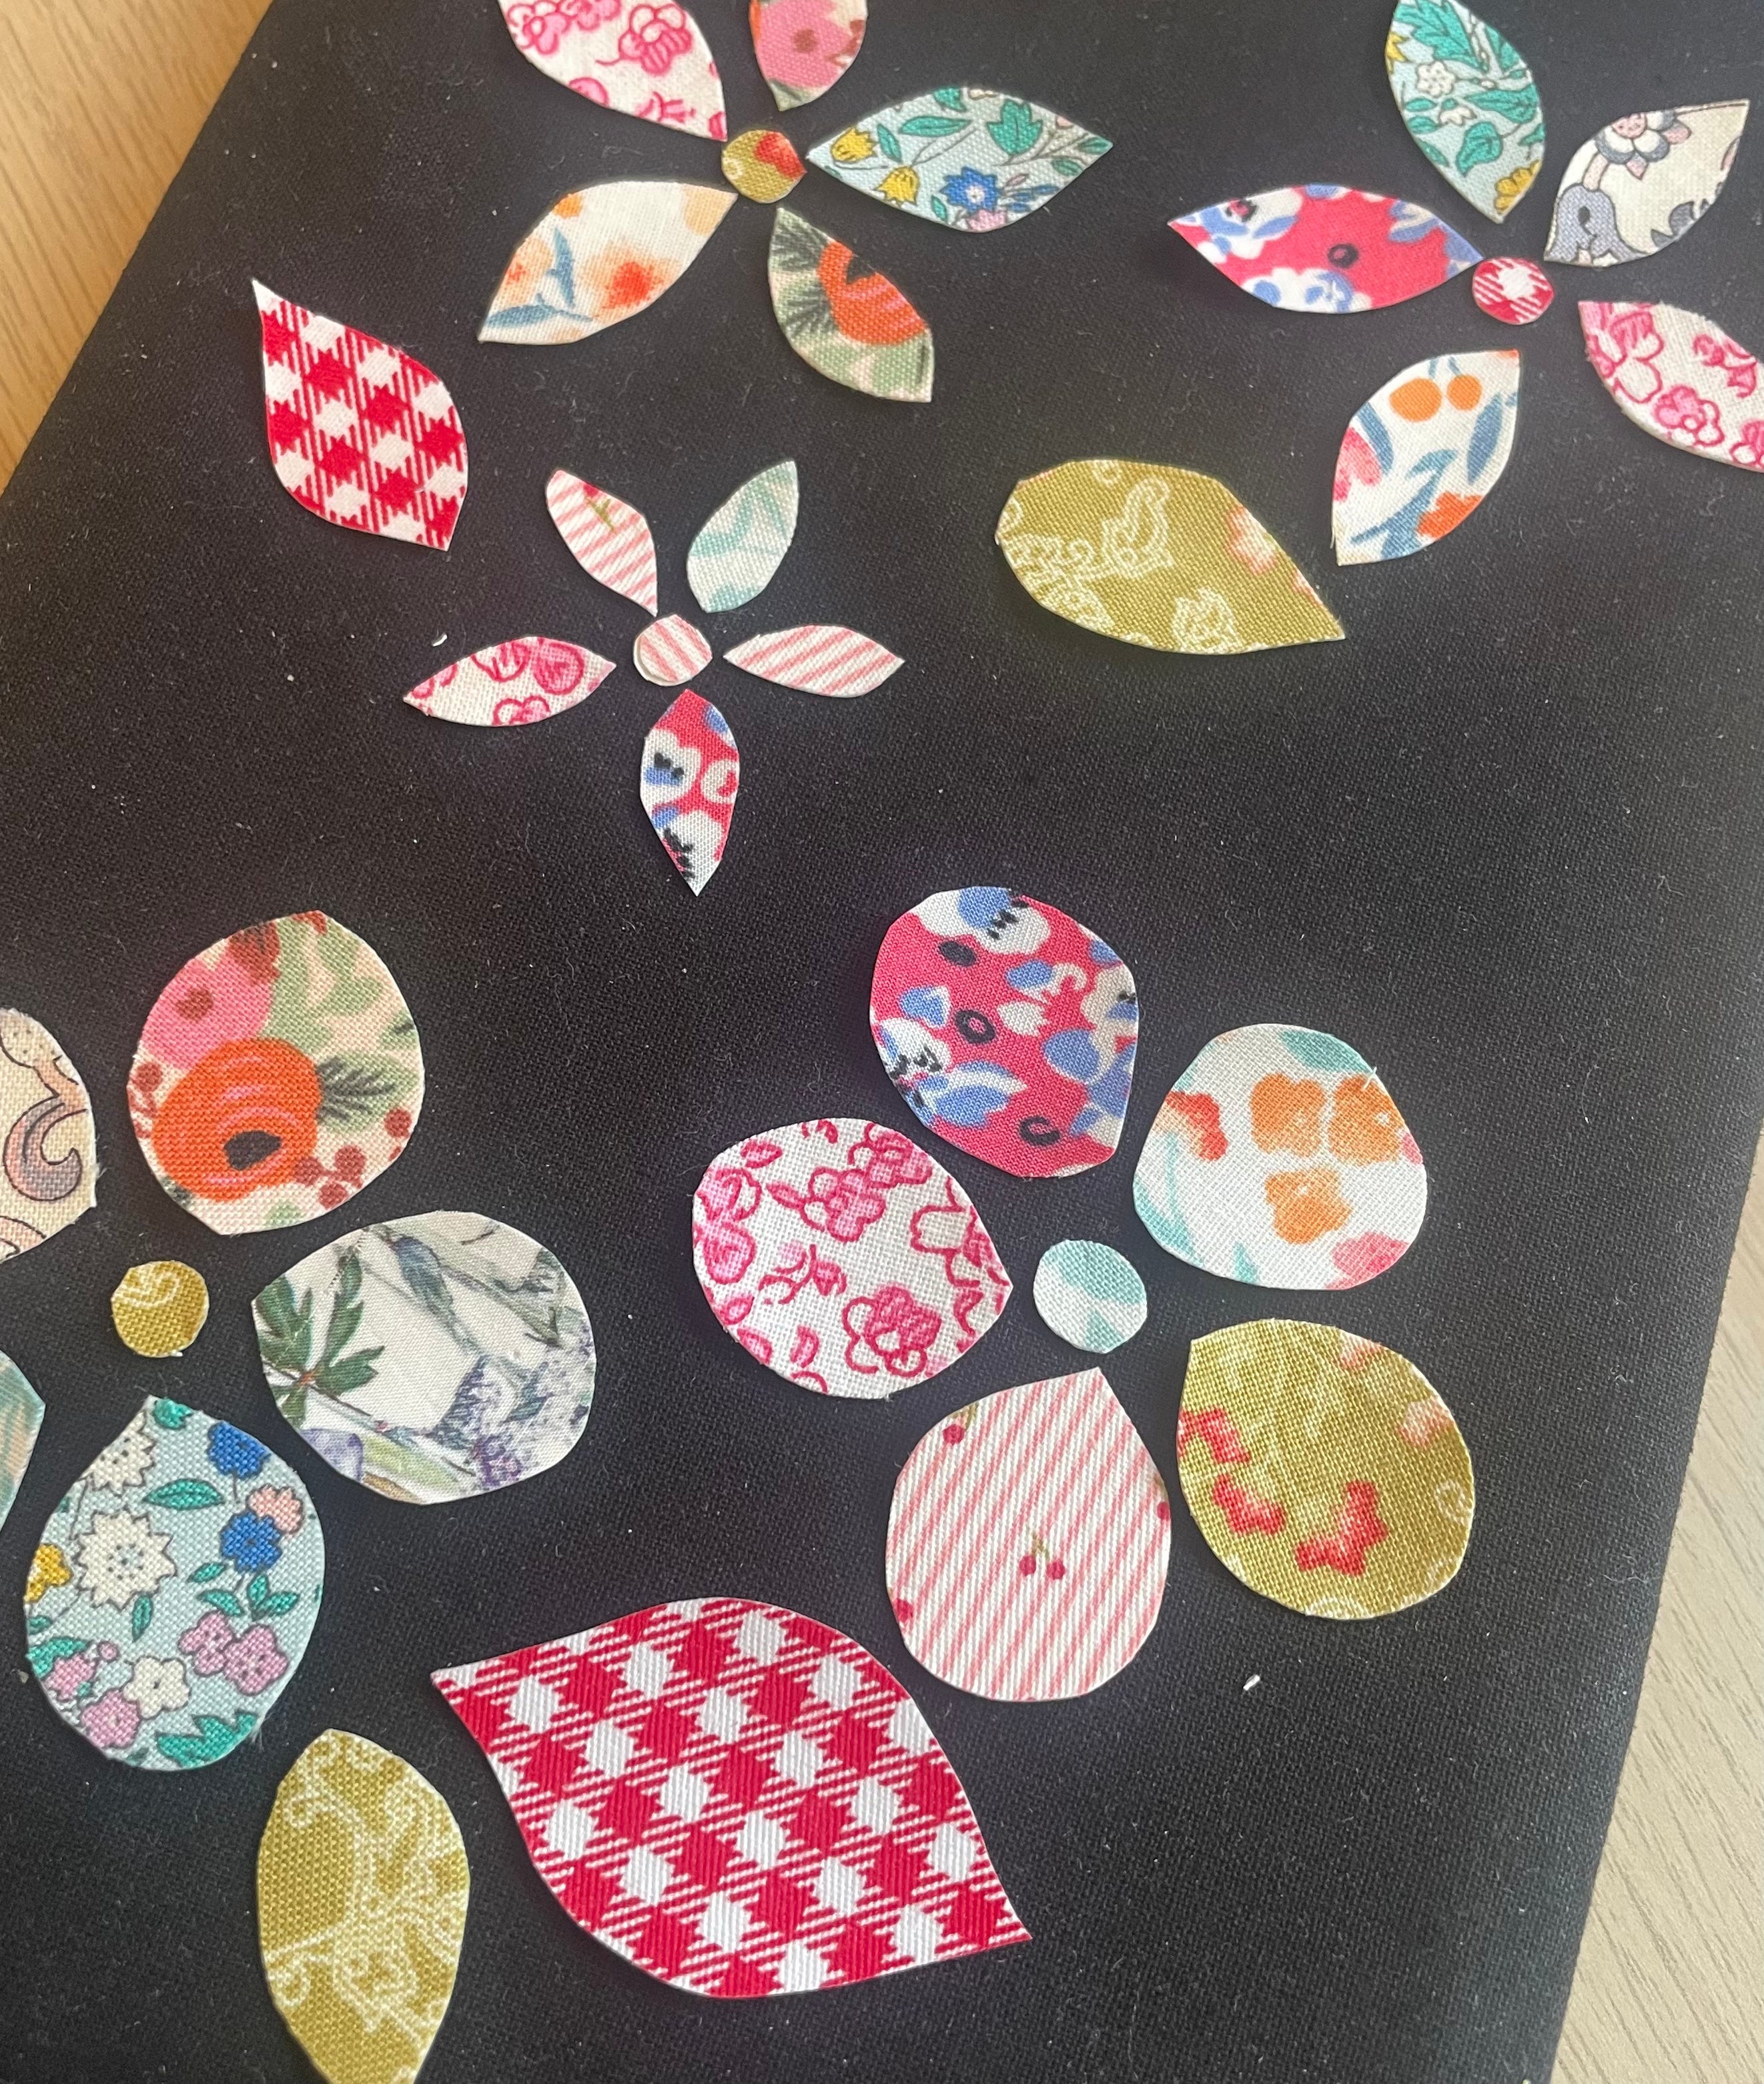
Cut out your fabric shapes for your chosen design. The easiest method for this type of embroidery is to use Bondaweb. This is a fine web of glue which comes on a sheet of backing paper. The Bondaweb is ironed onto the back of your fabric with the backing paper in place. The individual shapes can be drawn onto the backing paper, but remember that they will be in reverse once cut out, so take care if you are using lettering. Once your shapes have been cut out, remove the backing paper and fuse the fabric shapes to your background. You can then stitch over and around your design without fear of the pieces all moving around. Always read the Bondaweb instructions to avoid the product coming into contact with your iron. Make sure the area you are in is well-ventilated too.
If you do not have Bondaweb you could use a small amount of fabric glue, or tack the individual pieces in place.
Beginning to stitch
Stitch around your design with free machining. You can use a single colour thread or perhaps pick out some of the colours in your fabrics - it’s up to you.
The thing I love about embroidery is that there are no rules! You can use any colour thread, stay subtle, go wild - whatever you want. It’s a chance to get lost in an idea and see where your creativity will take you. It is useful to have a test piece of fabric to hand so that you can get your technique right before you start on your cover design. Lower the feed dogs according to the instructions for your sewing machine and select a straight stitch. Set the stitch length to 0; the length of the stitches will depend on the speed at which you move the embroidery hoop. The slower you go the shorter the stitches will be.
I find that it can be very easy to become tense and hunched up when sewing, but the more relaxed you can make yourself the better. Stop every now and then, shake out your arms and relax your shoulders.
Once the stitching is complete you could add buttons and beads to give extra interest.
Press the fabric well.
Make the cover
Use the pattern piece to cut out your exterior, lining fabrics and the wadding. It can be helpful to fold your fabric around the book before you cut it to make sure that your design will be in the correct place.
Lay the exterior fabric with your design facing up in front of you. Place the lining fabric on top, face down followed by the wadding or fleece. Make sure that all the edges are aligned. Pin together through all layers.
Stitch around the edges with a 1cm seam allowance. Leave a gap of about 5cm in one of the short ends. Backstitch at the start and finish of the stitching.
Trim the wadding close to the stitching in the seam allowance.
Trim the corners and cut the seam allowance down to about 3mm. You can leave the seam allowance at the opening to make it easier to stitch later.
Turn through the opening and press well, making sure the corners are pushed out. Topstitch the 2 short edges about 2mm from the edge of the fabric, closing the opening as you do so.
Wrap the cover around the book, folding the ends inside the cover to create the flaps. Make sure it is tight and that the flaps are the same size. Mark the position of the folds and remove the book.
With the flaps folded in place, topstitch along the top and bottom of the cover. Press well and then insert the notebook.
A special gift
I am sure that your book cover will be treasured and admired. Once the notebook has been filled it can be replaced with a new one! Don’t forget to subscribe to receive the free pattern, as well as access to all our sewing resources.
Happy sewing,
Suzanne, Charlotte and Rebecca