

How Do You Reduce Food Waste?
In our throwaway society, how much thought do we really give to leftovers?

Today is officially Stop Food Waste Day. This is an international fight, as food waste is an ever-growing problem. It amazed me to learn that approximately one-third of all food produced globally is either lost or wasted every year.
What Can We Do?
There are many things we can do to limit the amount of food we waste.
use simple recipes which use leftovers as well as fresh ingredients
plan your weekly meals and only shop for the ingredients you need
freeze leftovers for another day
store leftovers correctly in the fridge to prevent them from drying out
Food waste is unnecessary and can be stopped. Stop Food Waste Day aims to educate about how food is farmed, produced, purchased and used.
With this in mind we have decided to have a go at making our own beeswax food storage wraps. They are a really good way to keep food and leftovers fresh in the fridge, plus they also cut down on plastic wrap! Surprisingly simple to make, you can find the instructions below. You can get our free downloadable pattern by subscribing.
There is no sewing involved in making these. However, if you really want to add stitches, you could always edge your fabrics with a decorative stitch on your sewing machine before you coat them in wax.
Make Your Own Beeswax Food Wraps
You will need:
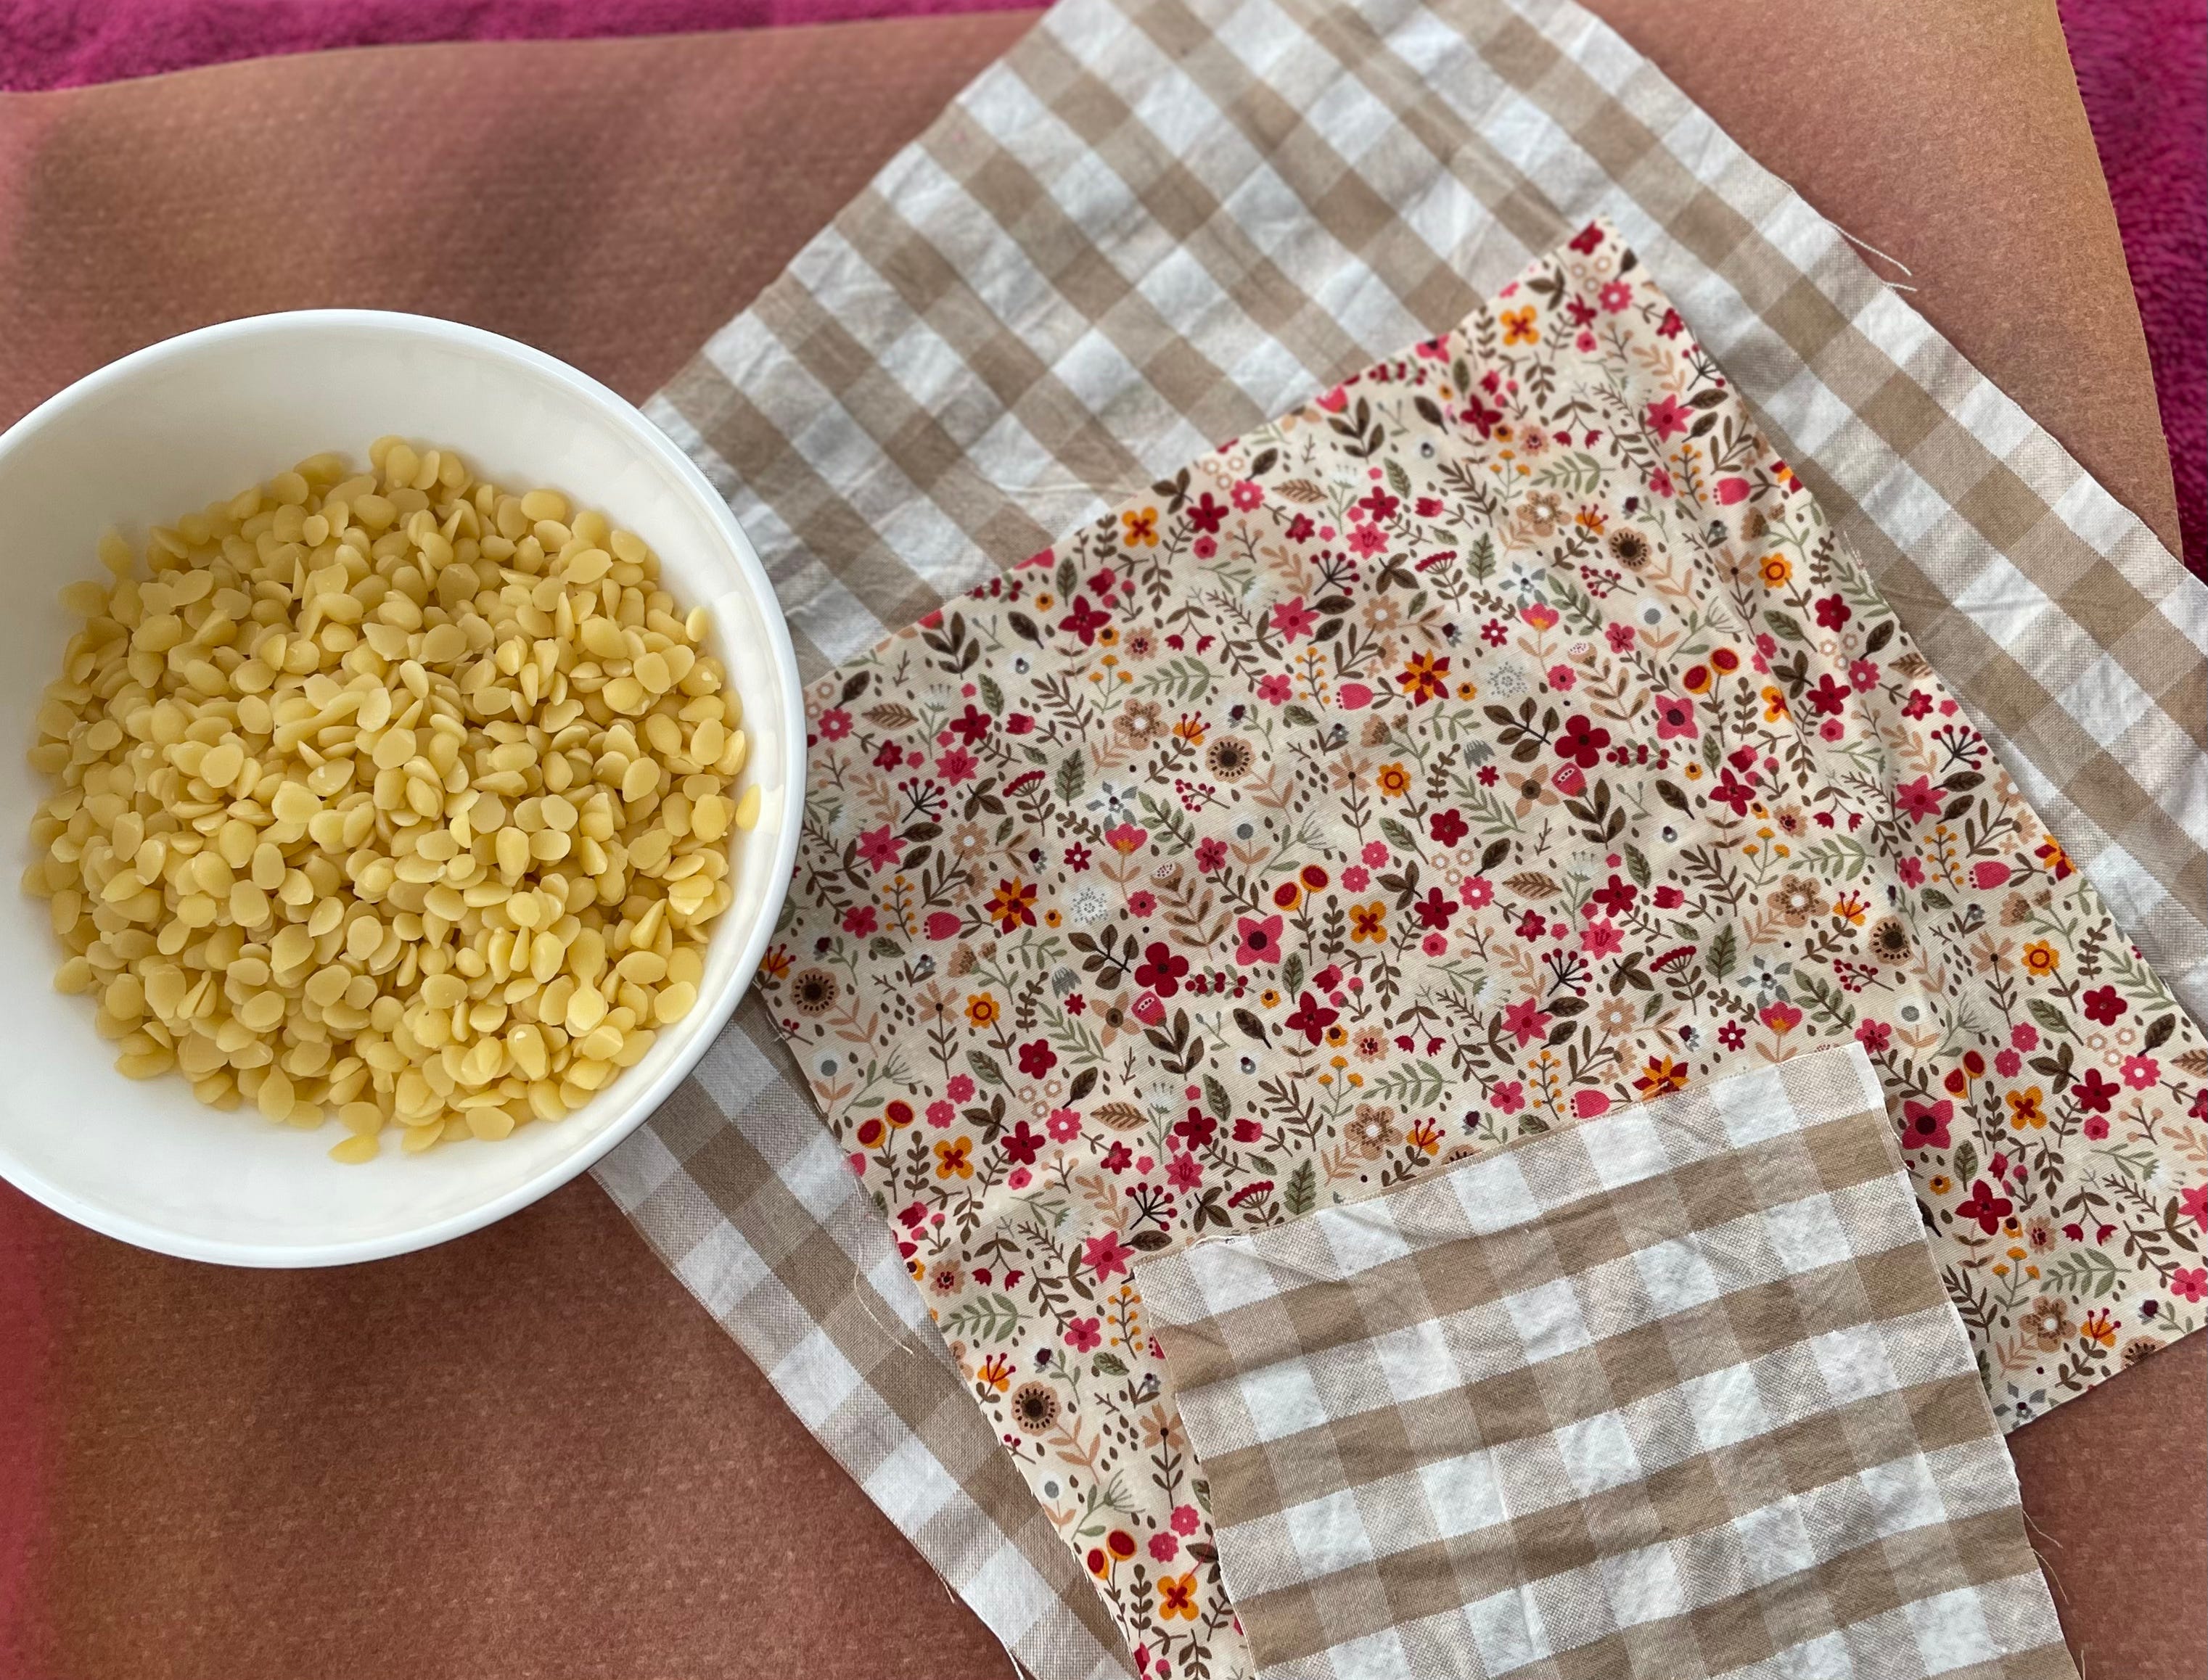
Selection of 100% cotton fabrics
Beeswax pellets or a beeswax block. We have used pure, unbleached beeswax, which is environmentally friendly. It will give a yellow hue to your fabric
Baking parchment
Cheese grater (only if you are using a beeswax block)
Iron and ironing board
An old towel
Tape measure
Scissors
Method:
Cut your fabric into squares. We used the following measurements, but you can make whatever sizes you like, depending on the containers you will be using. Small - 12 x 12cm; Medium - 20 x 20cm; Large 26 x 26cm.
(You can subscribe below to get our free downloadable pattern, which you can print at home.)
If you are using the block, grate the beeswax using the largest hole on the grater.
Cover the ironing board with the old towel, then place a sheet of baking paper on top.
Place one of the fabric squares on the baking paper. Sprinkle over some of the pellets or grated wax, ensuring they are spread evenly.
Place a second sheet of baking paper over the top. Iron over the paper, moving the iron around. You will begin to see the wax melting beneath the paper. If some areas appear a little dry, add more wax shavings and re-iron.
Once the wax has melted, remove it from the paper. Hold for a few seconds to go firm, and then place on a rack to dry completely. Repeat with the other fabric squares.
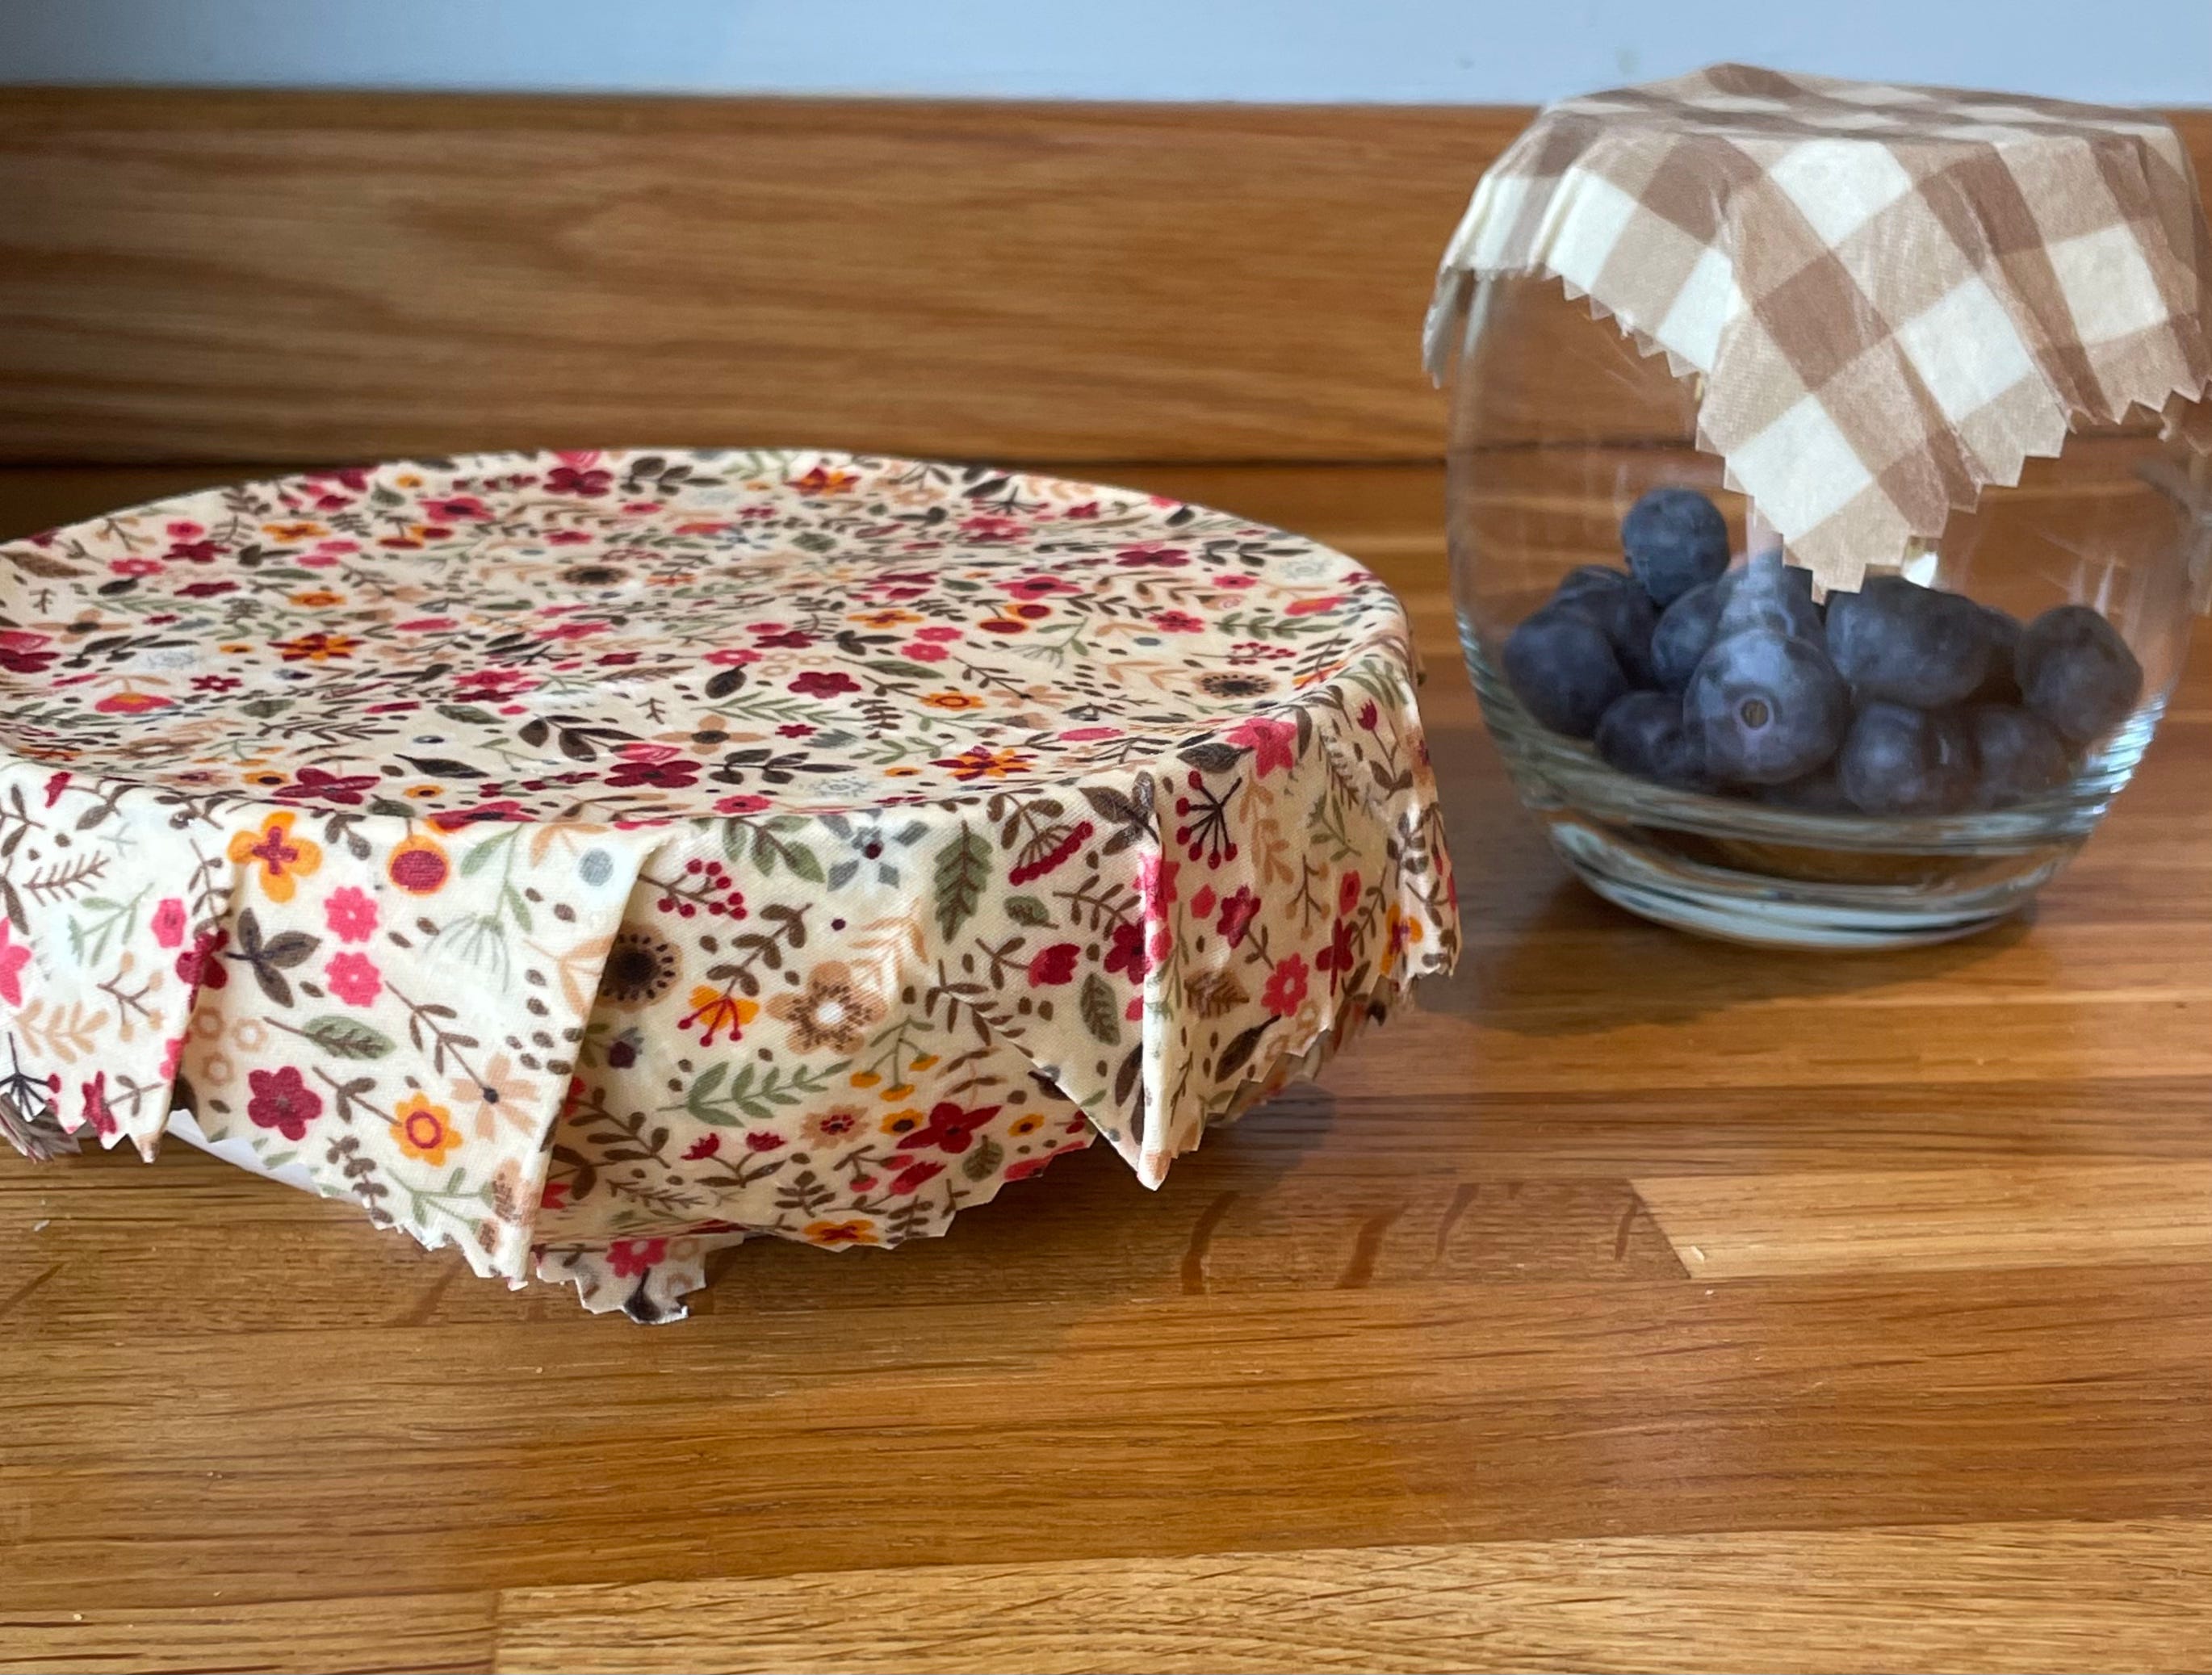
You can choose to leave the edges of the wraps straight or use pinking shears to give them a more decorative edge.
Use the heat from your hands to soften and mould the wraps over the container you are using for your food storage.
Clean with cold water, never hot, and allow them to air dry. Do not place the wraps in the oven or the microwave.
The wraps can be re-waxed to extend their life if they become a little worn. Once they have reached the end of their useful life, simply cut them up and add them to your compost.
These wraps are fun to make and are a good way to use up leftover cotton fabrics. We hope you enjoy making them to use at home, or why not make some to give as gifts?
Happy sewing!
Suzanne, Charlotte and Rebecca