

How to Read a Sewing Pattern (in 5 Minutes)
If you’re new to sewing, opening up your first pattern can feel like staring at a puzzle written in code. Arrows, triangles, dots, abbreviations… it’s overwhelming at first glance.

The truth is, those markings aren’t there to confuse you — they’re little guides designed to help you cut fabric correctly, match seams, and shape your project so it comes together smoothly. Once you learn the “secret language,” everything clicks into place.
Why the Symbols Matter
Sewing pattern markings do a lot of behind-the-scenes work:
Keep your fabric draping the right way.
Show where to match pieces together.
Add shape so your project fits beautifully.
Prevent mistakes like flipped sleeves or off-grain cuts.
Think of them as your sewing GPS.
Quick Tour of a Pattern
Pattern Envelope → picture of the finished item, fabric suggestions, sizes.
Instruction Sheet → step-by-step sewing guidance and layout diagrams.
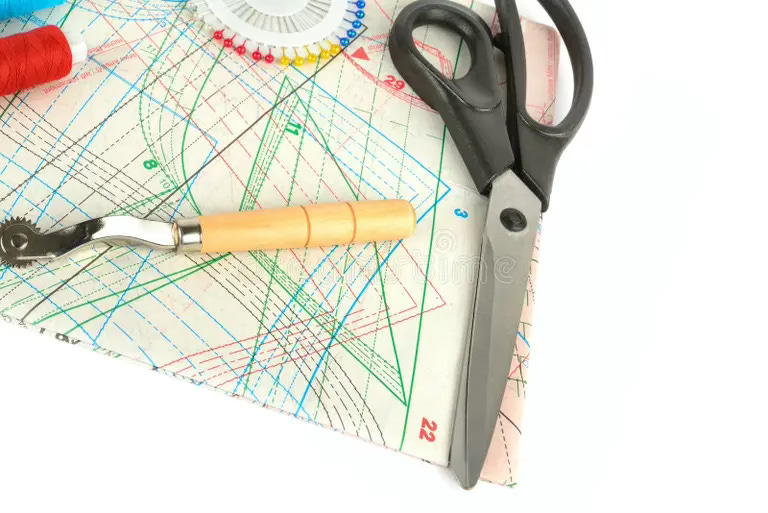
Pattern Pieces → tissue or PDF sheets with all the lines, arrows, and symbols.
Most of the symbols you’ll need to decode live on the pattern pieces.
Symbols to Know
Grainline Arrow → keep it parallel to the fabric’s selvedge so it drapes correctly.
Cutting Lines → choose the outline for your size, then highlight before cutting.
Seam Allowance → the space between edge and stitch. Check if it’s included.
Notches → triangles/diamonds that line up seams (one = front, two = back).
Darts → triangles that shape fabric at busts, waists, or hips.
Dots & Circles → mark positions for pockets, gathers, or buttons.
Fold Line → place on fold, don’t cut — it gives you a mirrored piece.
Pleats & Gathers → lines/arrows showing where to add fullness.
Lengthen/Shorten Lines → safe zones for adjusting pattern length.
Transferring Markings to Fabric
Choose what works best for you:
Tailor’s chalk (quick and erasable).
Tailor’s tacks (thread markings, old-school but reliable).
Tracing paper & wheel (great for darts/lines).
Tiny snips at the edge (only for notches!).
Fading or washable pens (quick and simple).
💡 Always test washable pens on a fabric scrap first.
Mistakes to Avoid
Cutting before checking the layout diagram.
Forgetting to transfer markings before removing the paper.
Ignoring grainlines (leads to twisting or sagging).
Mixing up notches (front vs back).
Assuming seam allowance is always included.
Final Thoughts
Every sewing pattern is like a map. Follow the symbols and they’ll guide you step by step — no guessing, no panic, just confident making. Once you can read them, you’ll sew faster, make fewer mistakes, and enjoy the process so much more.
That’s your 5-minute crash course. Next time you unfold a pattern, instead of seeing chaos, you’ll see a roadmap to your next creation.
Happy sewing!
Suzanne, Charlotte and Rebecca