

Is it time to review your basic techniques?
Sticking to tried and tested methods is generally a good idea. But have you thought about exploring other options to make your stitched items even better?

When we start on our sewing journey, it is so exciting and new, and everything feels like a challenge to overcome. We may look at reference books, watch video tutorials or seek guidance from more experienced friends and family. The techniques learned as we begin to create will form the foundations and structure of all our future projects.
But have you ever wondered whether the technique you invariably use is the best option for the job at hand? I decided to overhaul my default techniques and see where I could make improvements to my work by simply testing out an alternative.
Back to basics
I began with perhaps the most fundamental yet important element I use in my sewing projects - the seam, which is crucial to the integrity of any project where fabric pieces are joined together. The quality of a seam affects not only the finish but also the durability of a garment or sewn item, so it is important to make it as good as possible!
Types of seam
The plain seam is most commonly sewn to hold 2 pieces of fabric together, but there are plenty of other options to choose from depending on the fabric you are using and the intended function of the item you are making.
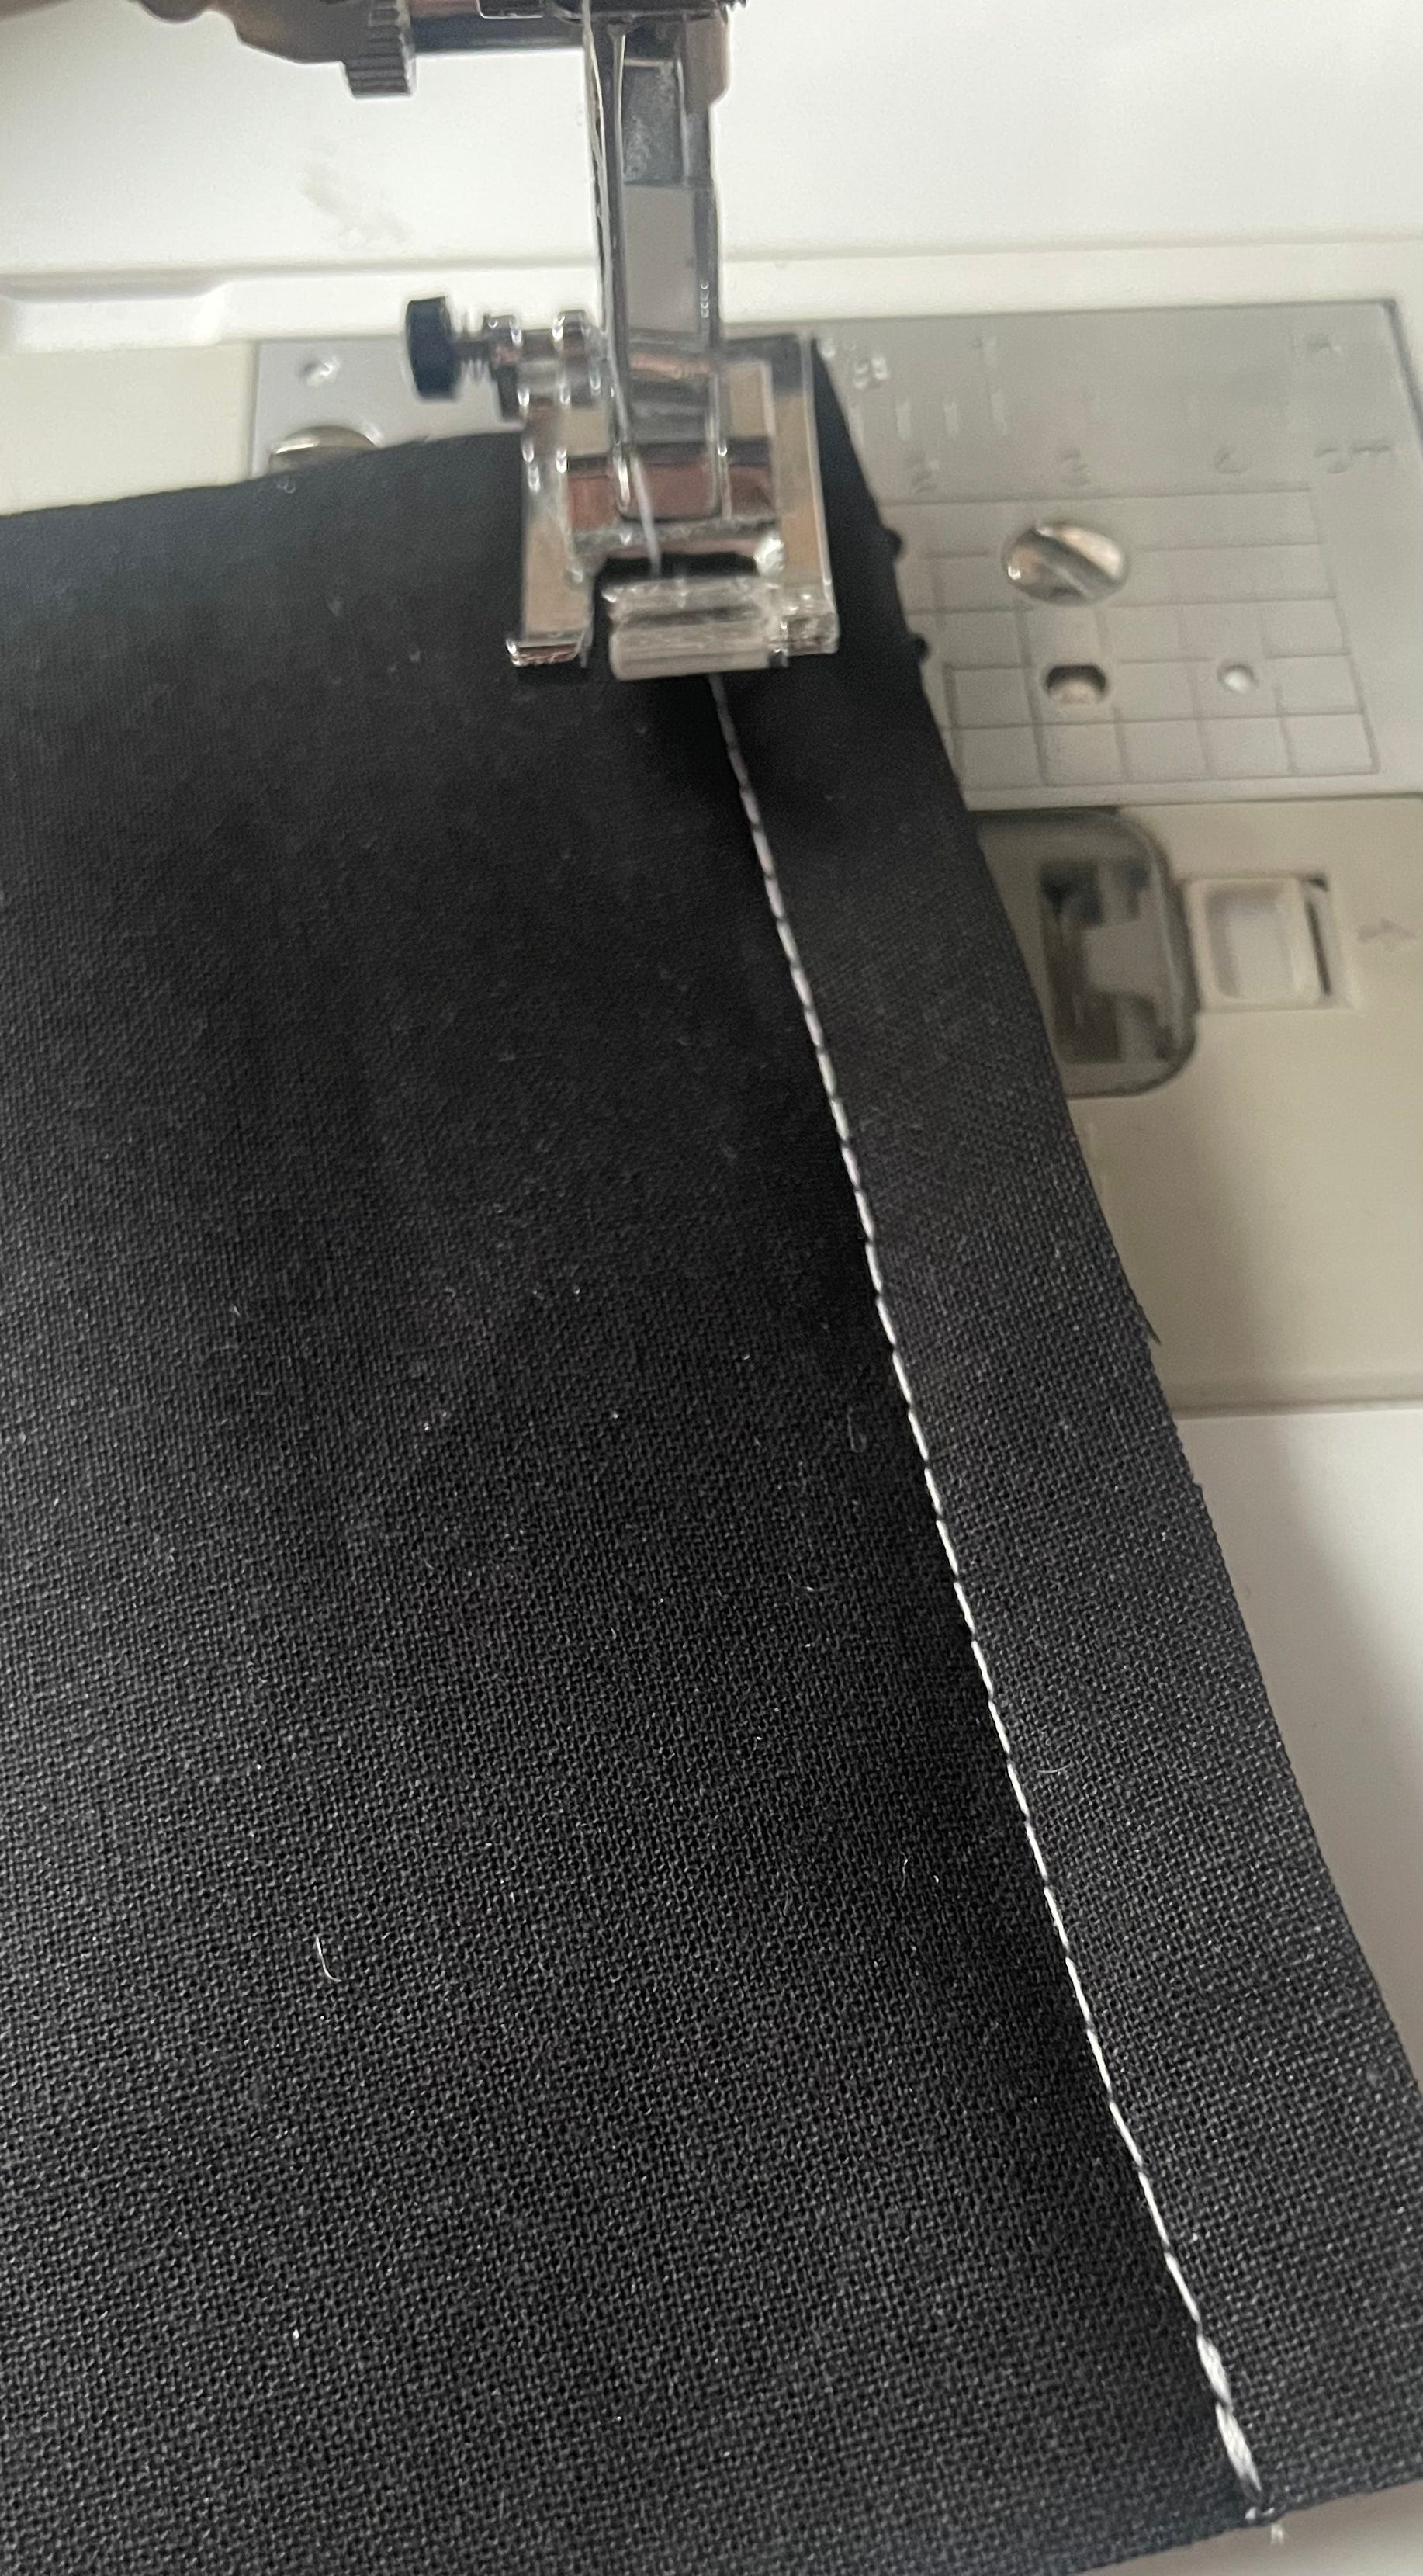
Plain seam
Probably the simplest and most common type of seam used. With the 2 fabrics placed right sides together and raw edges aligned, the fabrics are pinned or tacked in place. The sewing machine needle is positioned on the seam line, usually 1.5cm from the raw edges. Maintaining the same distance from the edge, the seam is stitched, reverse stitching at both the start and finish to secure. The seam is opened out and pressed.
French seam
To stitch a French seam, the fabrics are placed with wrong sides together, matching the edges. A seam is stitched 1cm from the raw edge. Both seam allowances are then carefully trimmed down to 3mm before pressing the seam open.
The fabrics are re-folded along the seam, this time with right sides together and with the seam centrally along the fold. Once tacked in place, a seam 5mm from the edge is stitched, enclosing the raw edges of the seam allowance. The tacking stitches are removed and the seam is pressed to one side.
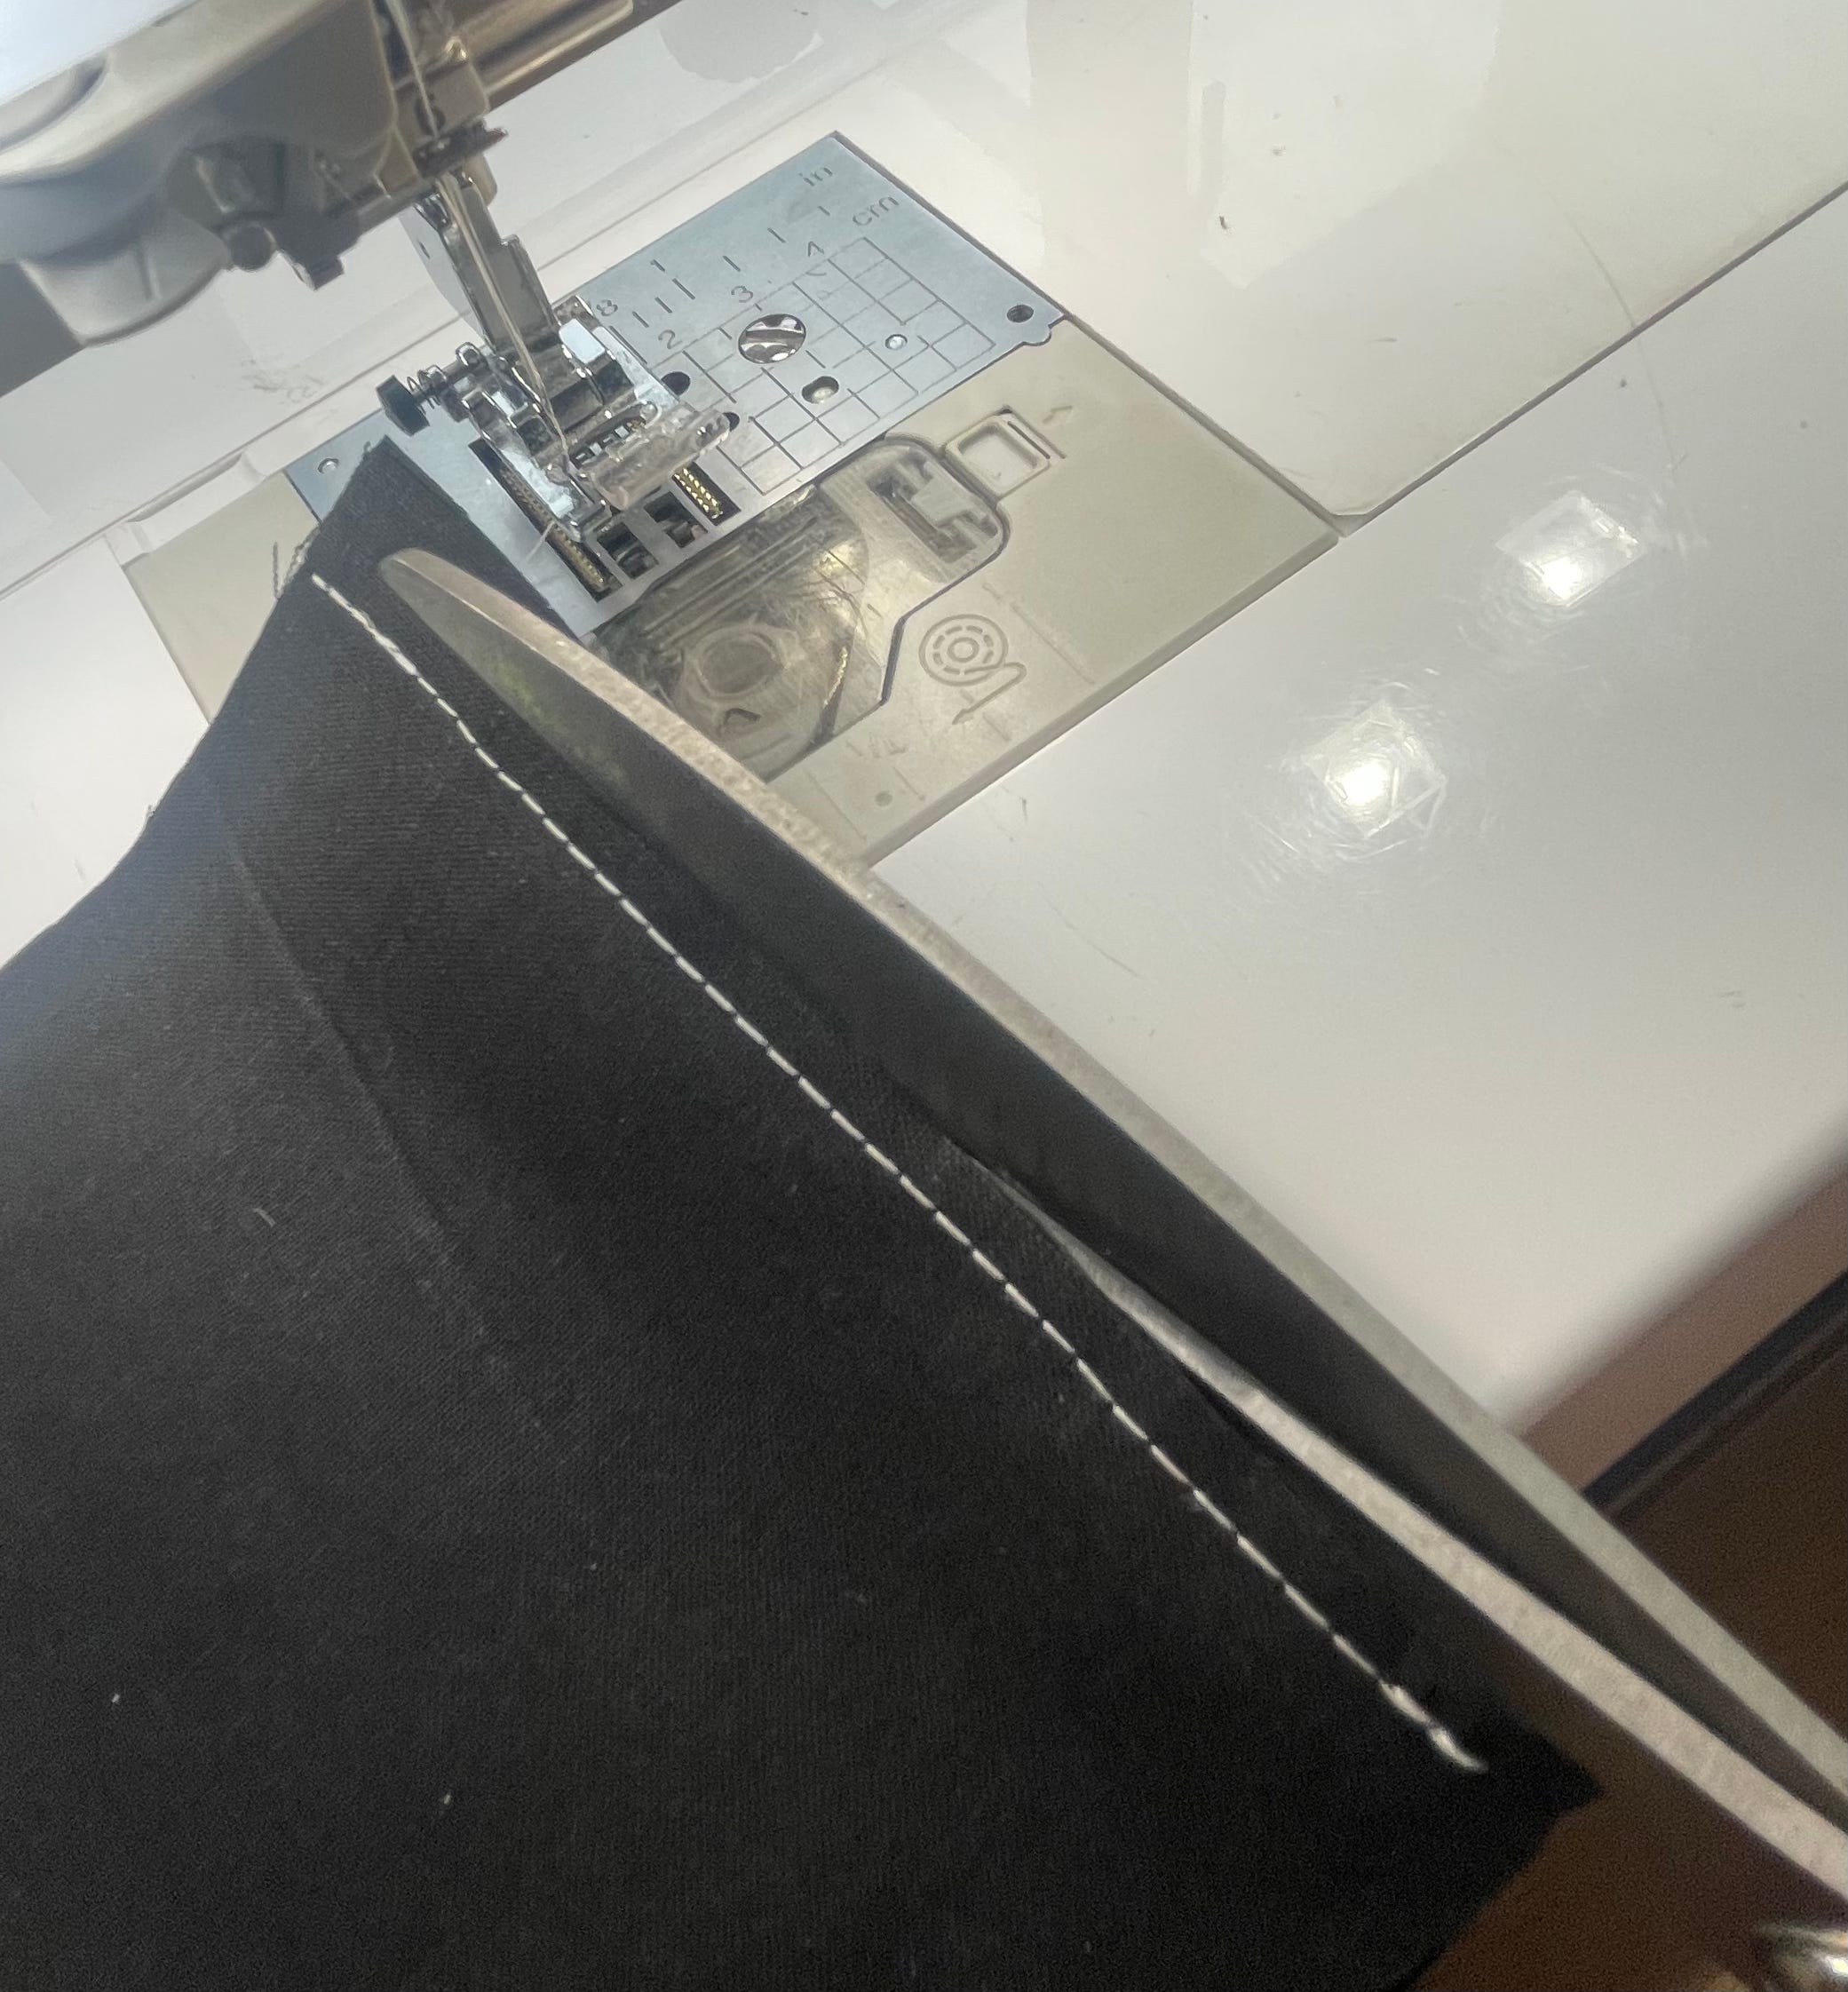
Flat-Fell seam
This is a strong, flat seam widely used in garments such as jeans, trousers and shirts where durability is key.
The fabric pieces are placed wrong sides together, raw edges aligned. A straight line is stitched 12mm from the edge. One side of the seam allowance is cut down to 6mm. The wider seam allowance is folded over the trimmed one, tucking the edge in underneath. Pressed down flat so the raw edge is enclosed, a line of stitching close to the folded edge will secure everything in place.
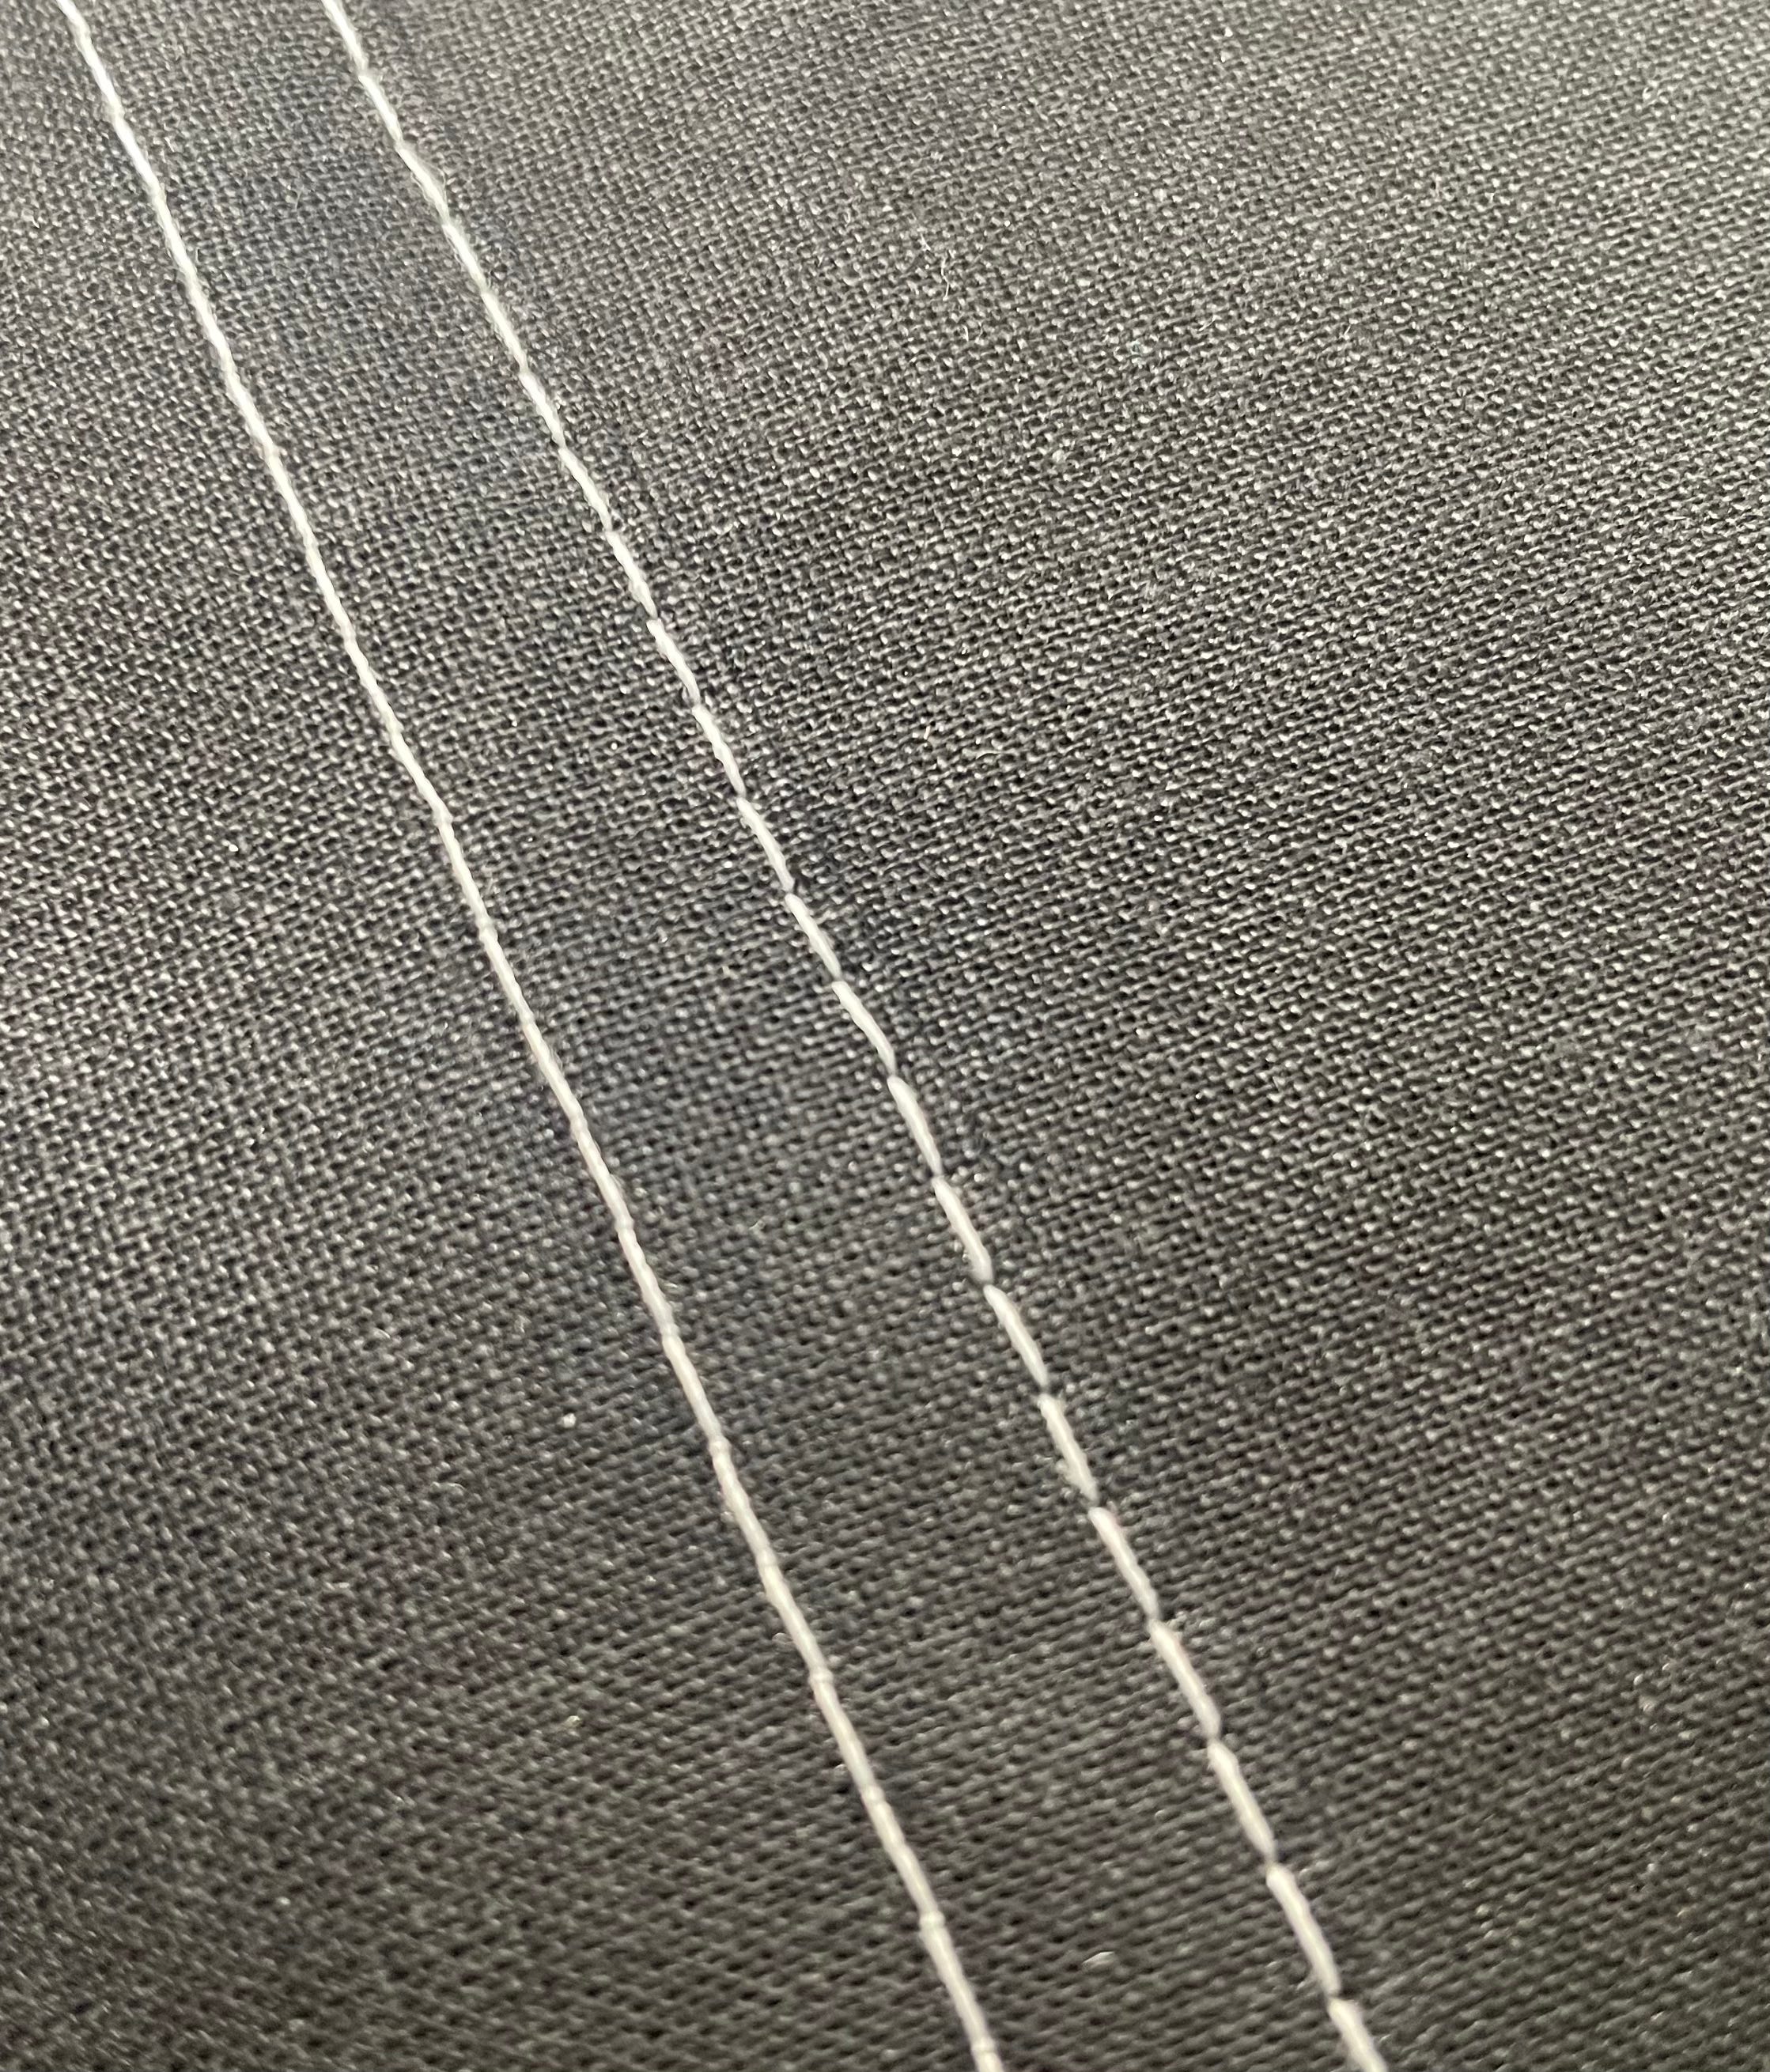
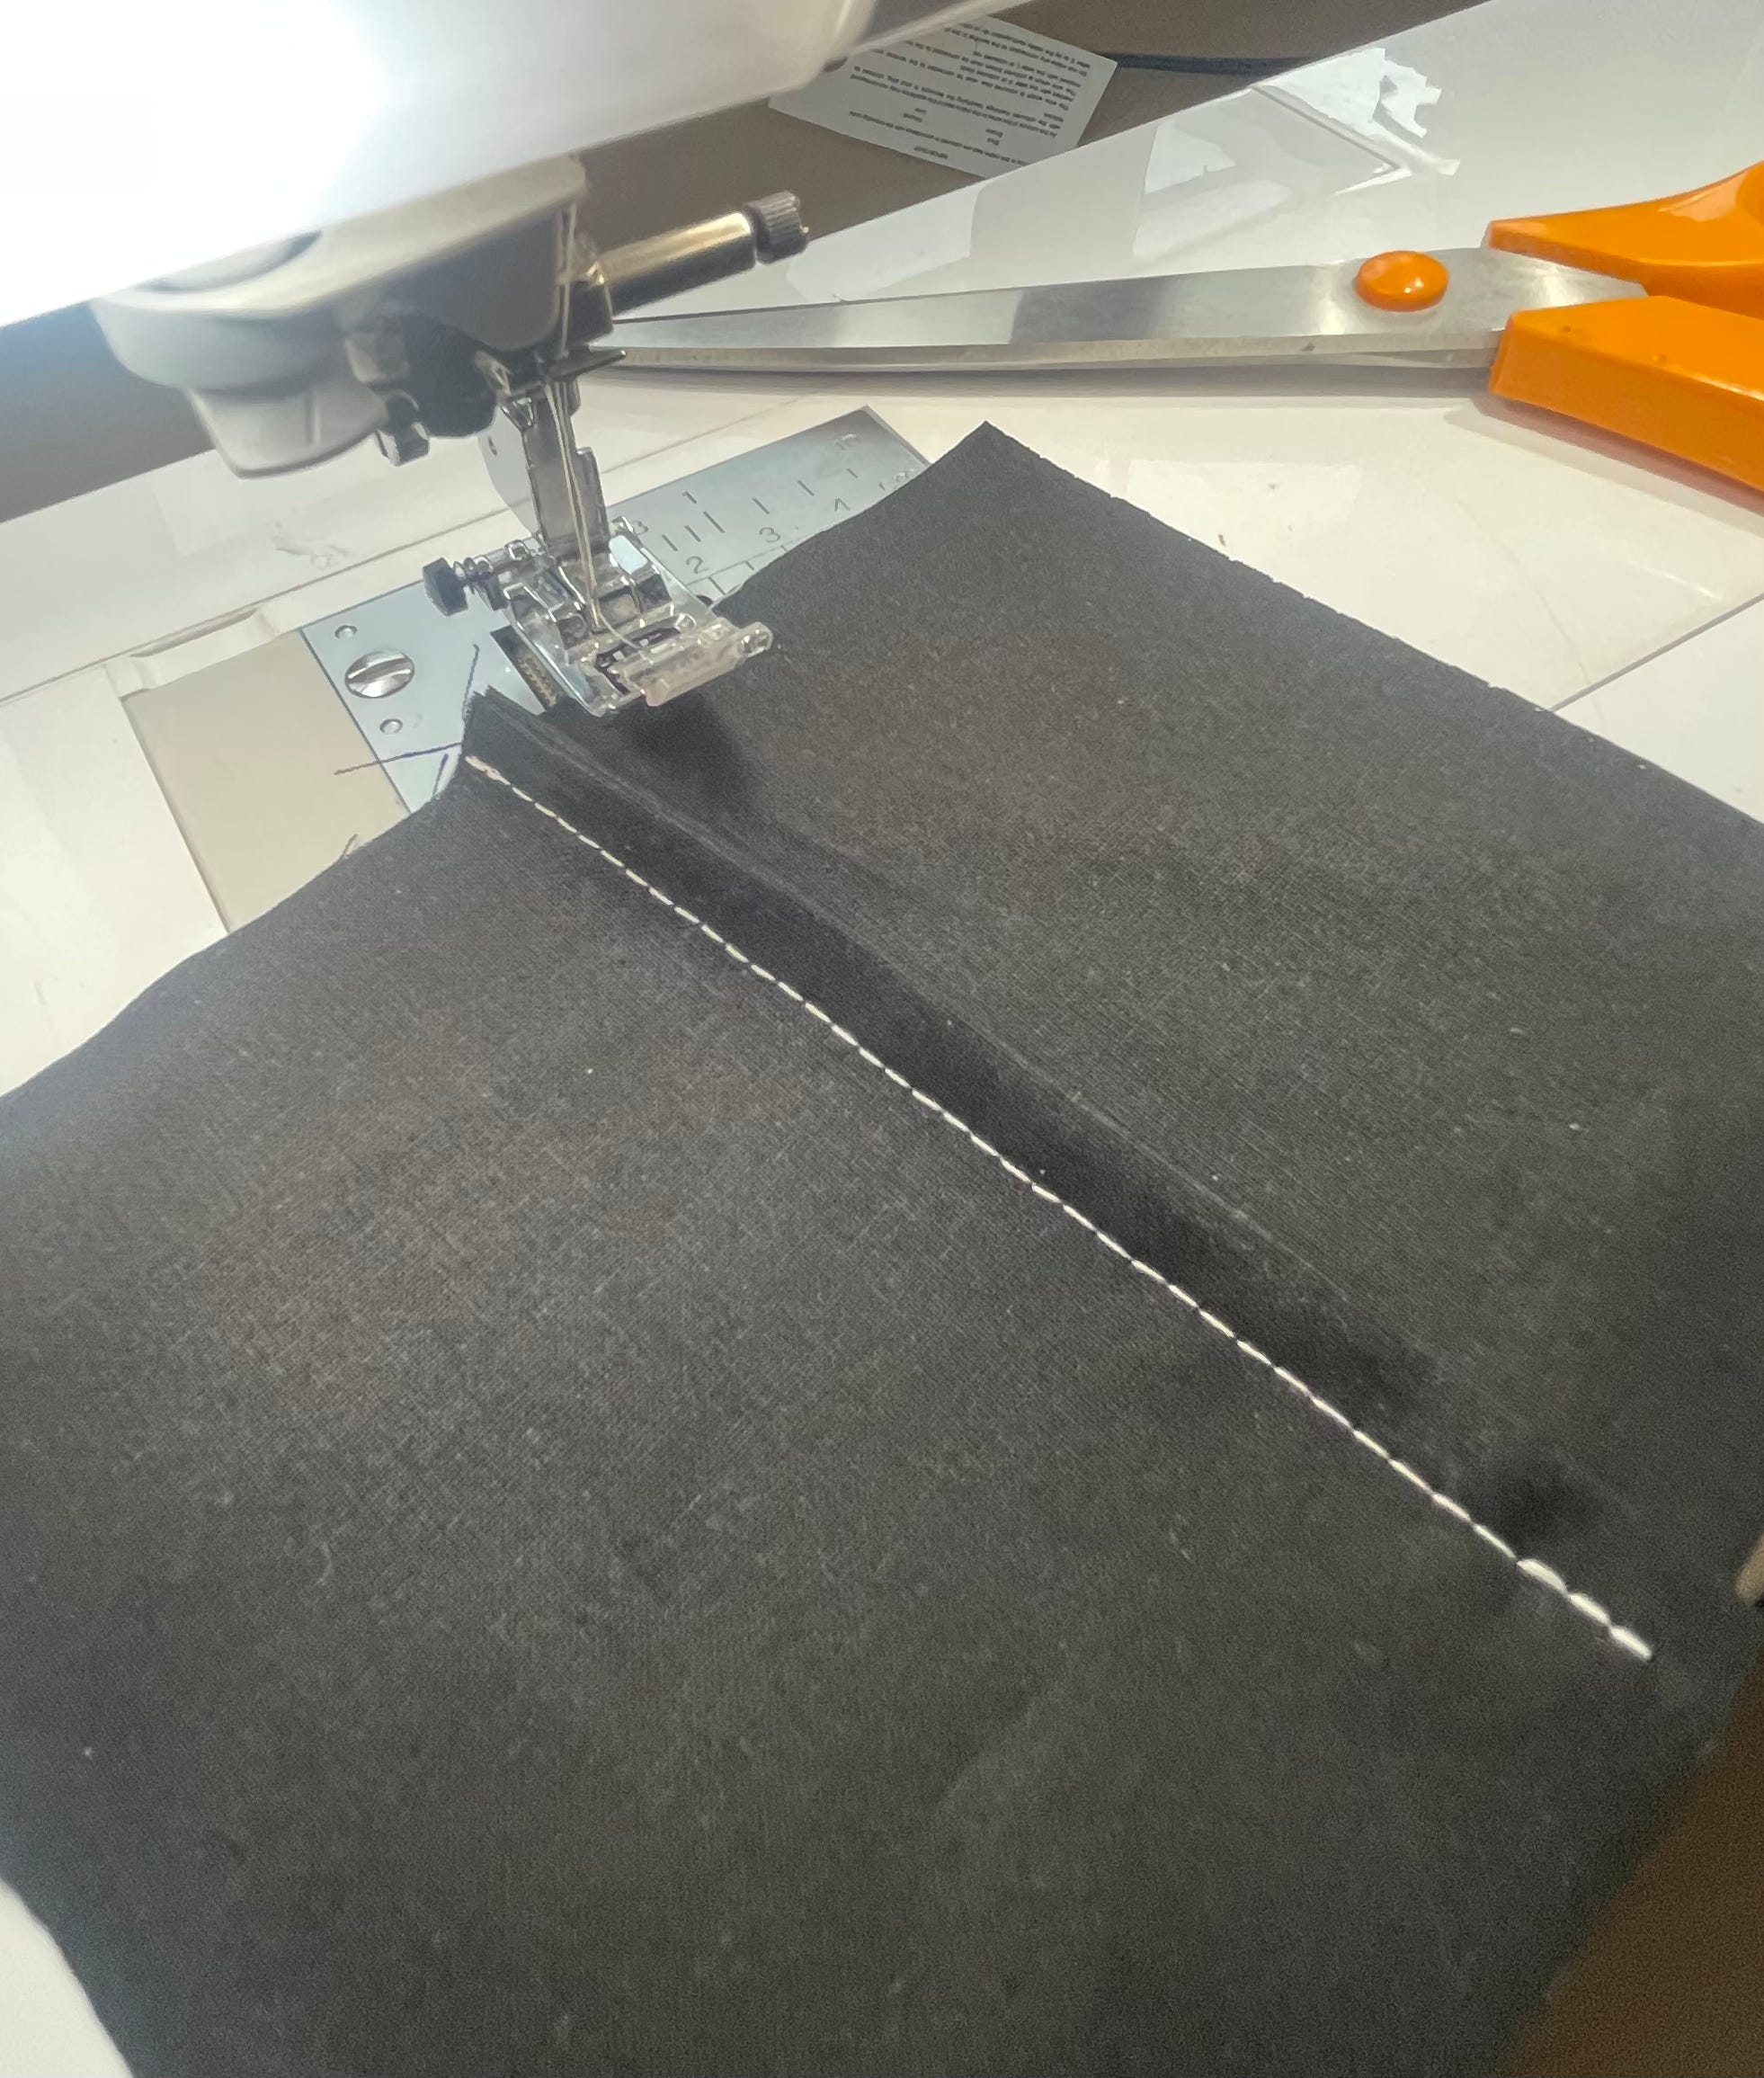
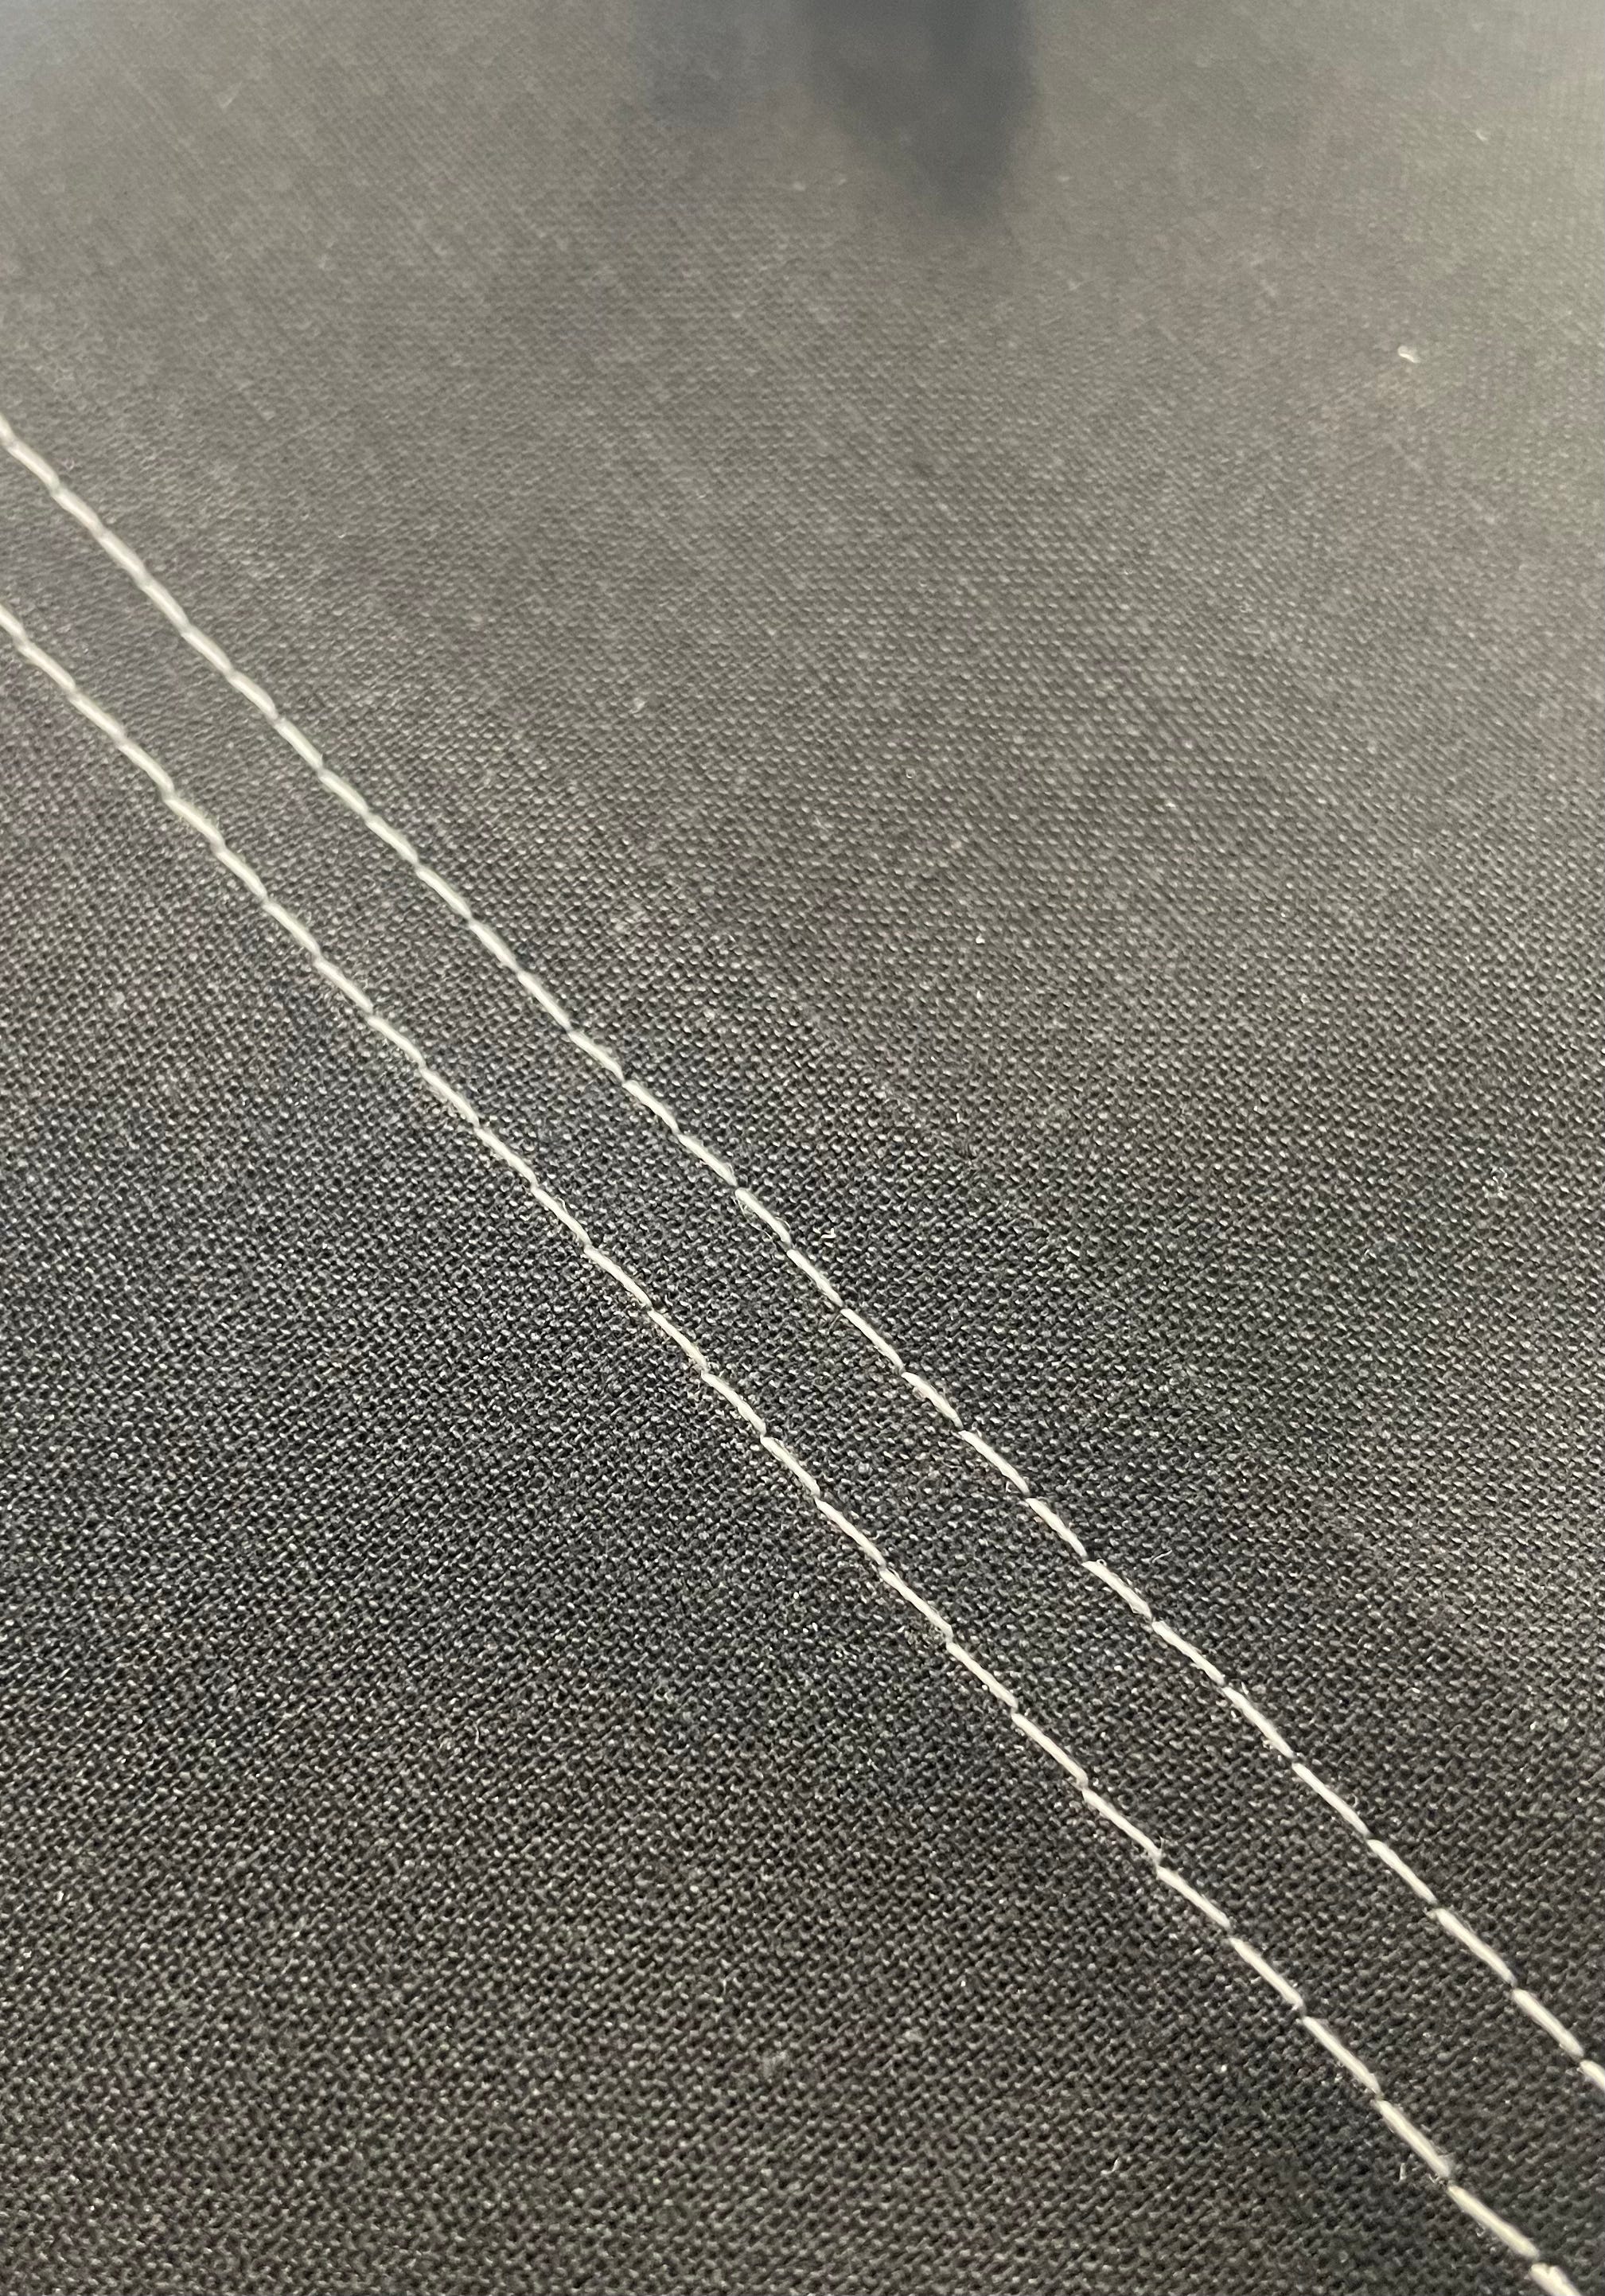
Topstitched seam
This is a simple seam with visible stitching on the outside, often used for decoration as well as added strength.
The 2 fabric pieces are placed right sides together, raw edges aligned. A line of stitching, 12mm from the edge of the fabric is made before neatening the edges together. The seam allowance is pressed to one side. A row of straight stitches 3mm from the seam line, stitched through the seam allowance and fabric will hold everything in place.
For extra durability or a decorative look, a second row of stitches can be added, 6mm away from the first.
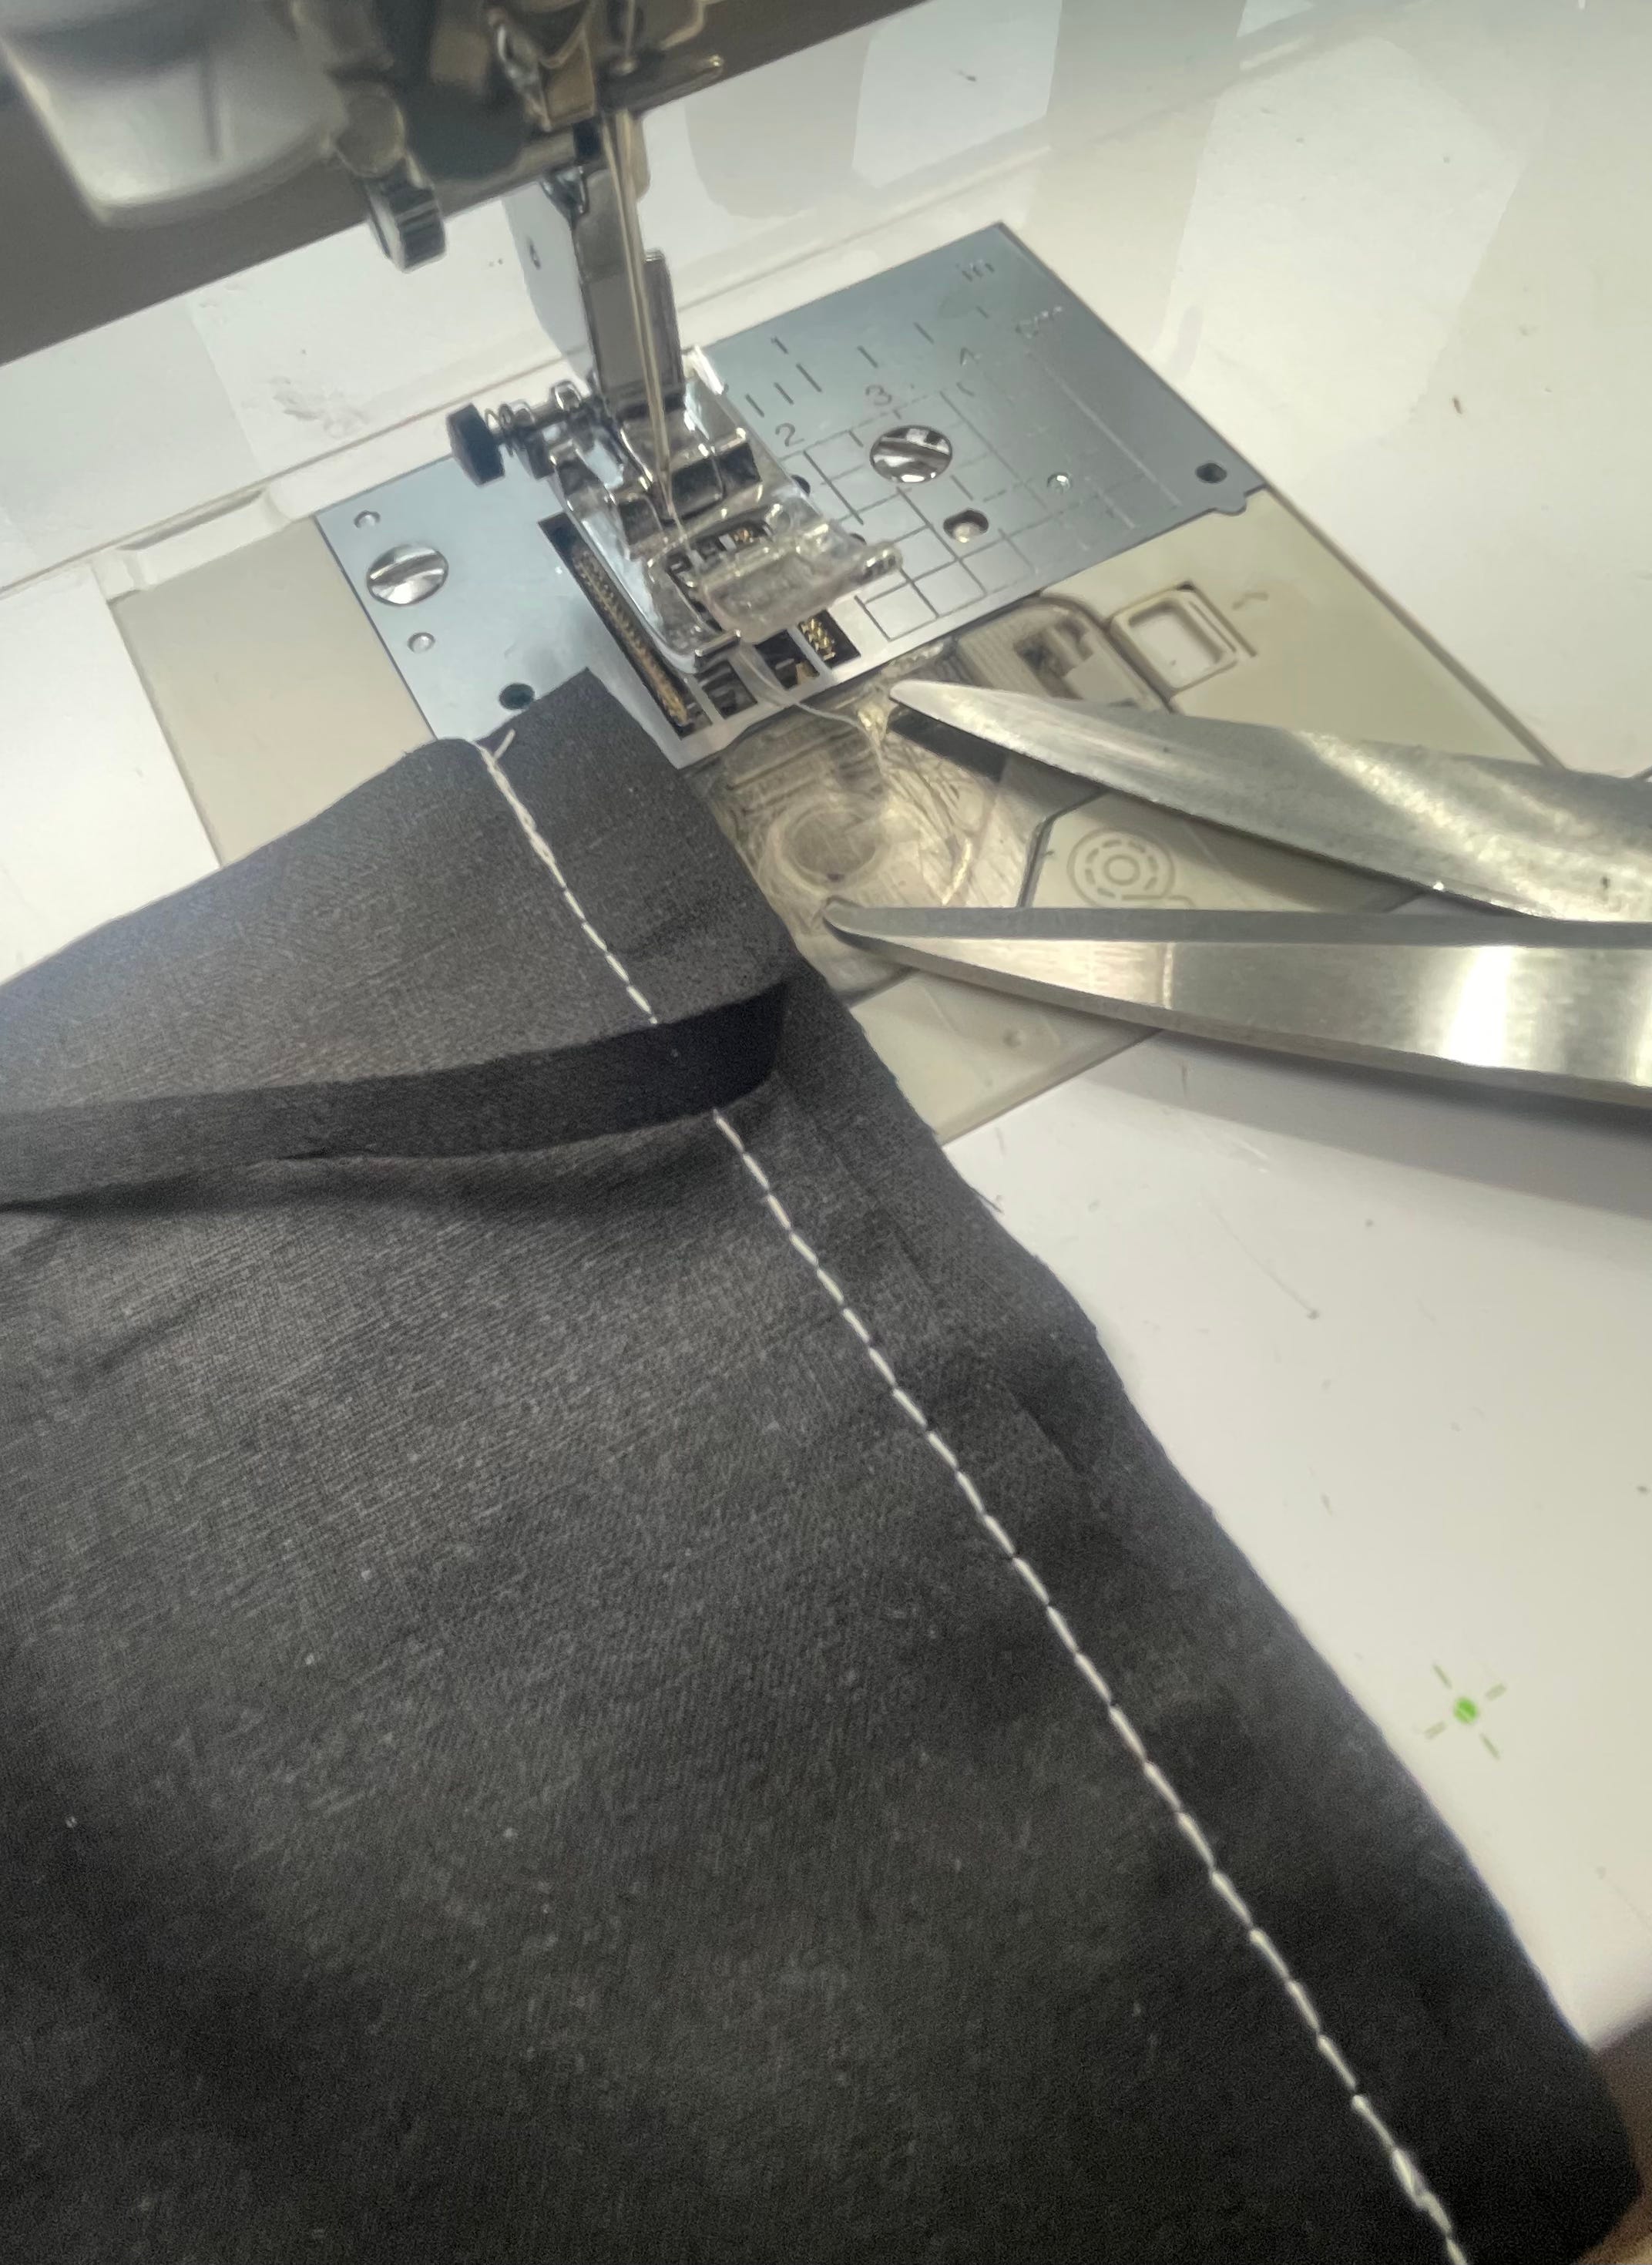
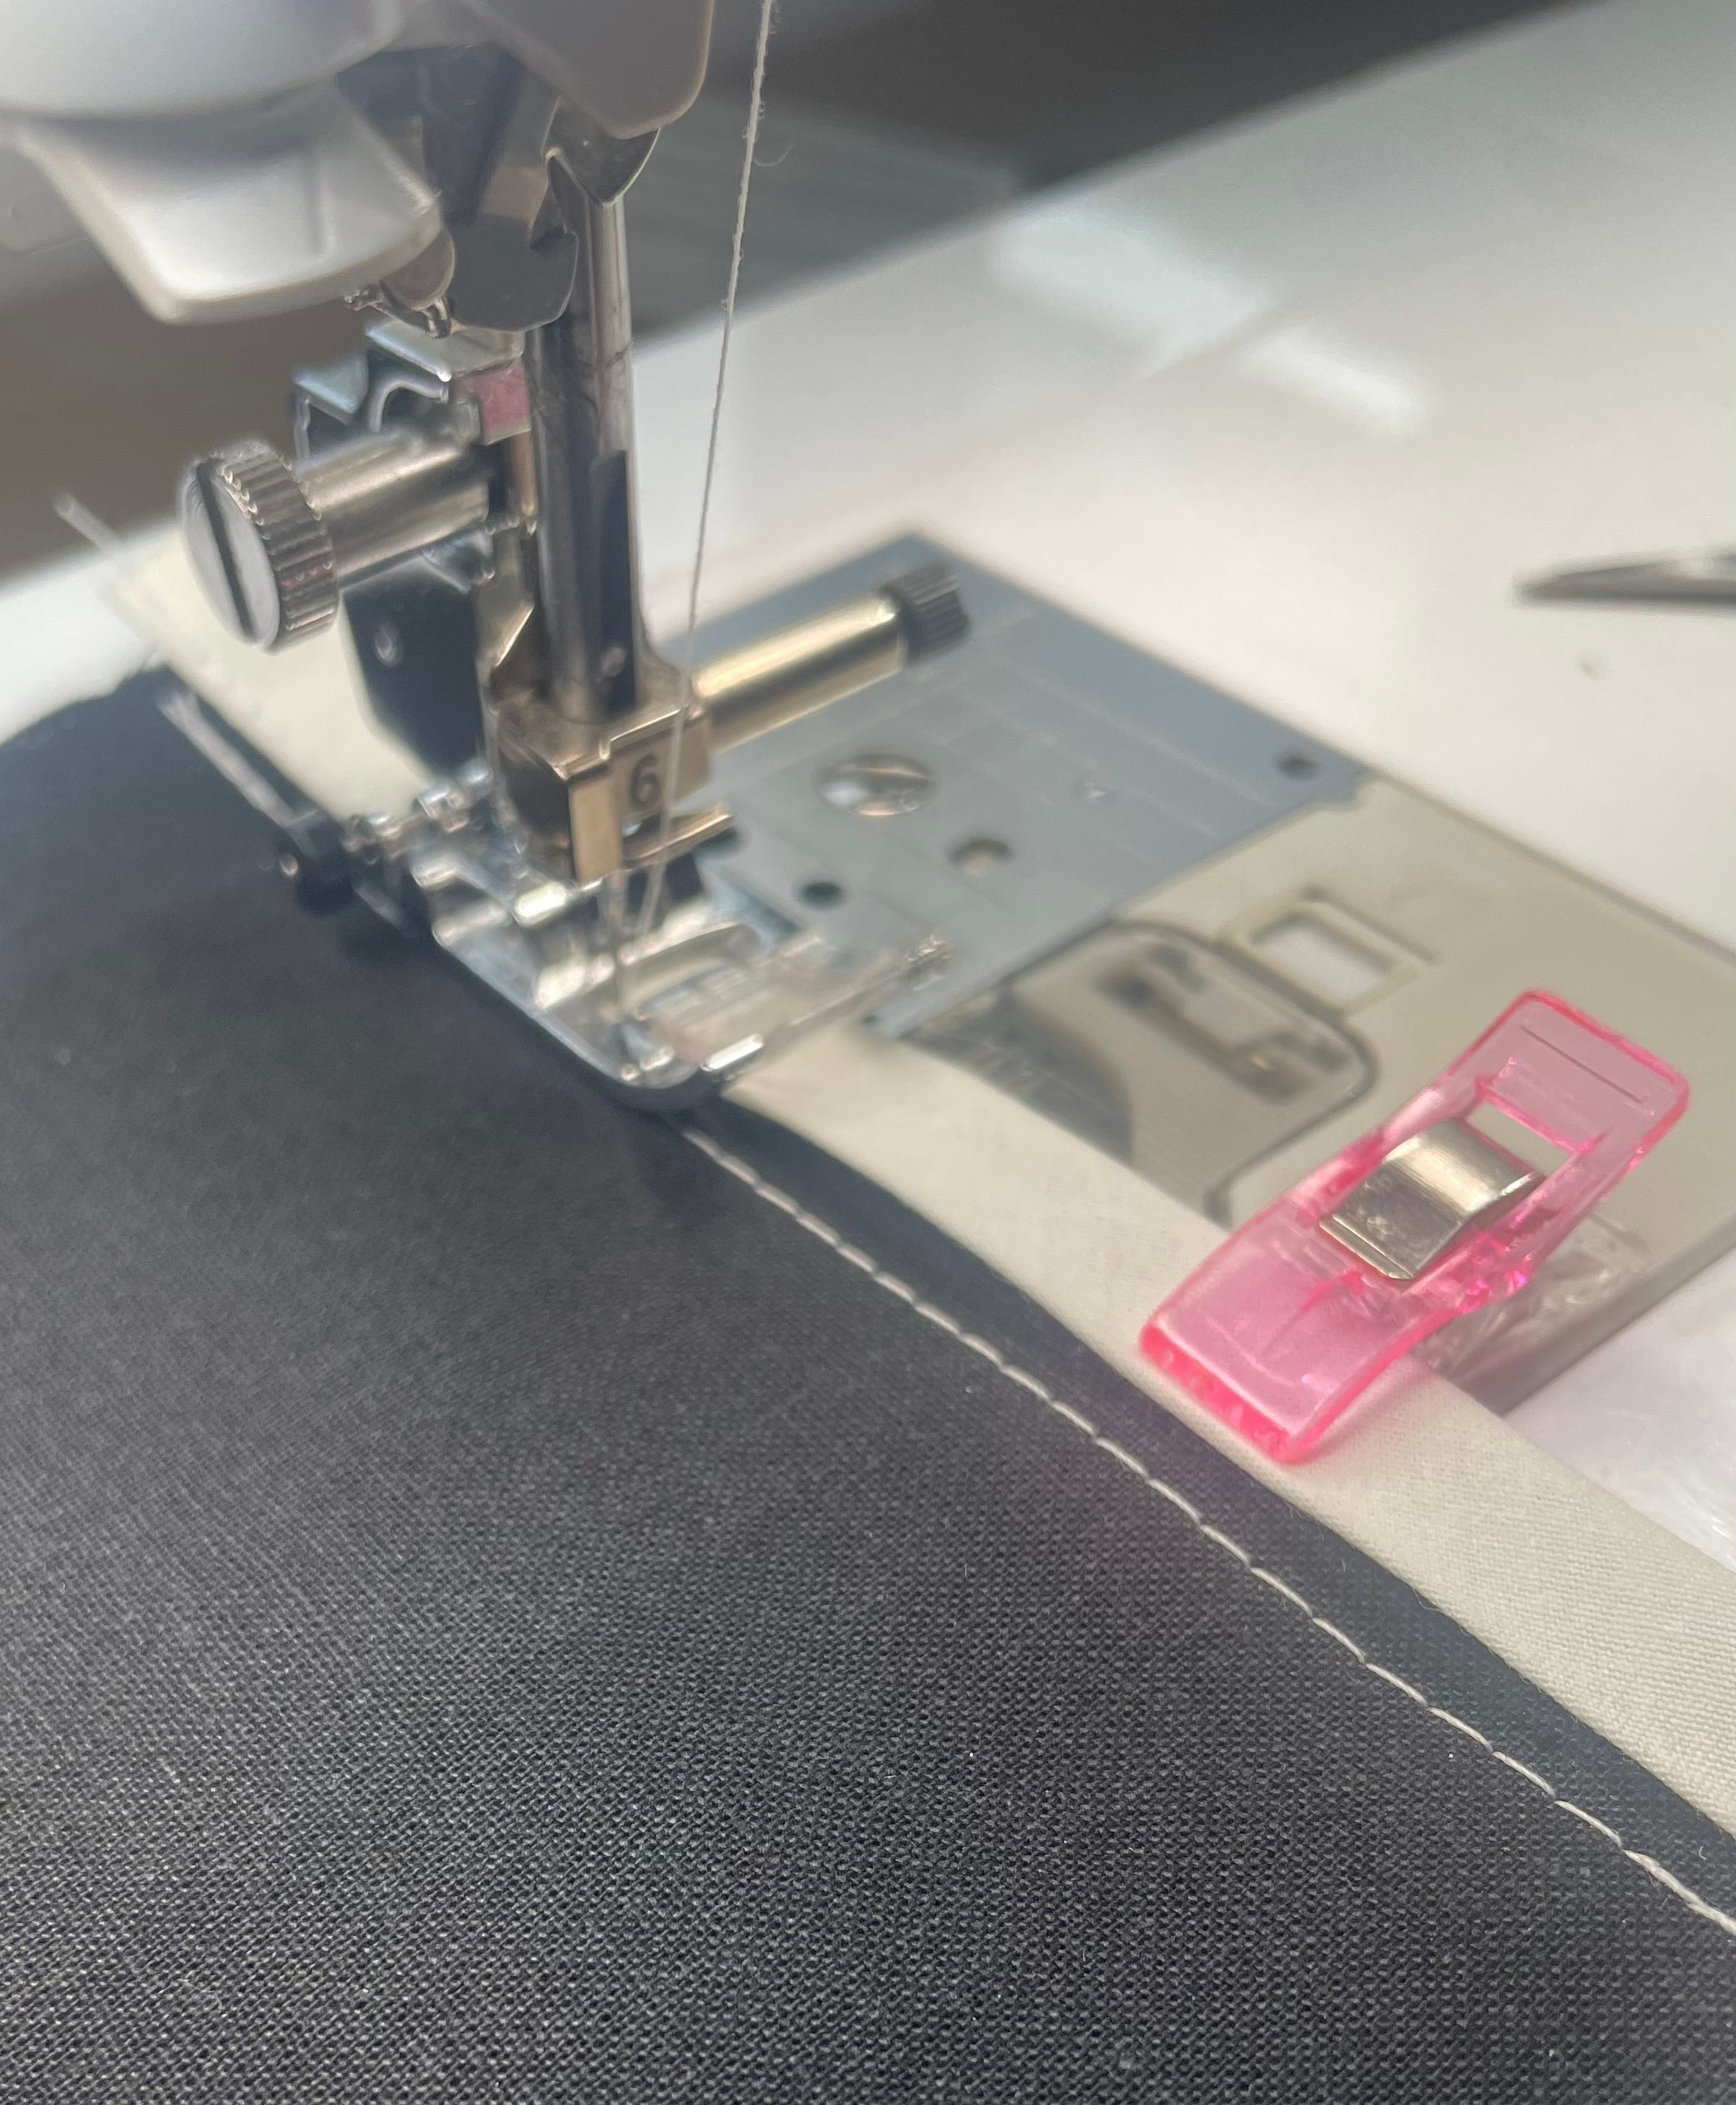
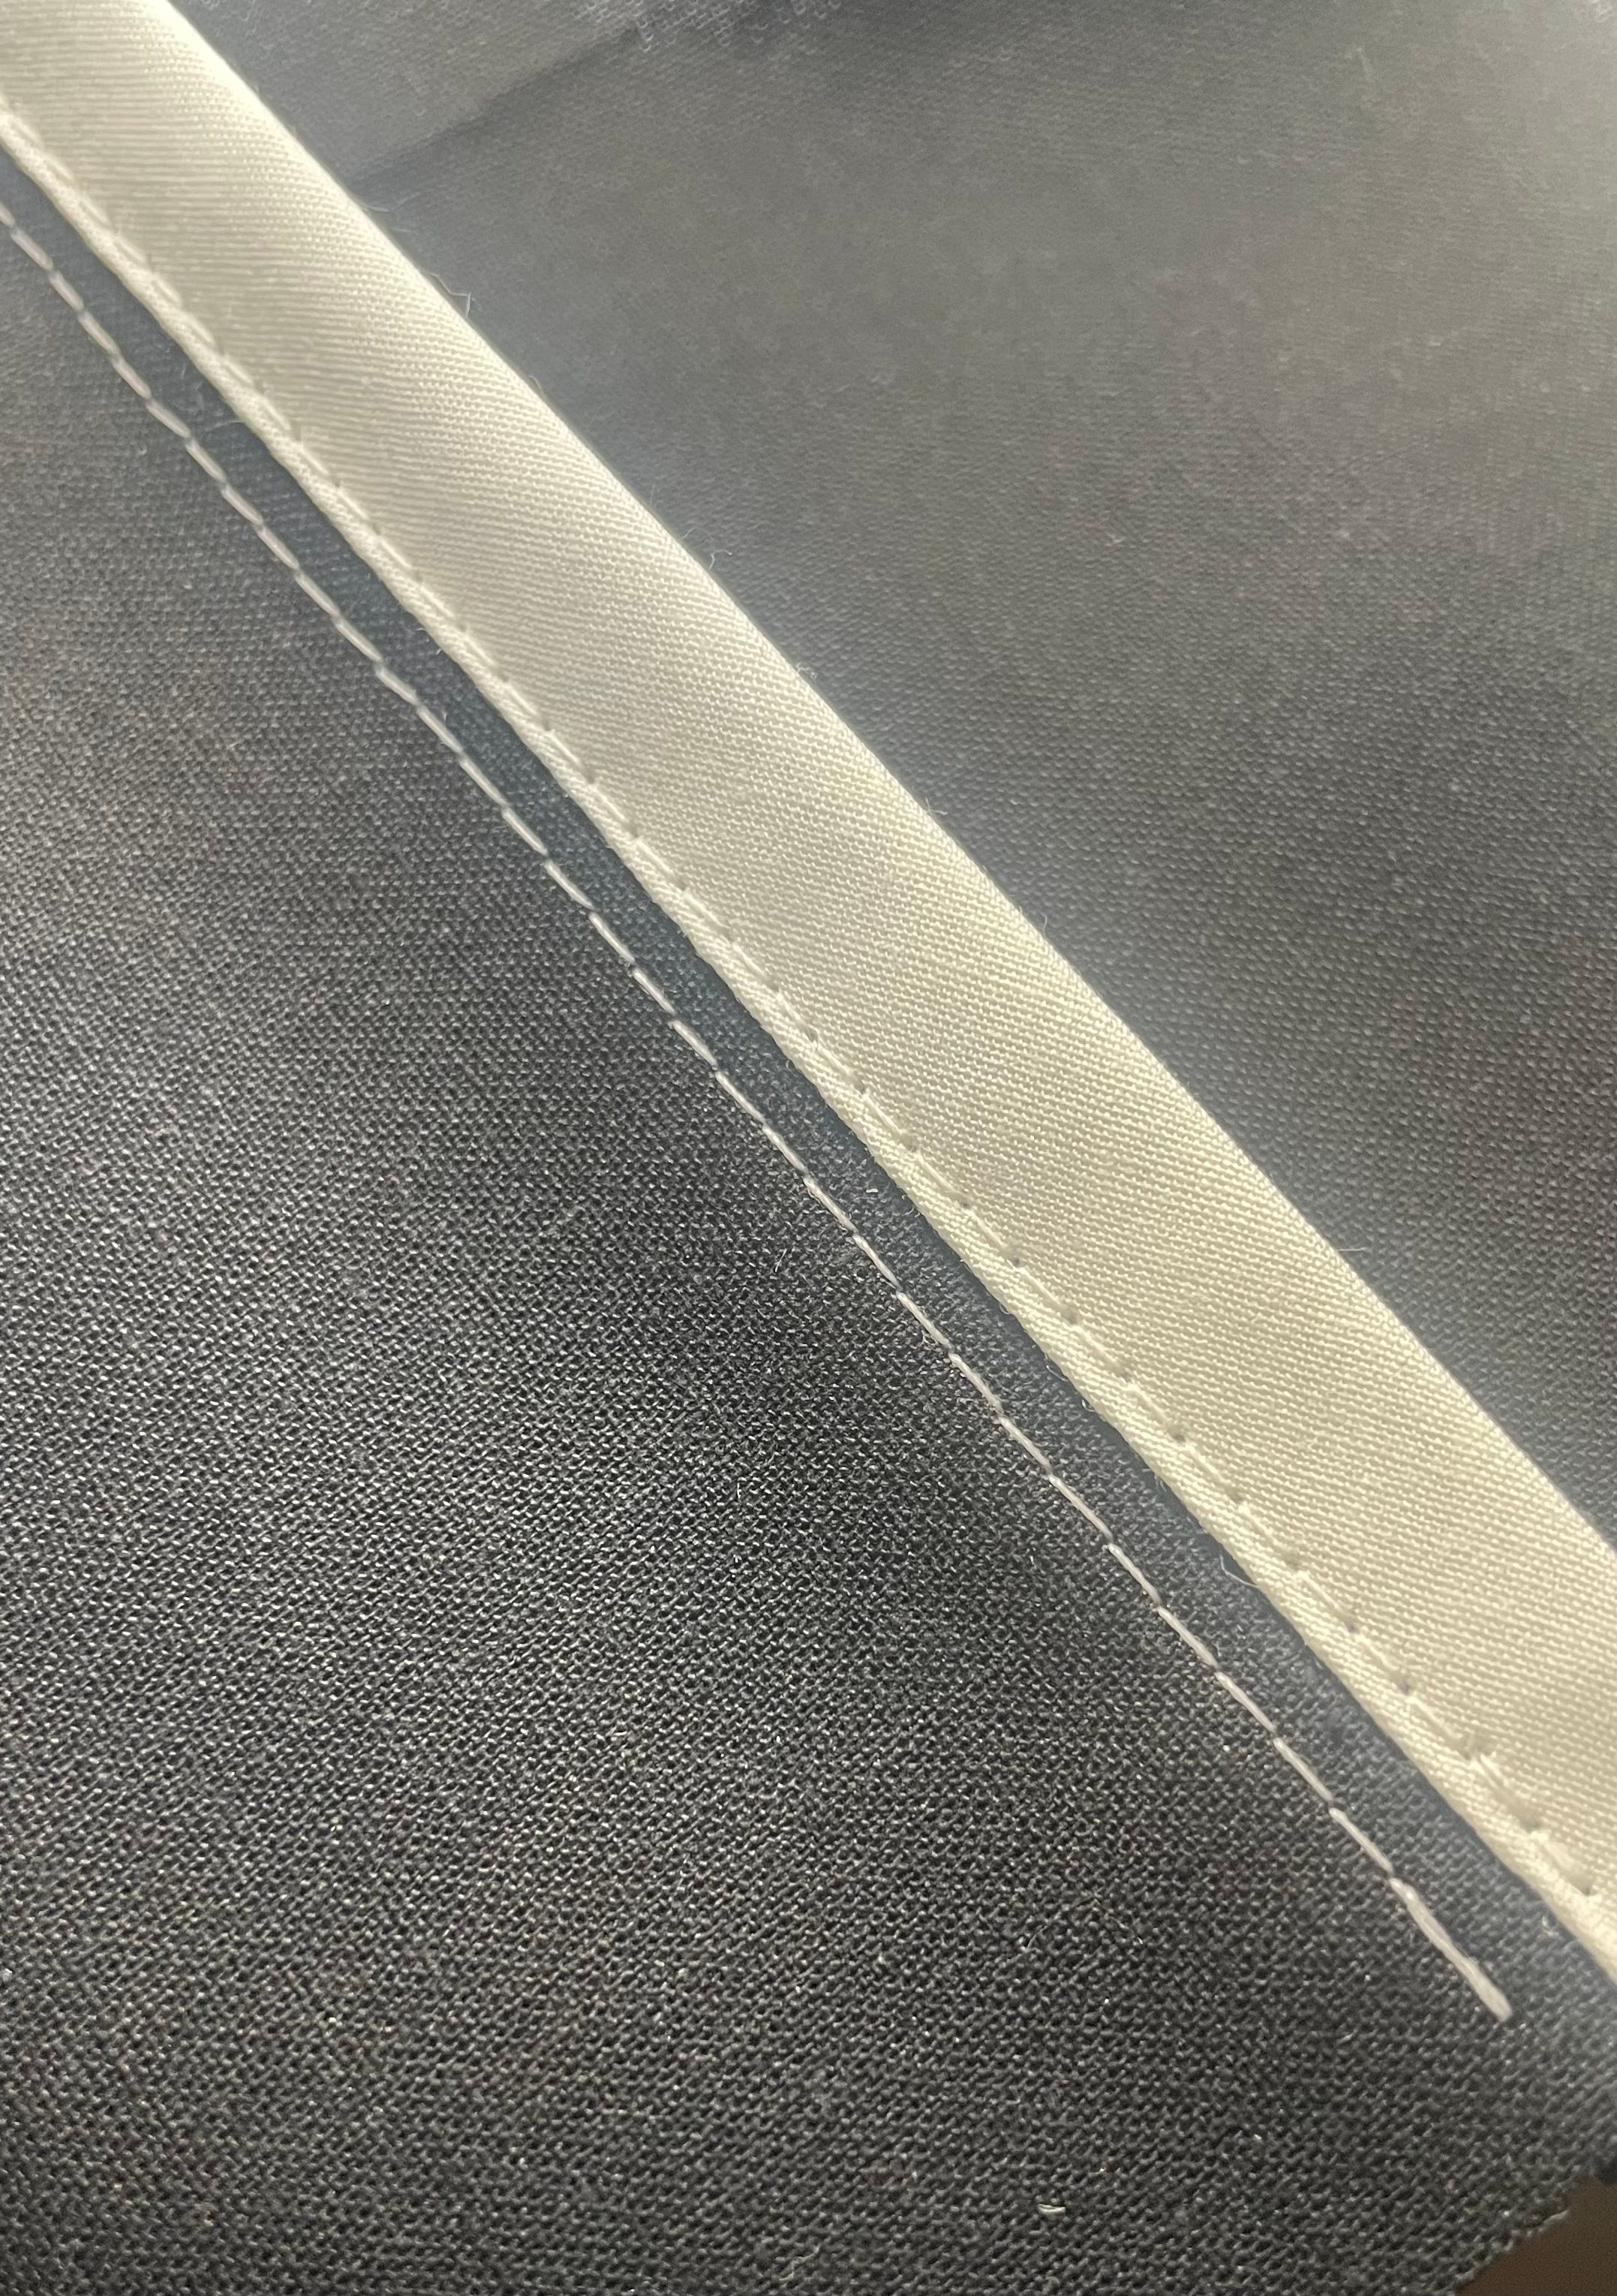
Bound seam
A bound seam is a neat way to finish raw edges using fabric binding. It is often seen in unlined jackets or high-end garments.
To sew a bound seam, the fabric pieces are sewn together with a standard seam, right sides facing. The seam is pressed open or to one side. You can choose to bind both seam allowances together or separately, enabling the seam to be pressed open and lay flat. A strip of bias tape or a strip of fabric binding is folded around the raw edge of the seam allowance. Once pinned or clipped in place, the binding can be secured, stitching it in place, ensuring it wraps evenly around the raw edge of the seam allowance and without sewing through the main fabric. This method neatly encloses the raw edges, preventing fraying and adding a professional finish.
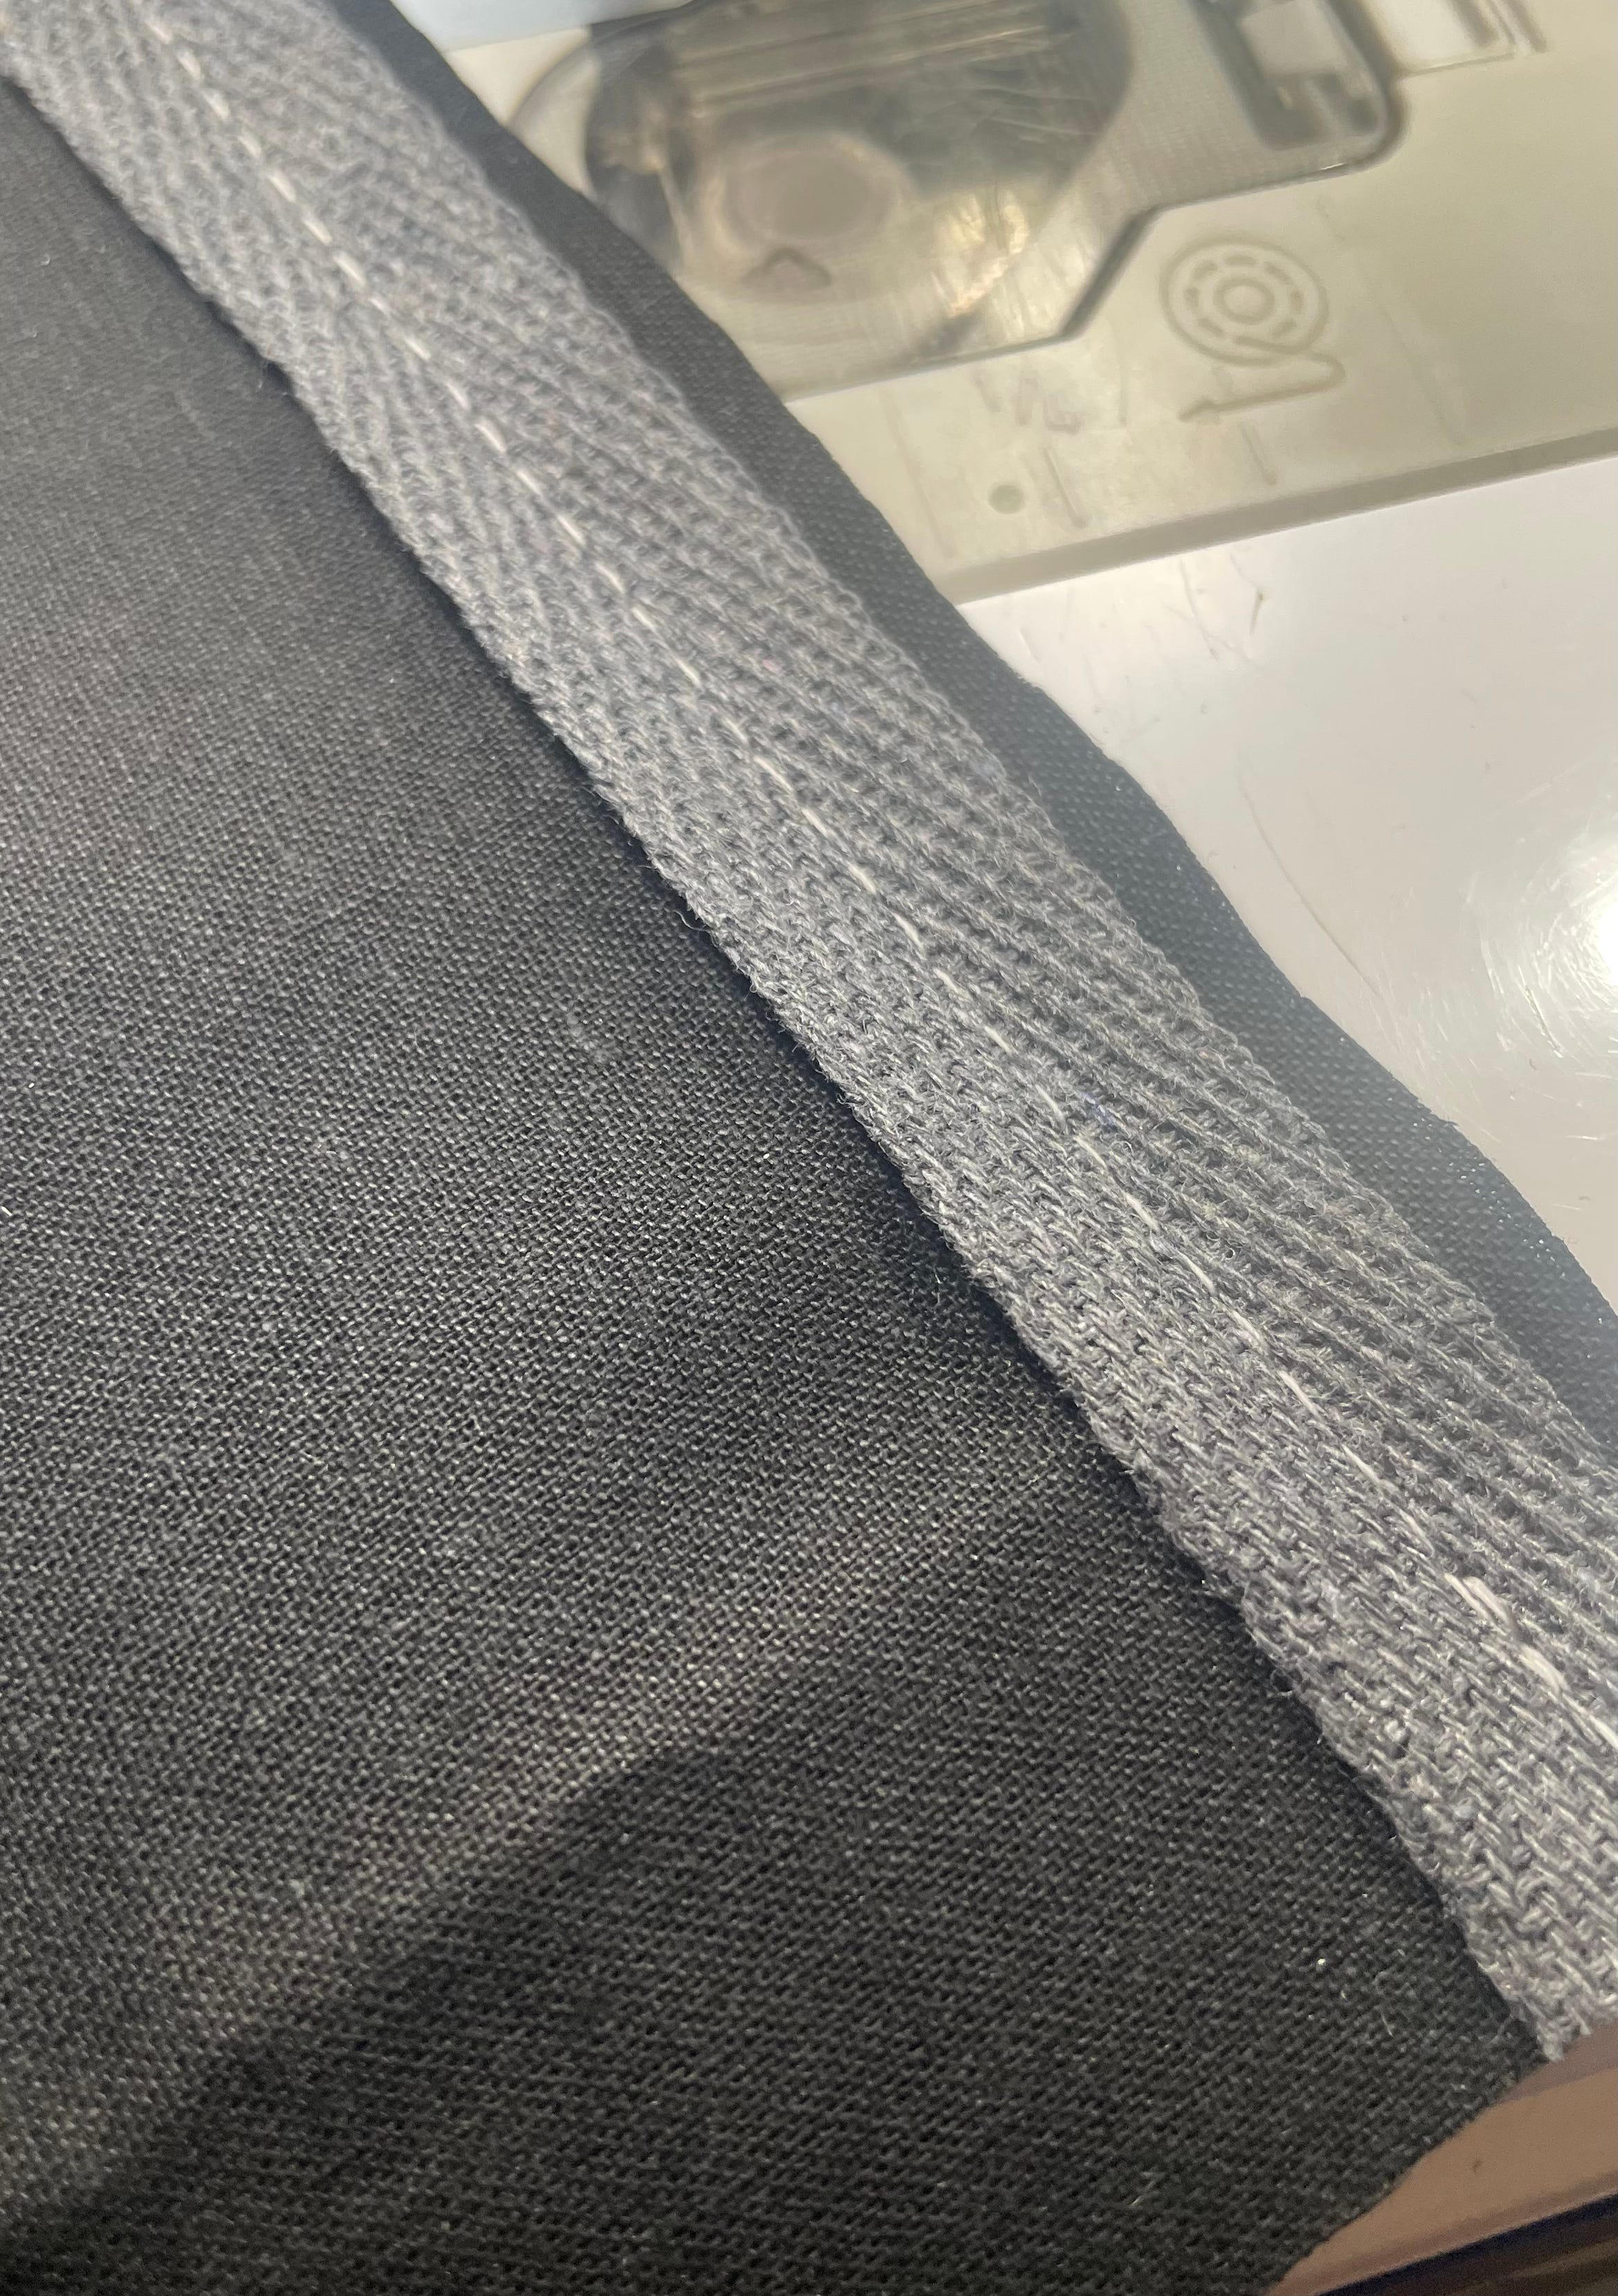
Taped seam
A taped seam is used to reinforce seams to prevent them from stretching. This is particularly important if you are using soft, knitted fabrics.
Twill tape or bias binding can be used; twill tape will give a firmer finish than bias tape. The tape is positioned centrally over the seam line on the wrong side of the fabric. It is tacked and then stitched in place.
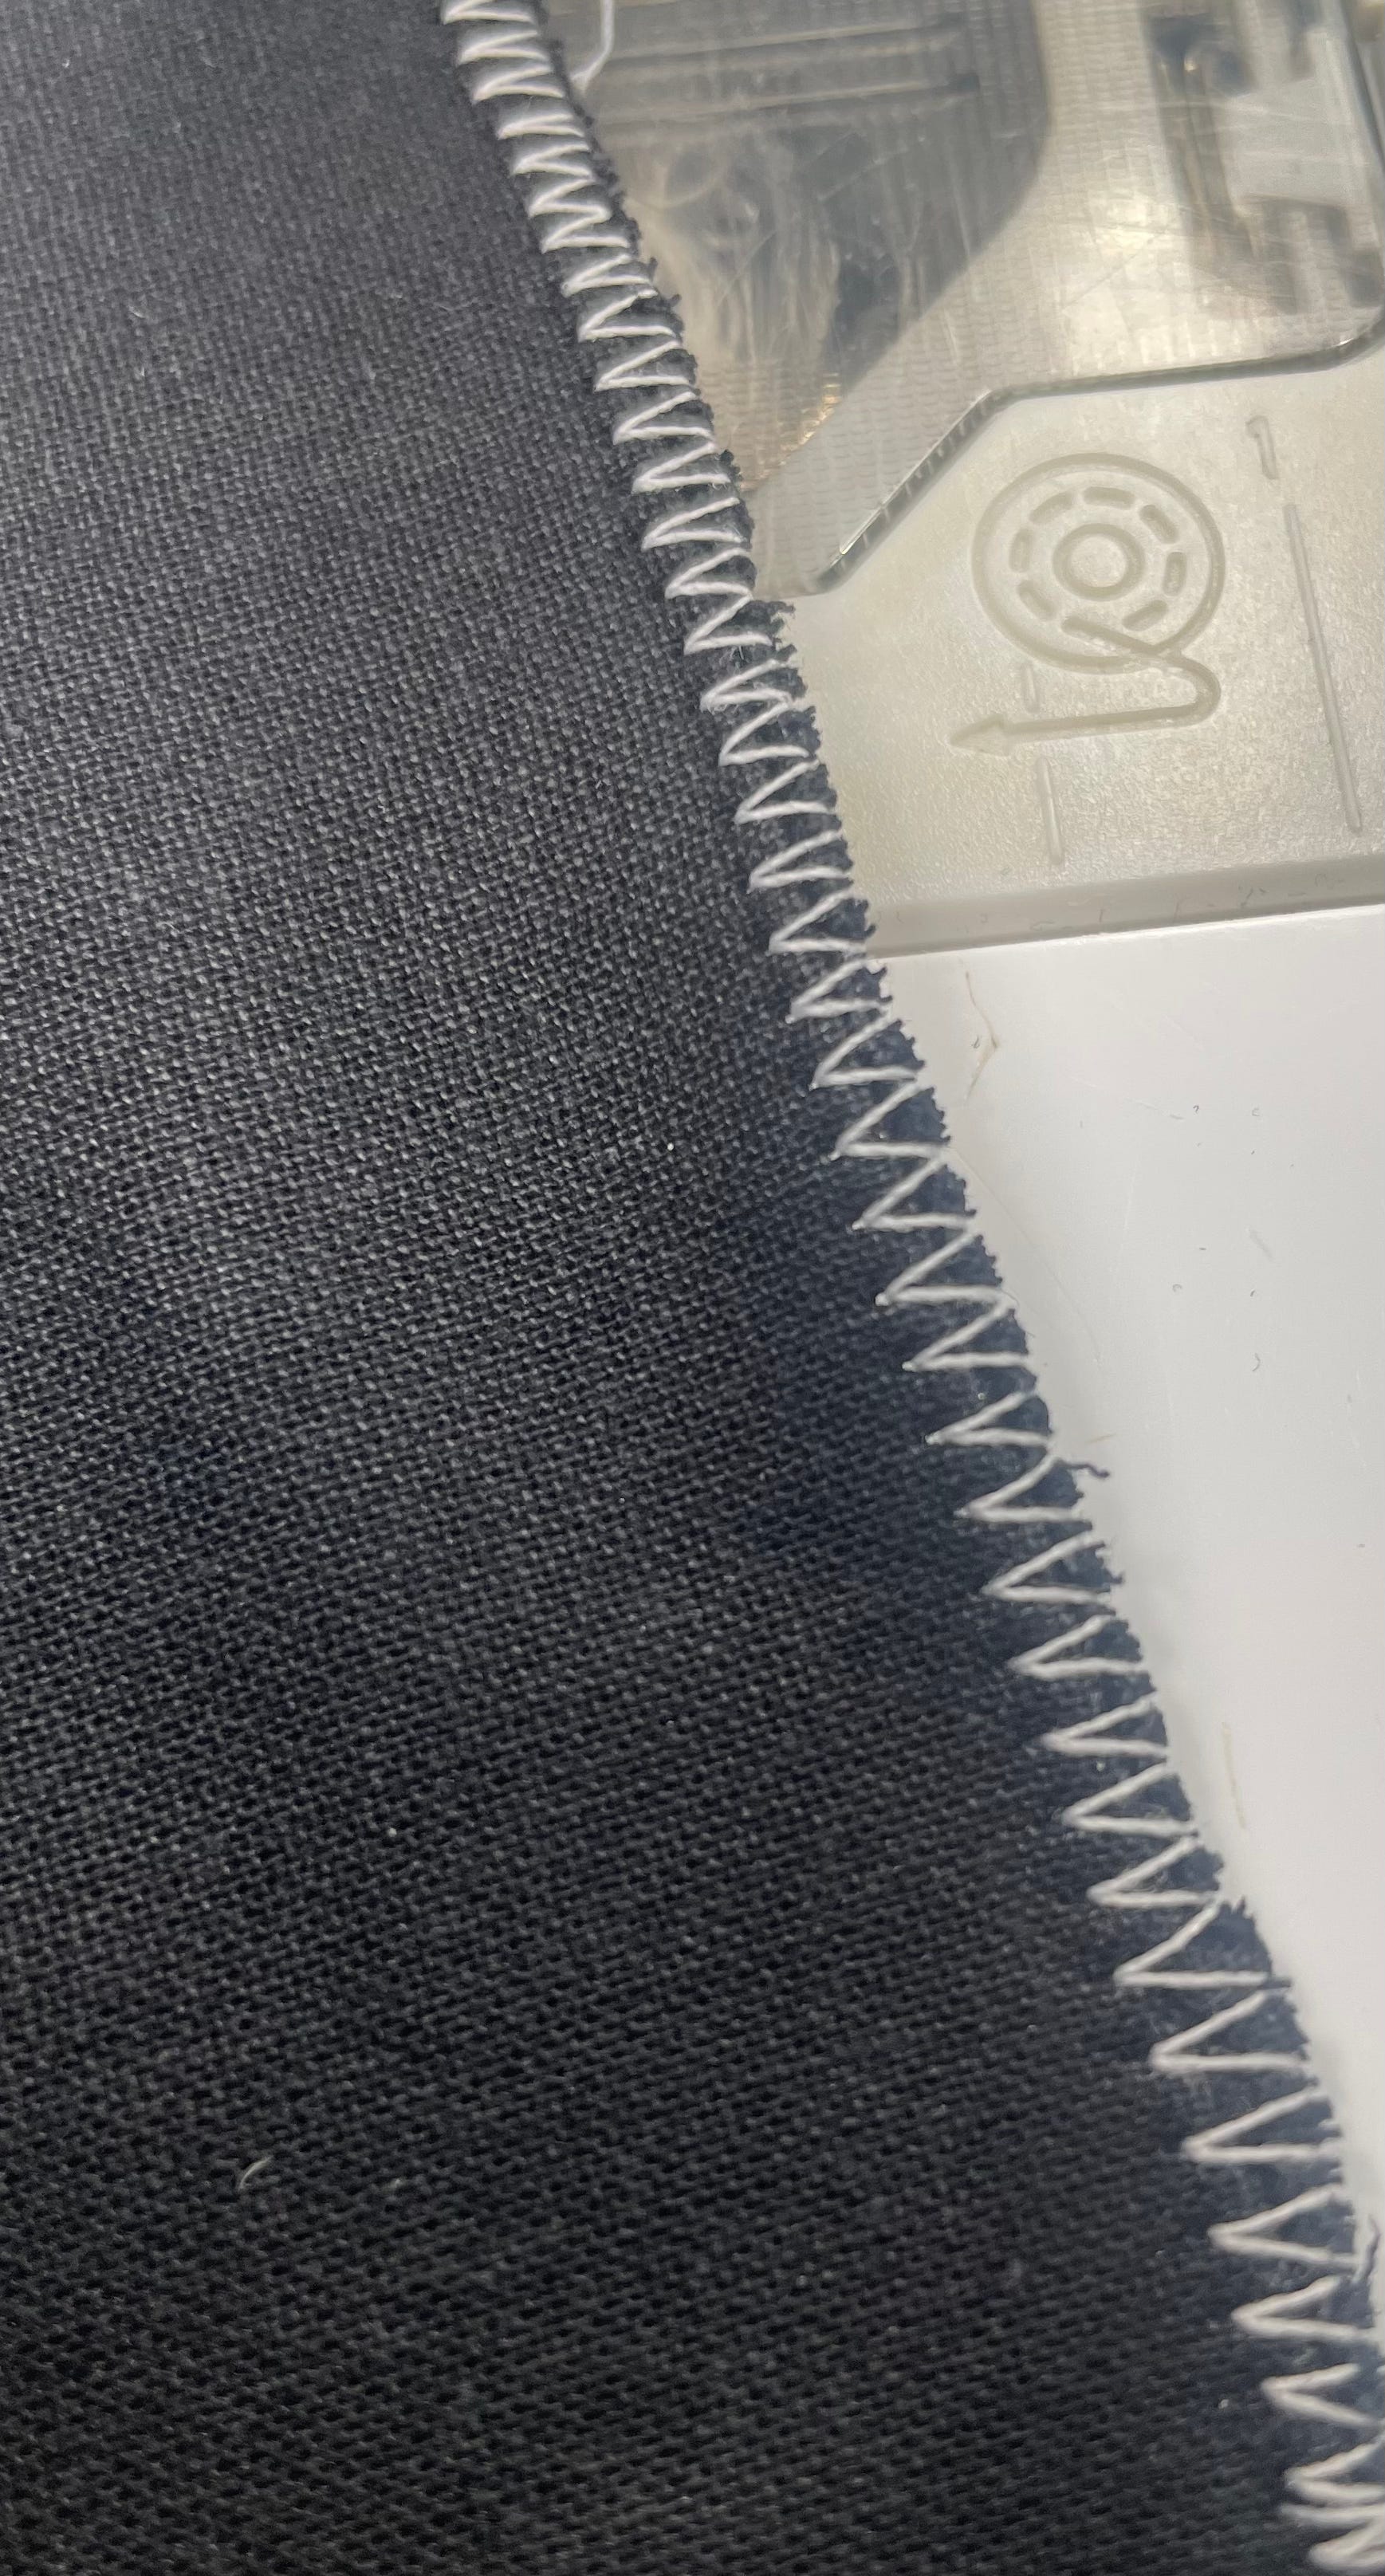
Overlocked seam
An overlocked seam is a strong, clean-finished seam often used in knitwear and mass-produced garments to prevent fraying.
To sew an overlocked seam, the fabric pieces are placed right sides together and aligned at the edges. An overlocker (serger) stitches along the edge, trimming excess fabric, while the machine encloses the raw edges with looped thread. If you don’t have an overlocker, you can use a zigzag stitch on a regular sewing machine to achieve a similar effect. The finished seam is pressed to one side for a professional, durable finish.
Whilst working on these samples, I have identified where a number of these techniques would be beneficial to use in my upcoming projects, and I am looking forward to seeing how the overall finish will be improved. Why not spend an hour or two sampling these seam types and see whether they could improve the durability or finish of whatever you choose to make next?
Happy sewing!
Suzanne, Charlotte and Rebecca