

My First 3D Printed Bag Design
The messy, slow, rewarding journey from beginner to first shop-worthy piece

So it's been a month since I wrote about my new adventures with a 3D printer, and I have been super busy with it. I have spent many an hour attempting to understand the software to enable me to bring my ideas to life, and it has been a real challenge. In the early stages of learning anything new, I struggle with the 'I've spent hours on this and have nothing tangible to show for it' dilemma. I like instant results, feel as though I should be able to master everything immediately, but sadly, that's not how it works, is it? I am absolutely amazed at how easy it is to find help, though, be it from a person or a community, to pretty much any problem you might encounter. Whenever I find that the notes I made on how to do something in the 3D software really don't make sense (and this is a regular occurrence), I can turn to YouTube and have my confidence restored in no time. I am learning so much, even if I still feel I want to go faster, and learning is always good, whatever the pace. So, if you read my last post, you will know that I was thrilled to have created a basic bag design from scratch and printed it. It was a breakthrough and filled me with excitement. Since then, I have designed and made many other iterations, some more successful than others. I have experimented with different filaments and finishing techniques and have become quite the expert with a hand sander. Things have gone well, and I am pleased to say that I have designed and made my first bag design worthy of adding to my shop. It combines the magic of 3D printing with my love of sewing, featuring pretty drawstrings inside the printed shell.
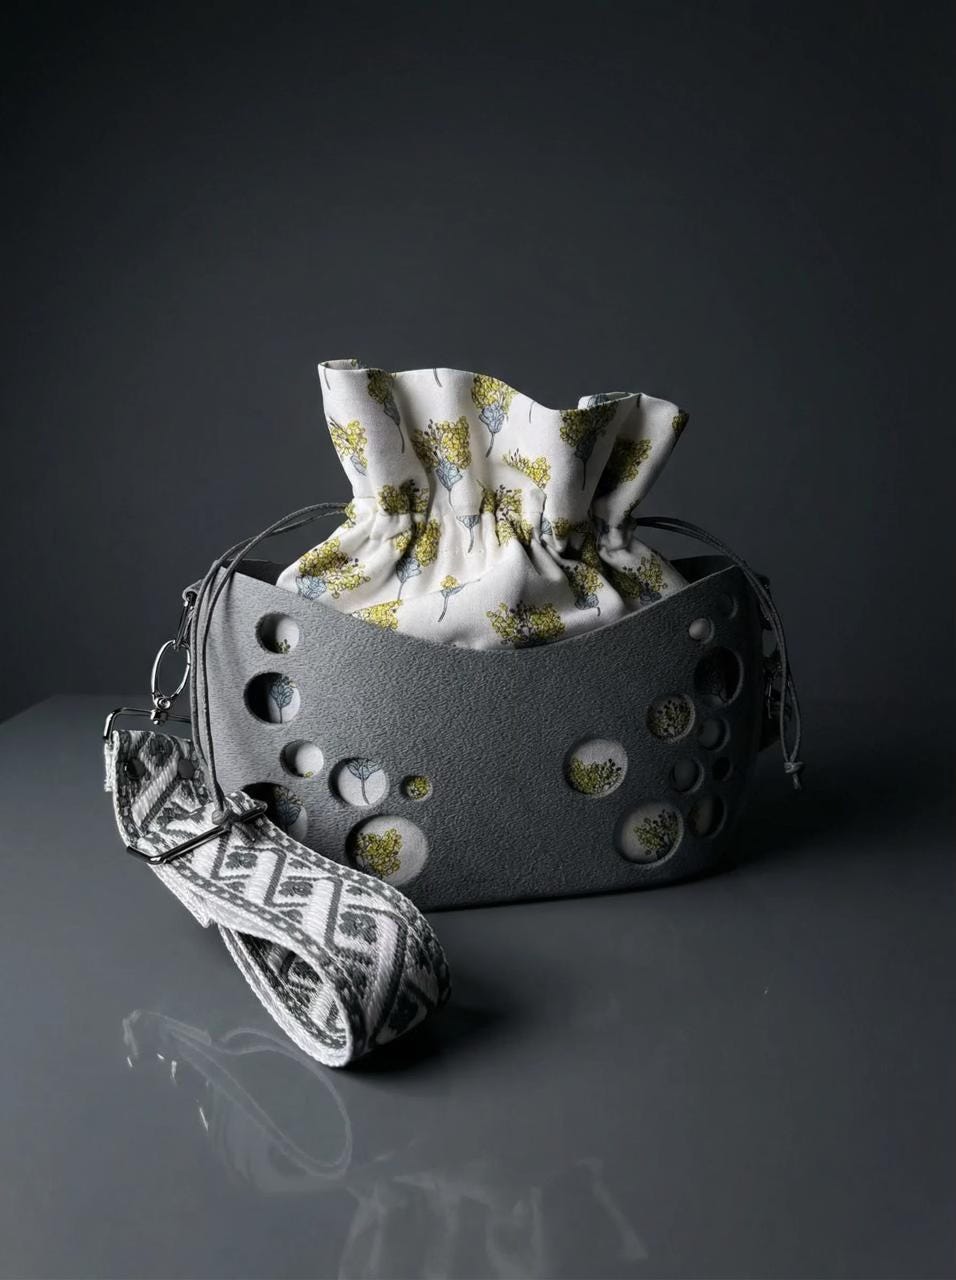
Although a simple design, it reflects my love of simple, clean lines. I love the fact that the strap and drawstring bag can be switched out, making it super simple to team with many outfits. It’s elegant and understated. But the best bit? I managed to create a design where the metal hardware is actually part of the shell by pausing the printing at the relevant place, inserting the hardware and then resuming the printing. I love this feature. It makes the strap connection really secure and it elevates the finish to look really professional. But not everything has turned out as I expected straight away. Over the weekend I was working on a design for a clutch bag with a hinge at the base. I made a small sample which worked well, and so I incorporated it into a full-blown design. I chose a ‘fuzzy skin’ finish to the walls of the bag and set it to print. All looked great as it printed for a few hours. And then the moment of truth when I removed it from the plate. Would the hinge work? Sadly it did not. Selecting the ‘fuzzy skin’ finish had, in this instance, been something I hadn’t anticipated—it had basically fused my working hinge to itself. I re-printed just the hinge part of the bag to reassure myself that this was the reason for the failure, and was rewarded with a perfectly working hinge which will work well in future designs.
Failure really does make us better, even though at that moment it doesn’t feel like it. I know I have many more failures ahead of me, but the successes feel so much greater because of them. I would love to hear whether you have embarked on learning a new skill and how you have overcome the issues you encounter.