

Sewing for Valentine's Day
I love to sew for friends and family. Use these fun ideas to make pretty Valentine's gifts or adapt them to make some gorgeous decor items for your home.

If, like me, an afternoon or evening spent making thoughtful gifts is how you enjoy your downtime, then these three quick and easy sewing projects are perfect for you. You will probably have all the supplies you need already so you can jump straight into the making!
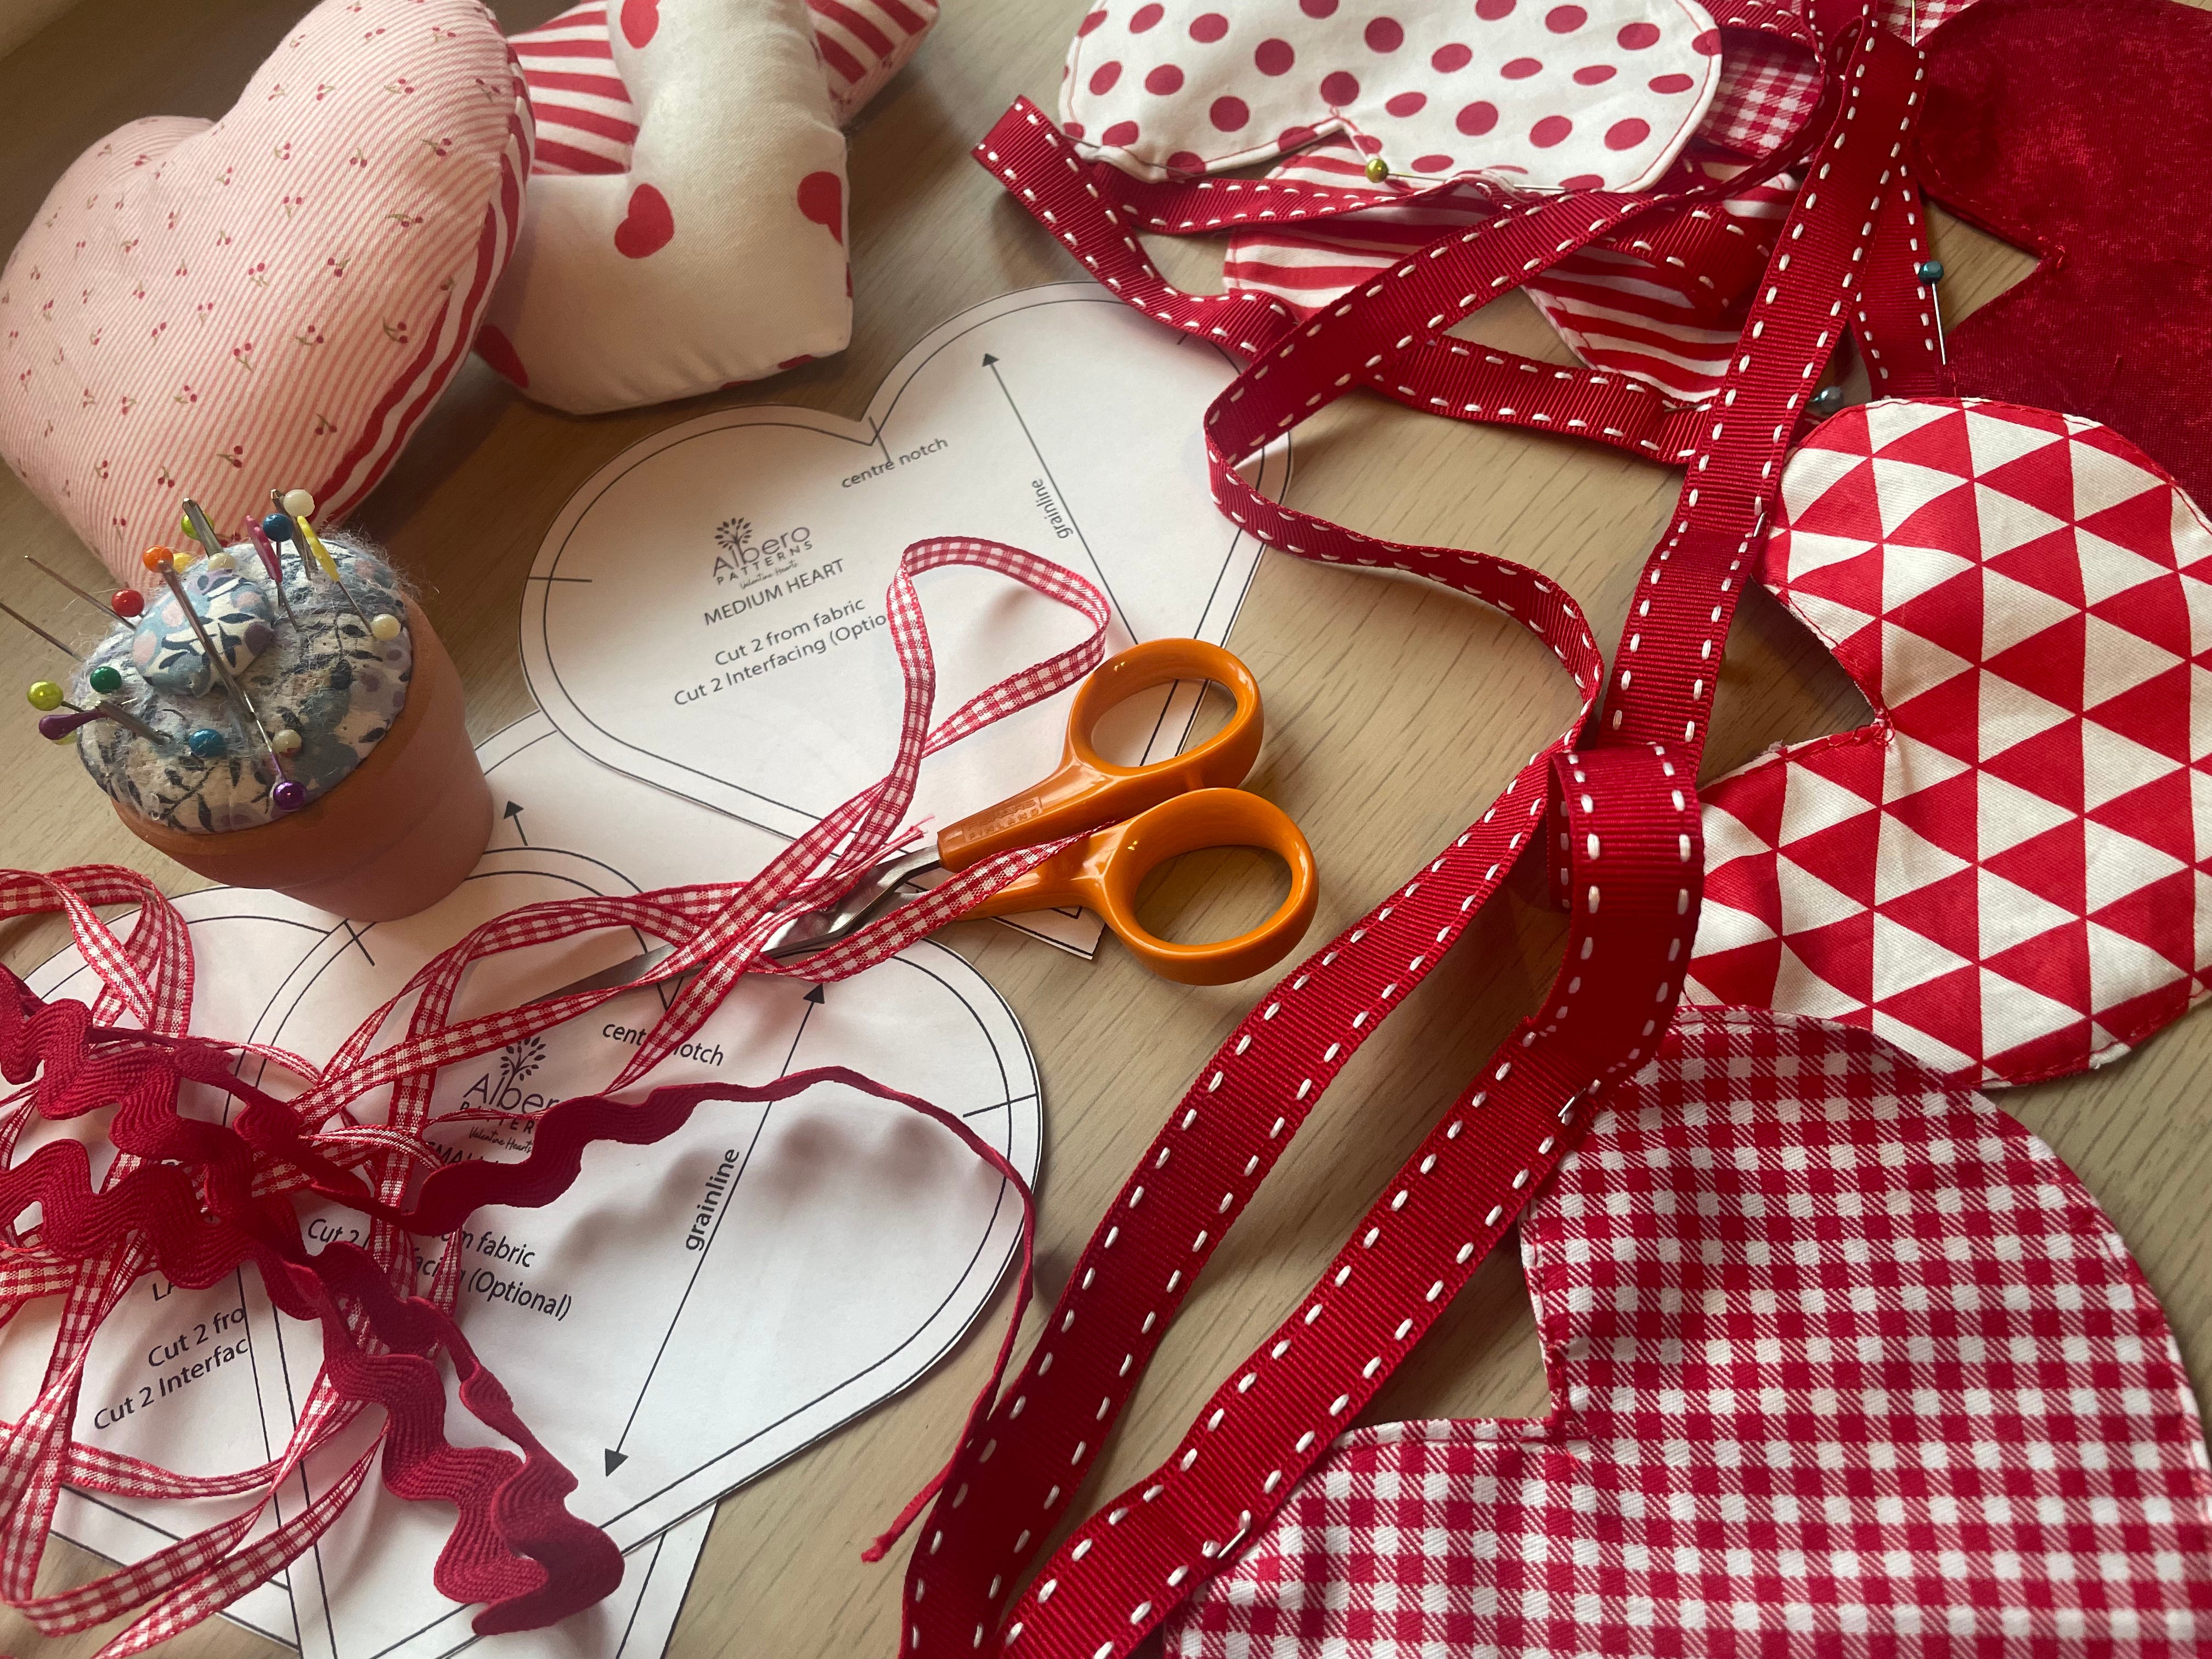
What you will need
Non-stretch fabrics such as lightweight quilting cotton or felt. You can use up smaller pieces from your fabric stash as the hearts are not too big.
Lightweight fusible interfacing (optional, depending on the fabric used)
Co-ordinating ribbon or bias tape
Keyring hardware
Toy stuffing
Threads
Optional decorations such as buttons and beads
You could also use dried lavender inside the hearts if you choose
Sewing machine and your usual sewing equipment
Let‘s get started!
For these projects, I have used three sizes of hearts: a large, a medium, and a small (finished sizes approximately 16x15cm; 14x13cm; 12x11cm). You can use these measurements as a guide to draft your pattern pieces on paper, or, to receive a downloadable pattern to print at home, subscribe for free by clicking the button below.
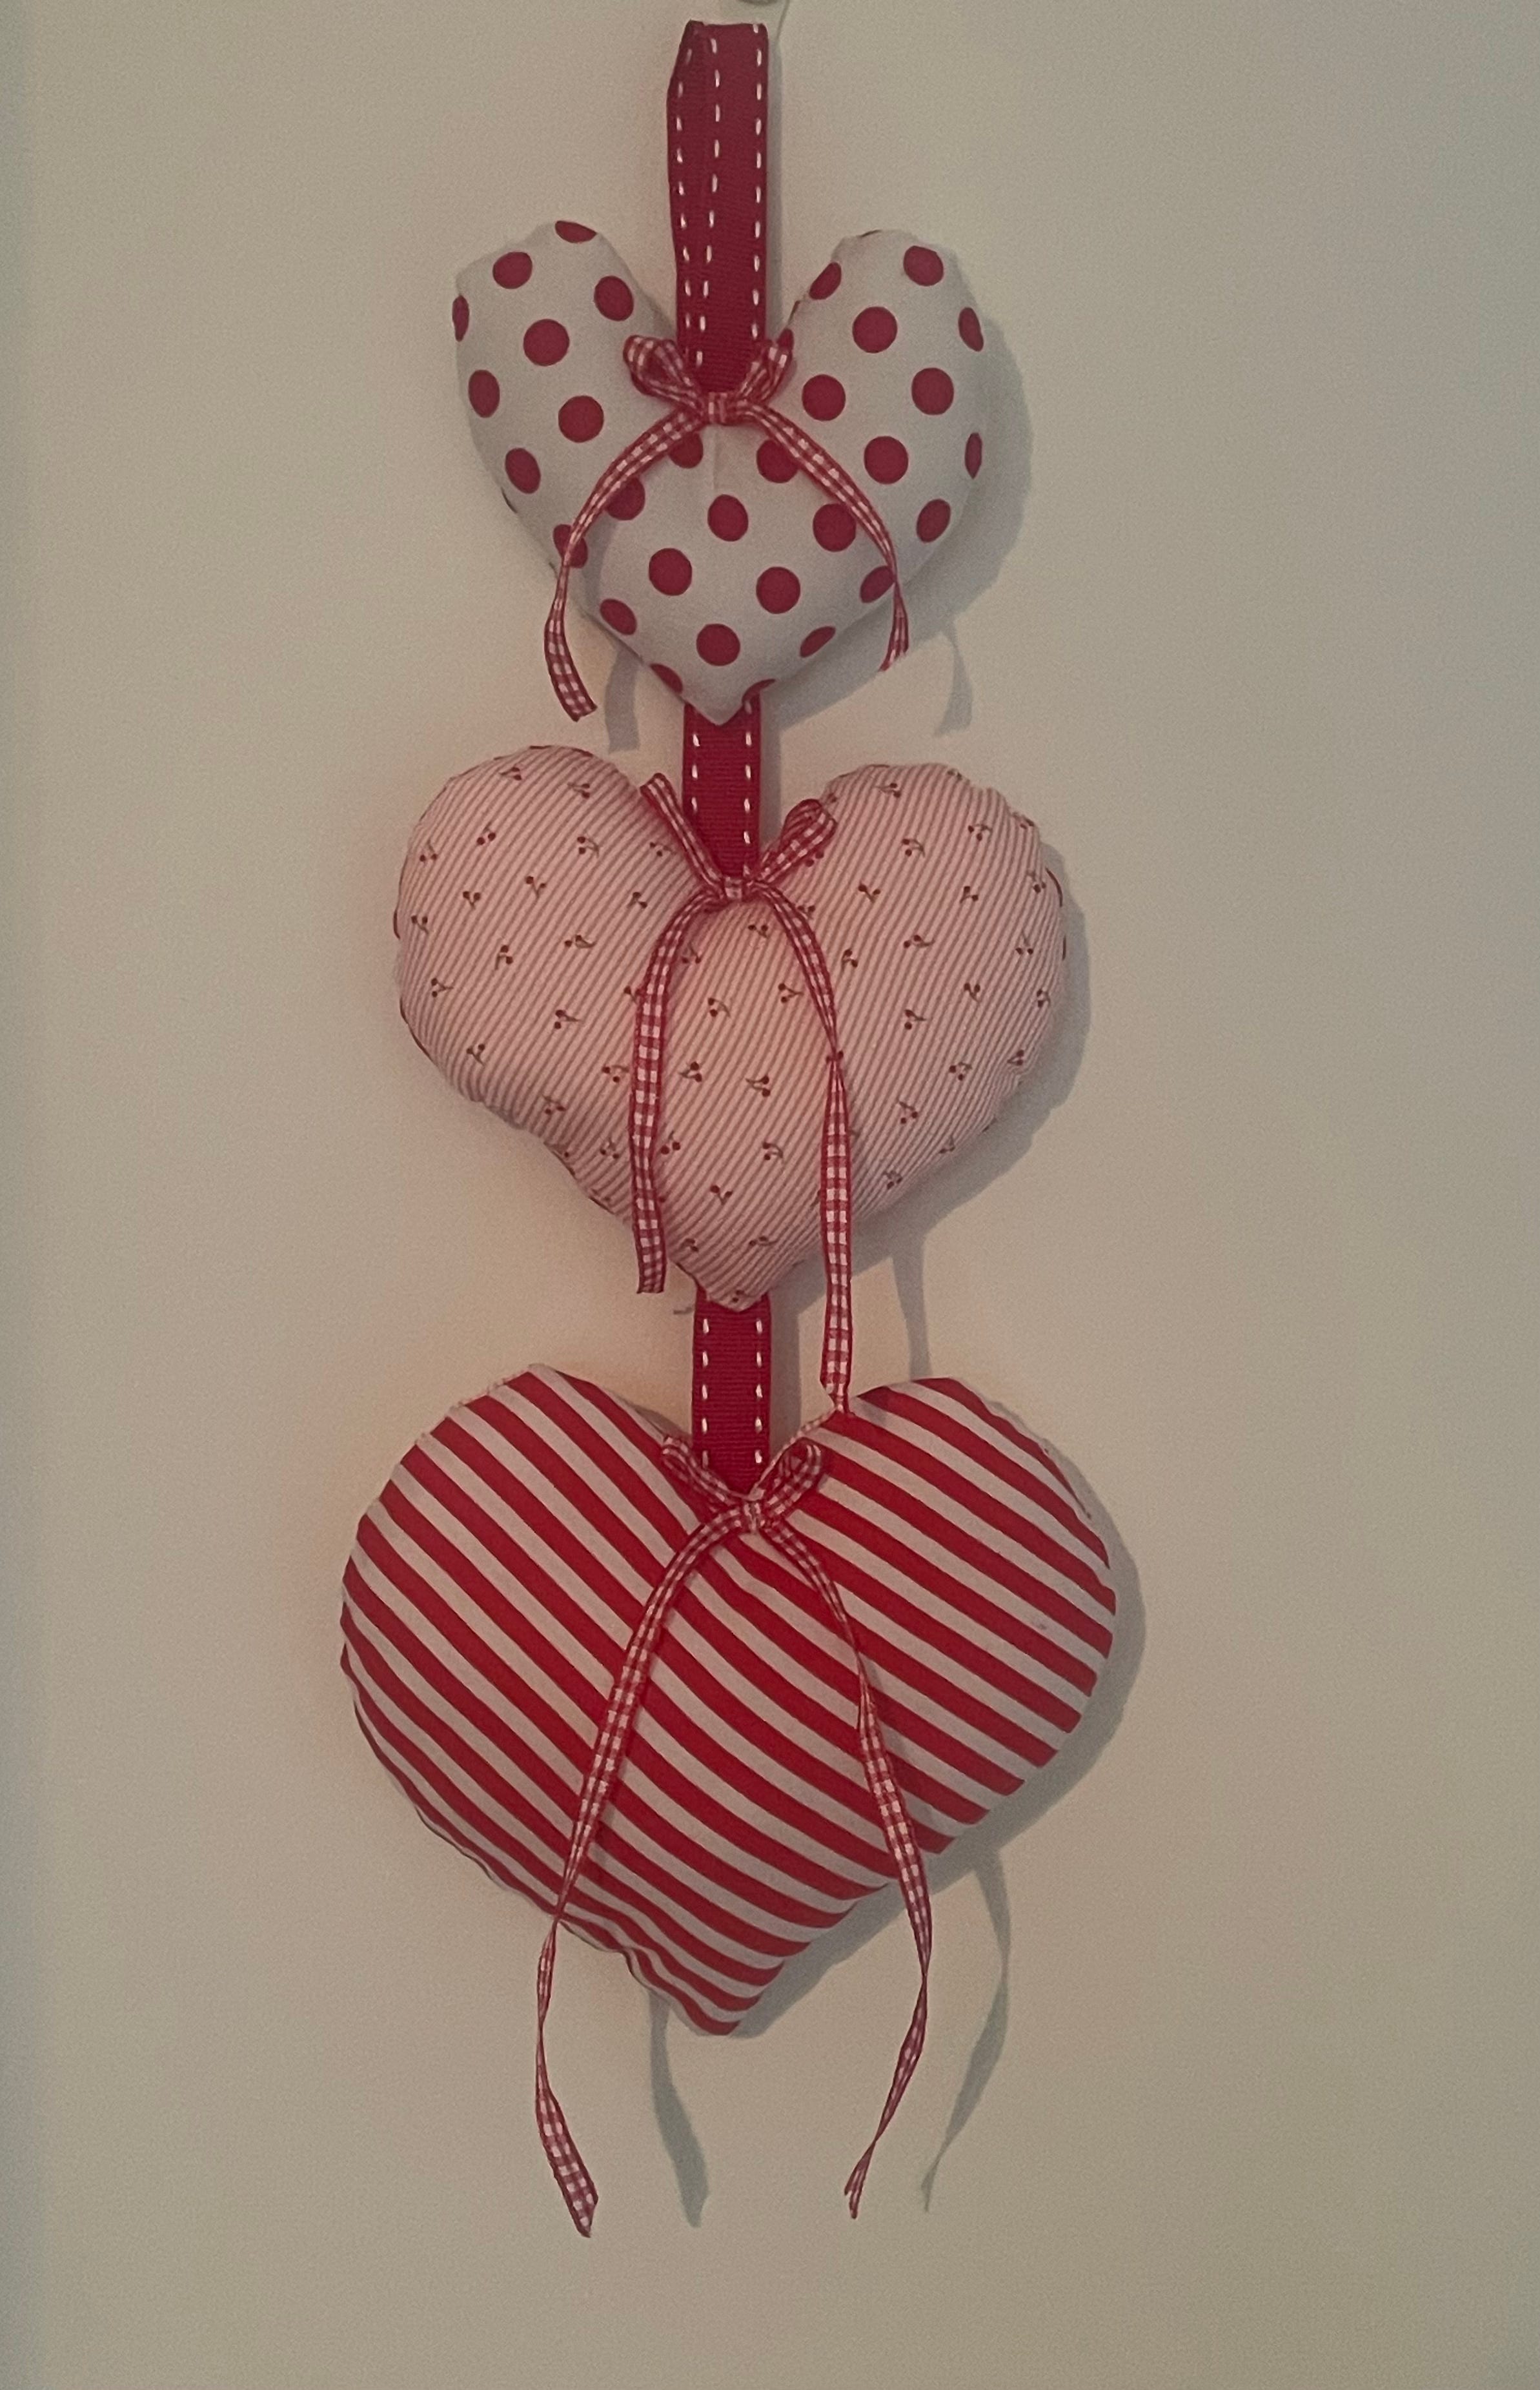
The Hanging Heart Decoration
Choose the fabric for each heart.
Use your paper patterns and cut two of each size from your chosen fabrics.
If your fabric is quite thin, you can fuse lightweight interfacing onto the wrong side of each heart. For quilting weight cotton this is not necessary.
Place two hearts of the same size, right sides facing, and pin them in place.
Using a 0.5cm seam allowance, stitch around the heart leaving a gap on the lower edge of one side. Backstitch at the start and finish of your stitching.
Turn the heart right sides out. Fold the seam allowances along the opening to the inside. Press the heart well.
Take some toy stuffing and push through the opening in the seam. Be sure to press it in well to give it a good shape. A chopstick is a really useful tool for this, or the blunt end of a pencil.
Use a coordinating thread and a hand-sewing needle to stitch the opening closed. Repeat this process for all three hearts.
I used a 40cm length of ribbon and made an 8cm loop at the top, stitching the end of the ribbon to the back. You can use a longer length if you would like the hearts to be spaced further apart.
Arrange the hearts along the ribbon. Once you are happy with their positions, hand-stitch in place. If you are adding embellishments such as buttons or beads, do this now.
The Heart Bunting
You can have a lot of fun with this project. Vary the sizes of the hearts along the length of the ribbon, join hearts together to hang down like chains, make stuffed hearts or keep them flat - the choice is yours!
Decide the size or sizes of the hearts you would like to use. Cut two pieces of fabric from your chosen selection per heart. The front and back do not need to be from the same fabric, that is a choice for you to make.
If you need it, you can fuse lightweight interfacing to the wrong side of the fabric pieces.
Place two hearts of the same size, right sides facing, and pin them in place.
Using a 0.5cm seam allowance, stitch around the heart, leaving a gap on the lower edge of one side. Backstitch at the start and finish of your stitching.
Turn the hearts right sides out and press well. Fold the seam allowances along the opening to the inside.
If you are stuffing the hearts, follow instructions 7 & 8 above for the Hanging Heart decoration.
If you are leaving the hearts flat, topstitch around each heart about 2mm from the edge of the shape. Start and finish at the top of the shape where it is indented. Backstitch to secure. Consider using a contrasting thread for this.
Once all the hearts are complete, lay your length of ribbon in front of you. Place the hearts along the length until you are pleased with their arrangement. Do not place the hearts right to the ends of the ribbon, leave around 15-20 cm free at each end for tying in position.
Handstitch the hearts to the ribbon using small stitches. Embellishments, such as buttons and beads, could also be added at this stage.
If you use bias tape instead of ribbon, you have two options. You can either stitch the tape closed along the long open edge and follow the process above for the ribbon, or open out the bias tape and align the tops of the hearts with the central crease. Fold the tape back down and topstitch along the length.
The Padded Heart Keyring
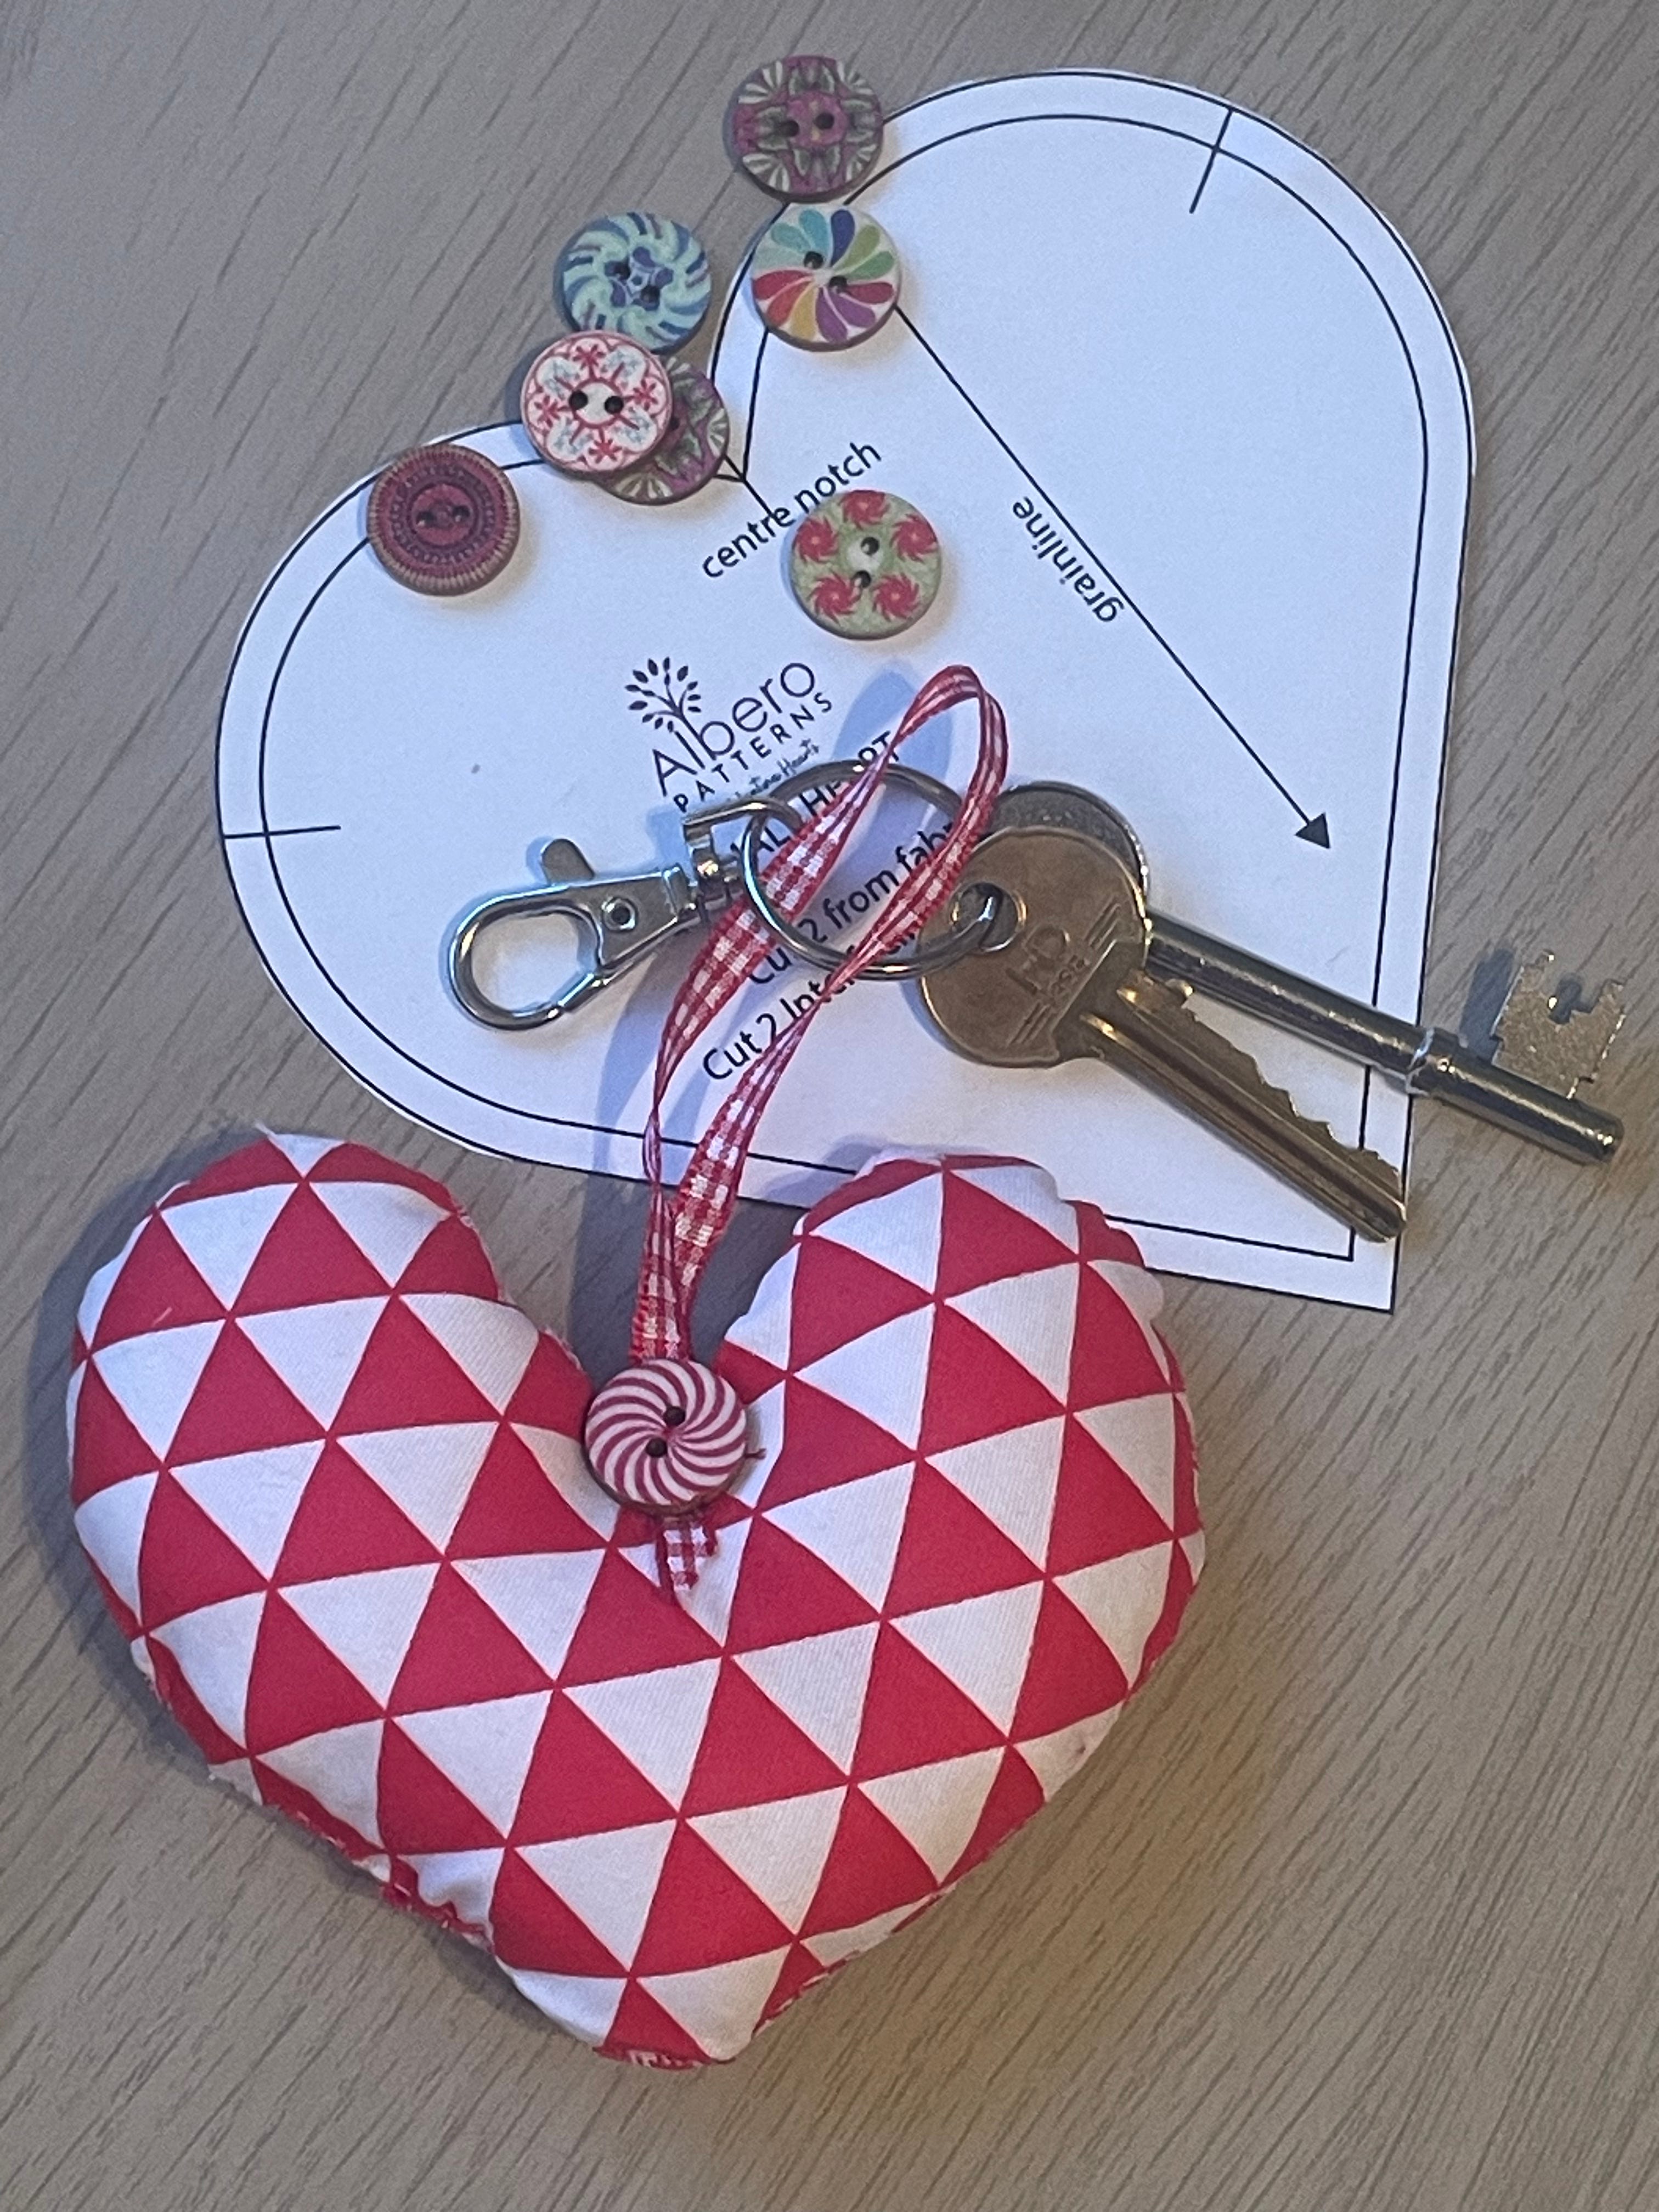
Follow the steps for the Hanging Heart decoration.
Take a length of ribbon approximately 22cm and fold it in half.
Stitch the ribbon to the heart.
Slide a split ring onto the ribbon loop and attach your keys!
We hope that you enjoy making these fun heart-shaped decorations. Don’t forget that you can share your creations with us, as we always love to see what you have made!
Happy sewing!
Suzanne, Charlotte and Rebecca